Playground Rubber Mulch Safety Surfacing Tiles | Free PBR
Seamless texture (tileable) · PNG, WEBP, PBR ZIP. License: AITextured Free Commercial License (FCL) v1.1. Free personal and commercial use. Raw resale, standalone redistribution, mirroring/scraping, competing asset packs, and AI/ML training are not allowed without written permission. Attribution is not required, but appreciated..

| ID | worn-acrylic-texture-seamless |
|---|---|
| Category | Plastic |
| Formats | PNG, WEBP, PBR ZIP |
| Size | 1k (1024x1024px), 2k (2048x2048px), 4k (4096x4096px), 8k (8192x8192px) |
| Color | sRGB |
| Tileable | Yes |
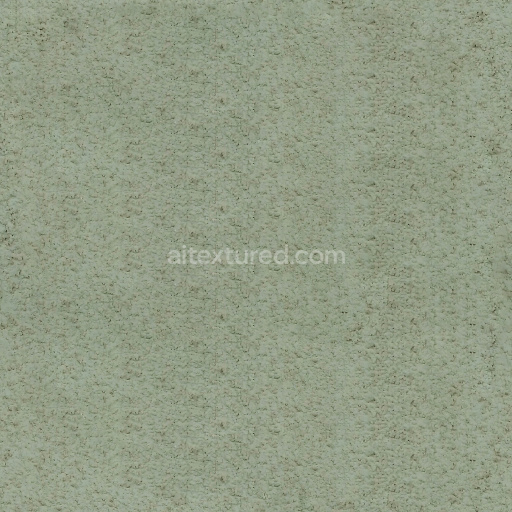
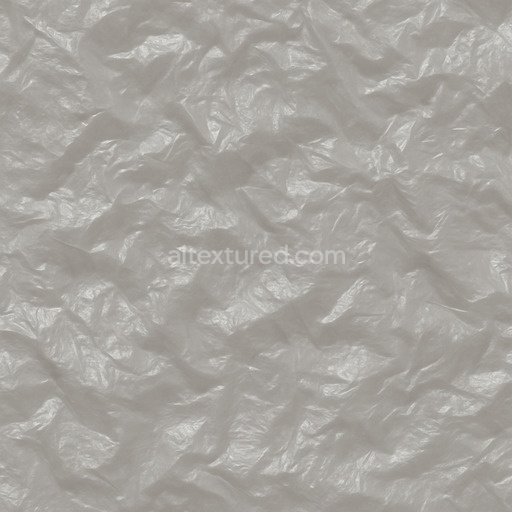
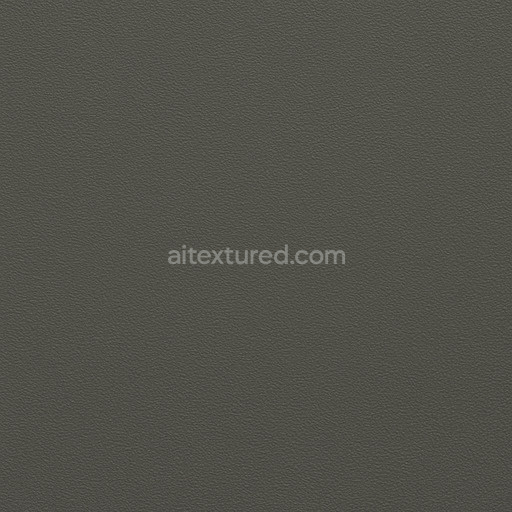
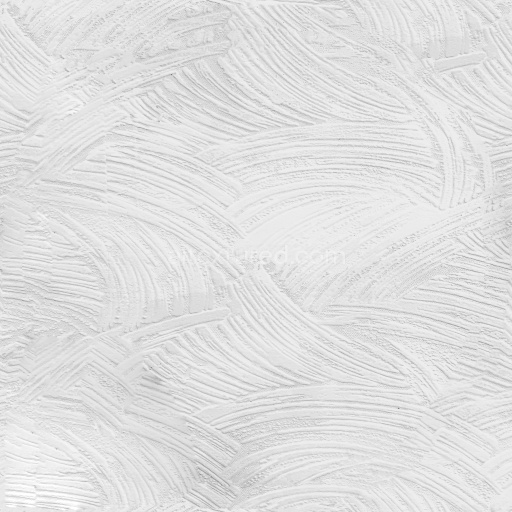
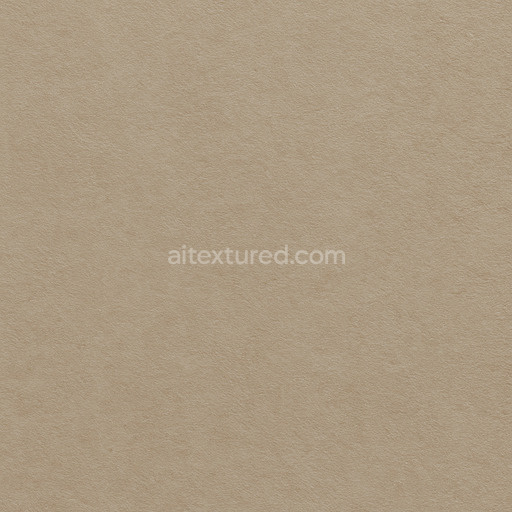
This worn acrylic texture seamless high resolution up to 8K is expertly designed to replicate the intricate material properties of aged acrylic plastic capturing its natural wear and environmental exposure with remarkable fidelity. The base substrate is a semi-translucent polymer typical of acrylic materials featuring a slightly glossy finish that has been subtly altered over time by abrasion micro-scratches and faint discolorations. Its composition includes fine pigment dispersions and organic binders characteristic of acrylic polymers along with occasional embedded microscopic dust particles and mild porosity resulting from weathering effects. This combination of elements produces a nuanced surface appearance that balances polished highlights with authentic signs of aging making it ideal for realistic plastic textures in 3D environments.
In terms of PBR workflow integration the tileable worn acrylic texture seamless high resolution up to 8K excels in delivering detailed and accurate material channels. The BaseColor/Albedo map presents muted soft gradient color variations reflecting the subtle pigmentation and wear patterns while the Normal map captures delicate surface irregularities and micro-reliefs that emphasize the texture’s tactile quality. The Roughness map skillfully balances the polished acrylic sheen with areas of diffused worn finish enhancing the natural interaction with light. The Metallic channel remains minimal consistent with the non-metallic nature of acrylic plastics. Ambient Occlusion adds depth to crevices and worn edges and Height/Displacement maps highlight subtle surface undulations and wear supporting realistic shading and parallax effects at high resolutions up to 8K.
This seamless worn acrylic texture seamless high resolution up to 8K is optimized for tileability ensuring flawless repetition across large UV islands without visible seams which is essential for maintaining continuity in expansive surfaces. It is fully compatible with popular 3D applications such as Blender Unreal Engine and Unity supporting high-fidelity 3D previews and rendering workflows. For practical application adjusting the UV scale to suit your model’s dimensions can greatly improve the perception of natural wear and surface complexity preventing the texture from appearing repetitive or artificial. Additionally fine-tuning the Roughness and Normal map intensities allows precise control over surface reflectivity and micro-detail enabling a balanced and realistic worn plastic finish tailored to varied lighting environments and rendering engines.
Import the texture maps into Blender with sRGB color space for albedo/base color and Non-Color for normal, roughness, metallic, AO, height, and ORM maps. Connect normal maps through a Normal Map node, then adjust UV scale with a Mapping node so the material repeats naturally on your model.
For the full step-by-step setup, see How to Use Seamless Textures in Blender. Browse related material examples in wood, concrete, and metal.
Yes. This texture is designed as a seamless tileable PBR material, so it can repeat across large surfaces without visible borders.
You can download PNG/WEBP versions and use 1K, 2K, 4K and 8K download options when available on the page.
Yes. The download options and engine-mapped ZIP workflow are designed for Blender, Unreal Engine, Unity Standard, URP and HDRP material pipelines.
Yes. The texture is available under the AITextured free commercial license. Review the license page for redistribution and AI-training restrictions.
Generate, preview, and export seamless PBR materials for Blender, Unity, and Unreal Engine—directly in your browser.
AI text-to-texture: type a prompt and get a seamless, tileable base image ready for PBR workflows (great starting point for materials).
Create a full PBR set (Normal, Roughness, AO, Metallic, etc.) from a single image. Seamless and tiling-friendly.
Instant WebGL viewer: inspect materials on a sphere, plane, and cube. Check tiling and lighting in real time.
Re-packages maps per engine: Unreal (BaseColor + ORM), Unity (Mask/MetallicSmoothness), Blender (separate channels).
PNG ↔ JPG ↔ SVG: fast convert, SVG rasterize, embed/trace options, quality & background controls.