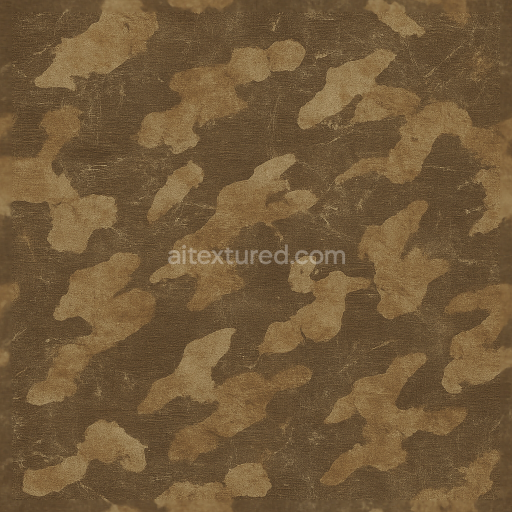
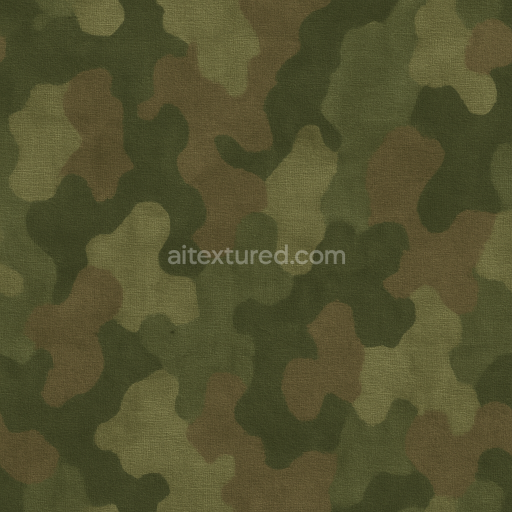
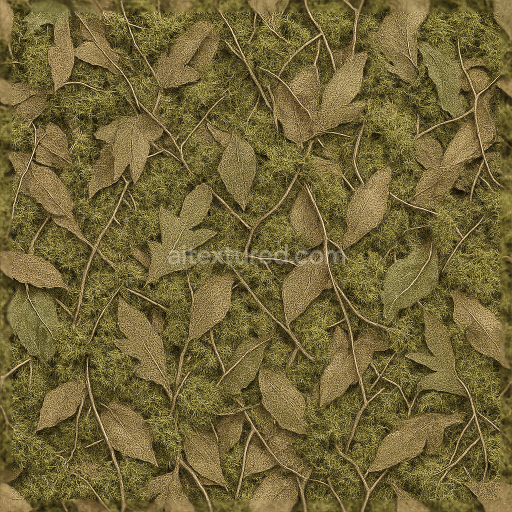
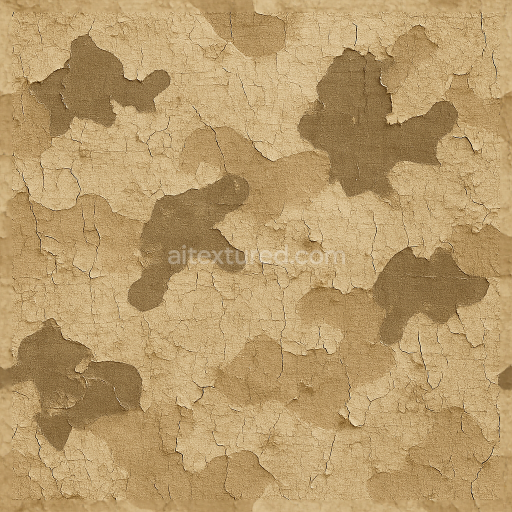
Ripstop Fabric Camouflage With Paint Chipped And Worn Effects
Seamless texture (tileable) · PNG, WEBP, PBR ZIP. License: AITextured Free Commercial License (FCL) v1.1. Free personal and commercial use. Raw resale, standalone redistribution, mirroring/scraping, competing asset packs, and AI/ML training are not allowed without written permission. Attribution is not required, but appreciated..

| ID | seamless-3d-texture-pbr-8k-desert-camo-fabric-with-dry-mud-and-camouflage-contour-lines |
|---|---|
| Category | Camouflage |
| Formats | PNG, WEBP, PBR ZIP |
| Size | 1k (1024x1024px), 2k (2048x2048px), 4k (4096x4096px), 8k (8192x8192px) |
| Color | sRGB |
| Tileable | Yes |
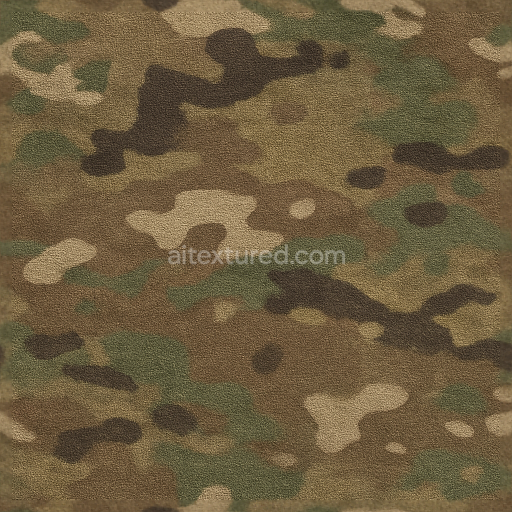
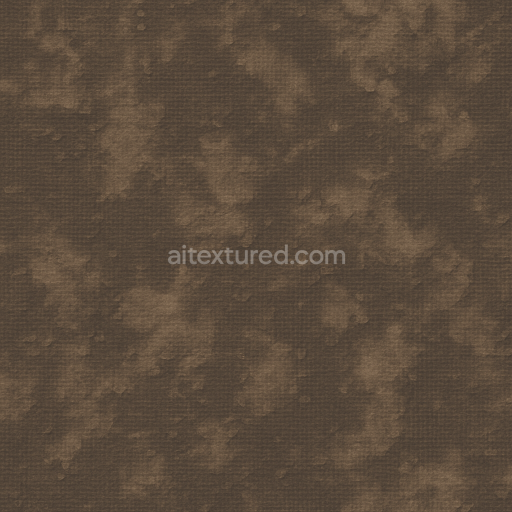
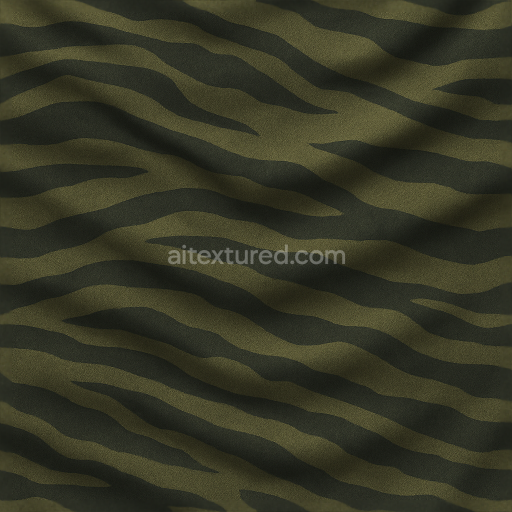
This seamless 3D texture presents an 8K resolution desert camo fabric designed to authentically replicate the complex materials and surface qualities found in arid tactical gear. The base substrate mimics a tightly woven polymer fabric engineered for durability and breathability in harsh environments. Embedded within the weave are subtle earth-toned pigments—sand tan and muted browns—achieved through advanced dyeing processes that create naturalistic camouflage patterns. These tones are enhanced by dry mud deposits simulated as fine-grained aggregates partially adhered to the fabric surface illustrating weathering and exposure to desert conditions. The contour lines of the camo pattern are softly integrated reflecting the grain orientation and fiber directionality of the textile while the rough finish conveys a tactile rugged feel typical of field-worn gear.
From a PBR perspective the BaseColor/Albedo channel delivers nuanced color variations with precise sand and tan hues that blend seamlessly with the dry mud’s dusty overlays. The Normal map captures intricate fabric grain and the subtle raised texture of dried mud clumps adding realistic depth and tactile complexity. Roughness is carefully calibrated to reflect the matte weathered fabric surface ensuring minimal specular highlights while preserving the natural roughness of worn textiles and dried earth residues. The Metallic channel remains near zero as the organic and polymer materials lack metallic components. Ambient Occlusion enhances the creases and folds of the fabric emphasizing shadowed areas beneath mud deposits and contour lines. Height and Displacement maps contribute fine surface relief allowing for realistic parallax effects that enhance the perception of dry mud layering and fabric weave when applied in modern rendering engines.
Engineered at a stunning 8K resolution this seamless texture is fully compatible and optimized for use in Blender Unreal Engine and Unity making it ideal for high-fidelity 3D models requiring authentic desert camo visuals. Its detailed surface features support close-up inspection without loss of clarity perfect for tactical gear military uniforms or environmental assets in game design and visualization projects. For practical application it is recommended to adjust UV scaling to maintain the fabric’s natural grain size relative to your model and to fine-tune roughness maps to balance between dry dusty patches and areas of cleaner fabric enhancing realism across varied lighting conditions.
Import the texture maps into Blender with sRGB color space for albedo/base color and Non-Color for normal, roughness, metallic, AO, height, and ORM maps. Connect normal maps through a Normal Map node, then adjust UV scale with a Mapping node so the material repeats naturally on your model.
For the full step-by-step setup, see How to Use Seamless Textures in Blender. Browse related material examples in wood, concrete, and metal.
Yes. This texture is designed as a seamless tileable PBR material, so it can repeat across large surfaces without visible borders.
You can download PNG/WEBP versions and use 1K, 2K, 4K and 8K download options when available on the page.
Yes. The download options and engine-mapped ZIP workflow are designed for Blender, Unreal Engine, Unity Standard, URP and HDRP material pipelines.
Yes. The texture is available under the AITextured free commercial license. Review the license page for redistribution and AI-training restrictions.

Generate, preview, and export seamless PBR materials for Blender, Unity, and Unreal Engine—directly in your browser.
AI text-to-texture: type a prompt and get a seamless, tileable base image ready for PBR workflows (great starting point for materials).
Create a full PBR set (Normal, Roughness, AO, Metallic, etc.) from a single image. Seamless and tiling-friendly.
Instant WebGL viewer: inspect materials on a sphere, plane, and cube. Check tiling and lighting in real time.
Re-packages maps per engine: Unreal (BaseColor + ORM), Unity (Mask/MetallicSmoothness), Blender (separate channels).
PNG ↔ JPG ↔ SVG: fast convert, SVG rasterize, embed/trace options, quality & background controls.