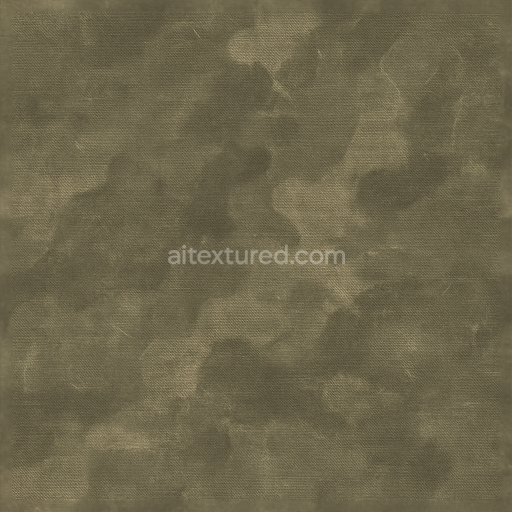
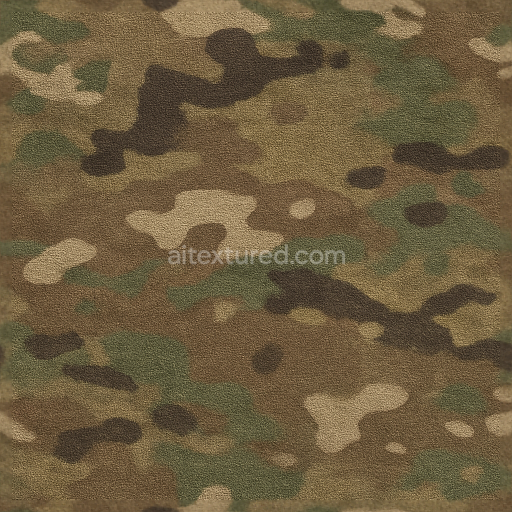
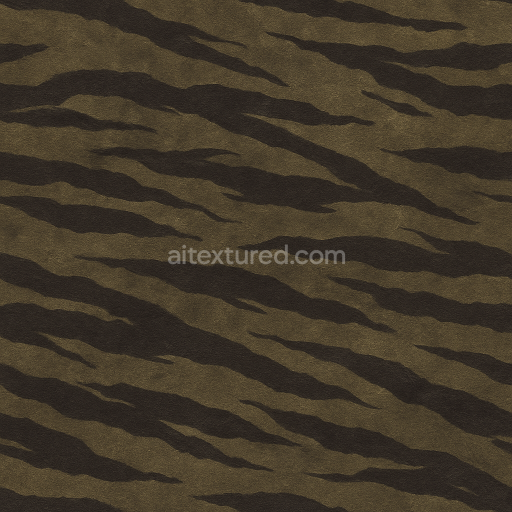
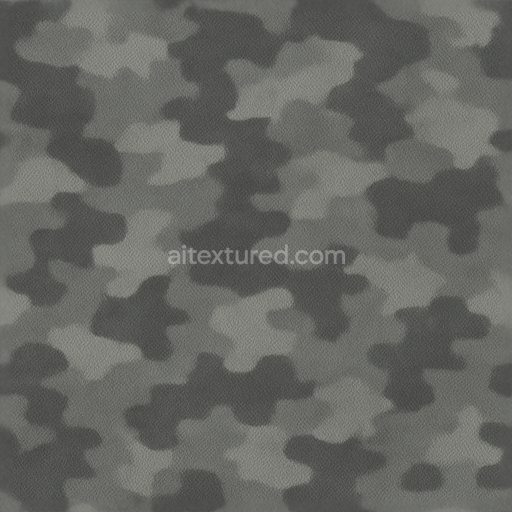
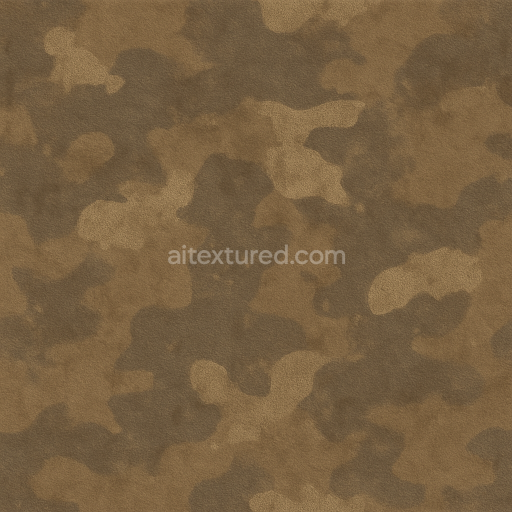
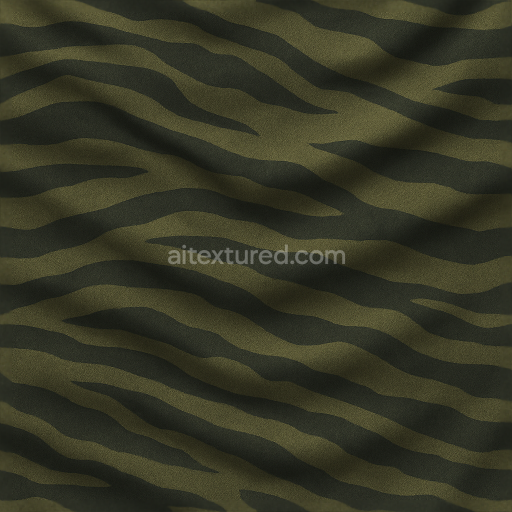
This seamless 3D PBR texture in stunning 8k resolution showcases an urban camo fabric meticulously designed for high-fidelity digital applications. The base material simulates a durable gray polyester textile characterized by a rough surface texture that replicates the tactile feel of woven fibers with subtle irregularities. Embedded within the fabric are layered disruptive camouflage distortion patterns that mimic real-world urban concealment techniques blending muted grays and dark tones with carefully applied pigments to achieve a natural yet complex visual depth. The fabric’s low sheen finish is achieved through a finely tuned balance of diffuse reflection and minimal specularity reflecting the inherently matte appearance of tactical gear used in city environments where avoiding glare is crucial. This intricate surface detail is enhanced by the polymer’s slight porosity which adds to the weathered realism without compromising the material’s structural integrity.
In terms of the PBR workflow the BaseColor or Albedo map captures the nuanced gray hues and subtle camo distortion patterns ensuring accurate color reproduction without artificial brightness. The Normal map conveys the rough textile grain and fiber orientation providing realistic light interaction and fine surface relief. Roughness maps control the low sheen finish by varying the micro-surface irregularities while the Metallic channel remains near zero reflecting the fabric’s non-metallic nature. Ambient Occlusion enriches the perception of depth within the folds and layered patterns and the Height or Displacement map subtly enhances the fabric’s dimensionality emphasizing weave texture and pattern distortion for close-up renders. This texture is optimized for seamless tiling enabling consistent artifact-free coverage across large surfaces in modern 3D environments.
Designed with compatibility in mind this urban camo distortion seamless 3D PBR texture is fully Unreal Blender and Unity ready offering artists and developers a versatile asset for realistic city tactical renders gear and equipment visualization. Its ultra-high 8k resolution ensures crisp details even at close range improving immersion and authenticity in military simulations game assets and virtual prototypes. For optimal results it is recommended to adjust the UV scale moderately to maintain the fabric’s realistic weave density and to fine-tune the roughness parameter to balance low sheen reflections according to the specific lighting conditions of the scene. This approach enhances the material’s adaptive appearance across different environments and viewing angles making it ideal for advanced concealment needs in digital storytelling or product design.
Using This PBR Texture in Blender
Import the texture maps into Blender with sRGB color space for albedo/base color and
Non-Color for normal, roughness, metallic, AO, height, and ORM maps. Connect normal maps
through a Normal Map node, then adjust UV scale with a Mapping node so the material repeats naturally on
your model.
- Albedo -> Principled BSDF Base Color
- Roughness -> Roughness, Metallic -> Metallic
- Normal -> Normal Map node -> Normal
- Height -> Bump or Displacement depending on render setup
For the full step-by-step setup, see
How to Use Seamless Textures in Blender.
Browse related material examples in
wood,
concrete, and
metal.
FAQ
Is this texture seamless and tileable?
Yes. This texture is designed as a seamless tileable PBR material, so it can repeat across large surfaces without visible borders.
Which resolutions and formats are available?
You can download PNG/WEBP versions and use 1K, 2K, 4K and 8K download options when available on the page.
Can I use it in Blender, Unreal Engine and Unity?
Yes. The download options and engine-mapped ZIP workflow are designed for Blender, Unreal Engine, Unity Standard, URP and HDRP material pipelines.
Is commercial use allowed?
Yes. The texture is available under the AITextured free commercial license. Review the license page for redistribution and AI-training restrictions.