
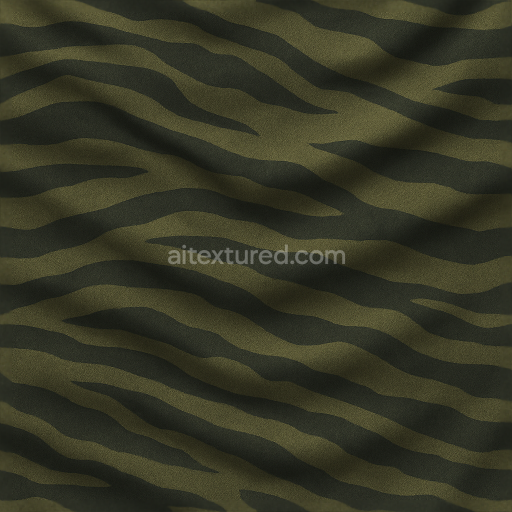
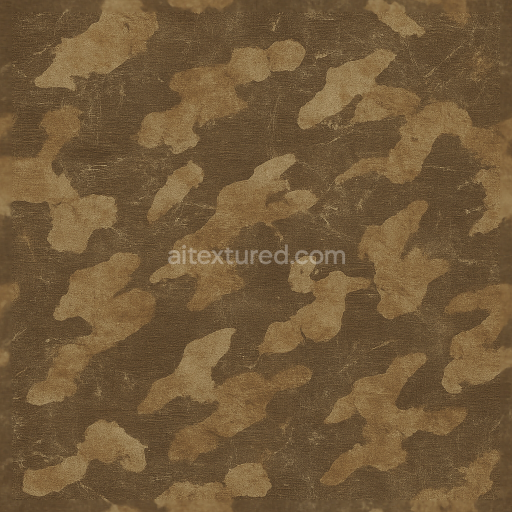
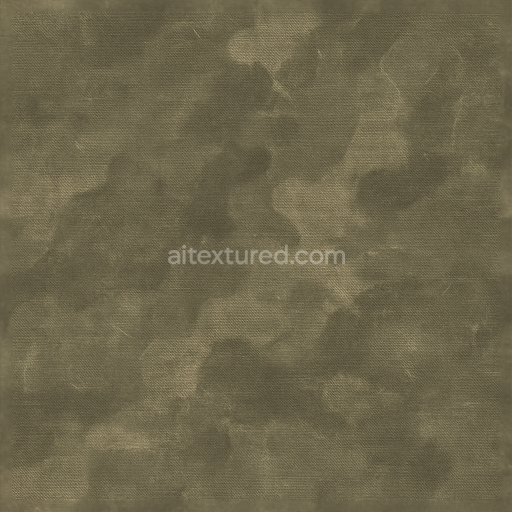
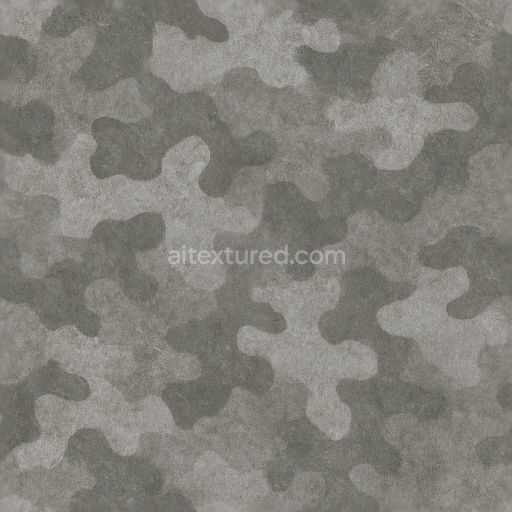
Camouflage Netting Fabric With Blurry Shapes And Soft Edges
Seamless texture (tileable) · PNG, WEBP, PBR ZIP. License: AITextured Free Commercial License (FCL) v1.1. Free personal and commercial use. Raw resale, standalone redistribution, mirroring/scraping, competing asset packs, and AI/ML training are not allowed without written permission. Attribution is not required, but appreciated..
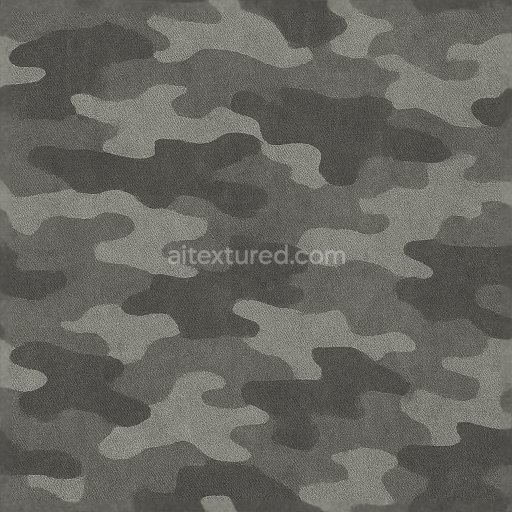
| ID | seamless-3d-texture-pbr-8k-digital-camo-fabric-with-pixelated-micro-pattern |
|---|---|
| Category | Camouflage |
| Formats | PNG, WEBP, PBR ZIP |
| Size | 1k (1024x1024px), 2k (2048x2048px), 4k (4096x4096px), 8k (8192x8192px) |
| Color | sRGB |
| Tileable | Yes |
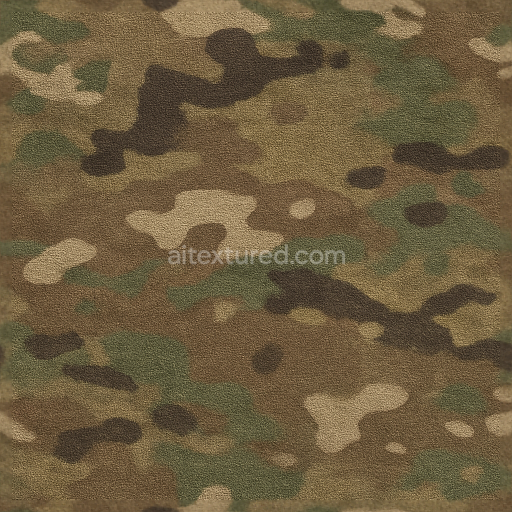
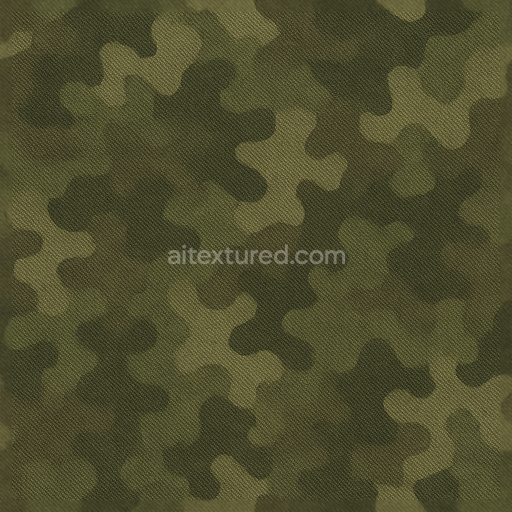
This seamless 3D texture showcases a high-quality digital camo fabric rendered in 8K resolution designed to emulate the intricate details of ripstop material commonly used in tactical gear and modern military uniforms. The base substrate is a durable polymer fabric woven with reinforced fibers arranged in a grid pattern to prevent tearing typical of ripstop textiles. The pixelated micro pattern disrupts the traditional camo silhouette with subtle blending of gray tones and muted colors creating a versatile camouflage effect suitable for urban and mixed environments. Pigments embedded within the fibers provide consistent coloration while a matte finish with a slightly rough surface texture enhances tactile realism and simulates the fabric’s natural wear and porosity over time.
Within the PBR workflow the BaseColor/Albedo channel carries the precise digital camo pattern with accurate color representation of the gray and blending hues. The Normal map replicates the fine weave and ripstop grid texture adding depth and subtle surface irregularities that catch light realistically. Roughness is tuned to a medium-high level reflecting the fabric’s matte non-reflective nature without glossiness reinforcing its tactical purpose. The Metallic channel is kept near zero consistent with non-metallic textile materials while Ambient Occlusion highlights the micro crevices between fibers enhancing shadowing and depth perception. Height/Displacement maps subtly emphasize the ripstop threads and fabric folds contributing to an authentic three-dimensional appearance in close-up renders.
Optimized at an impressive 8K resolution this digital camo seamless 3D texture is fully compatible and ready for use in Blender Unreal Engine and Unity providing artists and developers with extreme detail for realistic tactical renders. For best results it is advisable to adjust the UV scale to maintain the micro pattern’s integrity without pixelation and to fine-tune the roughness parameter depending on lighting conditions to achieve the desired fabric reflectivity. This texture is ideal for enhancing 3D models of military uniforms gear and equipment requiring advanced realistic camouflage patterns that hold up under scrutiny in both close-up and wide-angle shots.
Import the texture maps into Blender with sRGB color space for albedo/base color and Non-Color for normal, roughness, metallic, AO, height, and ORM maps. Connect normal maps through a Normal Map node, then adjust UV scale with a Mapping node so the material repeats naturally on your model.
For the full step-by-step setup, see How to Use Seamless Textures in Blender. Browse related material examples in wood, concrete, and metal.
Yes. This texture is designed as a seamless tileable PBR material, so it can repeat across large surfaces without visible borders.
You can download PNG/WEBP versions and use 1K, 2K, 4K and 8K download options when available on the page.
Yes. The download options and engine-mapped ZIP workflow are designed for Blender, Unreal Engine, Unity Standard, URP and HDRP material pipelines.
Yes. The texture is available under the AITextured free commercial license. Review the license page for redistribution and AI-training restrictions.

Generate, preview, and export seamless PBR materials for Blender, Unity, and Unreal Engine—directly in your browser.
AI text-to-texture: type a prompt and get a seamless, tileable base image ready for PBR workflows (great starting point for materials).
Create a full PBR set (Normal, Roughness, AO, Metallic, etc.) from a single image. Seamless and tiling-friendly.
Instant WebGL viewer: inspect materials on a sphere, plane, and cube. Check tiling and lighting in real time.
Re-packages maps per engine: Unreal (BaseColor + ORM), Unity (Mask/MetallicSmoothness), Blender (separate channels).
PNG ↔ JPG ↔ SVG: fast convert, SVG rasterize, embed/trace options, quality & background controls.