
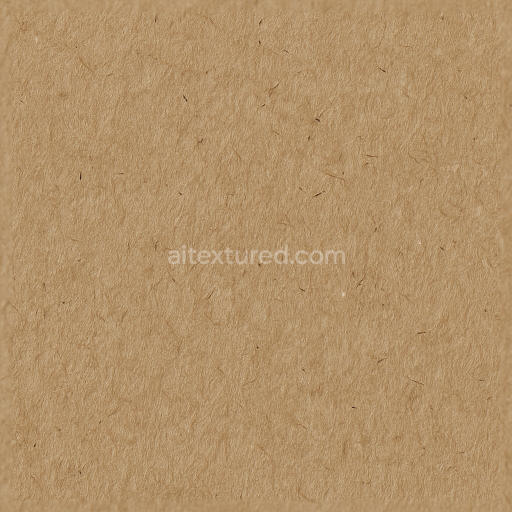
Featuring Cardboard Warp With Fiber Orientation And Surface Variation
Seamless texture (tileable) · PNG, WEBP, PBR ZIP. License: AITextured Free Commercial License (FCL) v1.1. Free personal and commercial use. Raw resale, standalone redistribution, mirroring/scraping, competing asset packs, and AI/ML training are not allowed without written permission. Attribution is not required, but appreciated..

| ID | seamless-3d-texture-pbr-8k-of-cardboard-fiber-with-cardboard-fluting-and-layered-surface-details |
|---|---|
| Category | Cardboard |
| Formats | PNG, WEBP, PBR ZIP |
| Size | 1k (1024x1024px), 2k (2048x2048px), 4k (4096x4096px), 8k (8192x8192px) |
| Color | sRGB |
| Tileable | Yes |
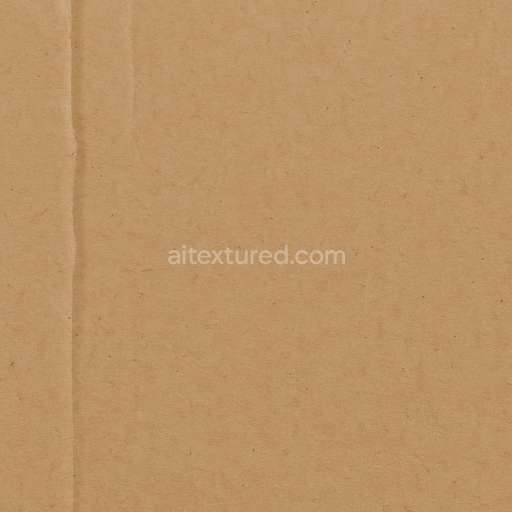
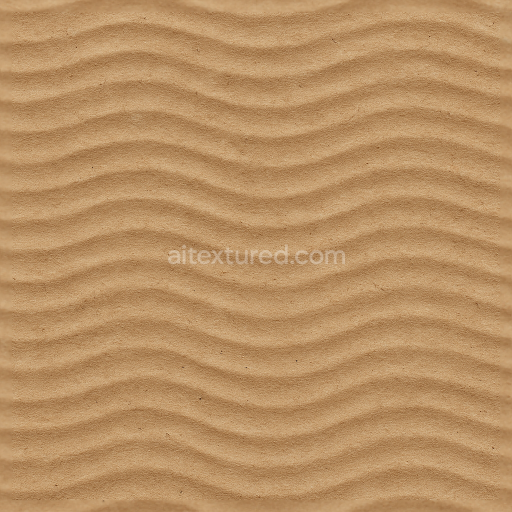
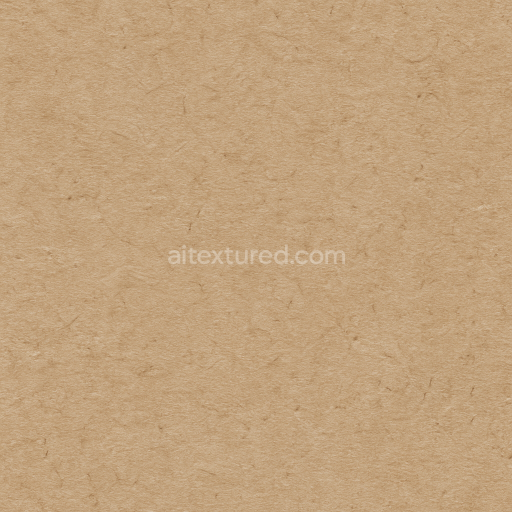
This seamless 8K PBR texture showcases the complex materiality of natural cardboard emphasizing the intricate cardboard fiber network combined with distinct cardboard fluting and layered structural details. Cardboard is fundamentally composed of cellulose fibers derived from wood pulp bonded together with mild adhesives to form a lightweight yet sturdy substrate. The texture captures the characteristic sandwich-like geometry of cardboard layers: flat outer linerboards enclosing corrugated fluting that creates the signature ridged pattern. This corrugated form not only contributes to the material's mechanical strength but also generates pronounced surface undulations and shadows which are accurately represented in the height and normal maps.
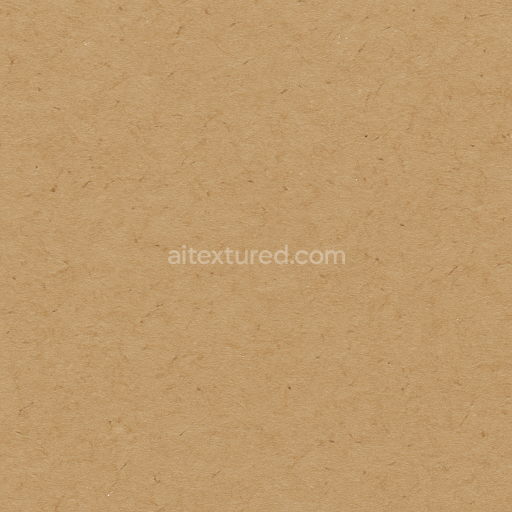
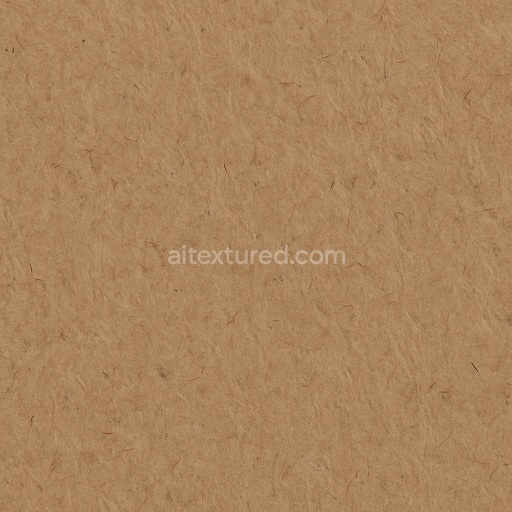
The surface exhibits subtle natural variations in color and grain reflecting the unbleached pulp fiber’s earthy beige tones and occasional flecks of raw fiber. These organic colorations translate to the BaseColor channel conveying a warm muted palette without artificial pigments. The roughness map reflects a moderately coarse finish typical of untreated cardboard with uneven fiber density and minor surface porosity that affects light diffusion. The metallic channel remains neutral as cardboard lacks metallic elements while the ambient occlusion map accentuates crevices between fluted layers and fiber clusters enhancing depth perception in 3D renders.
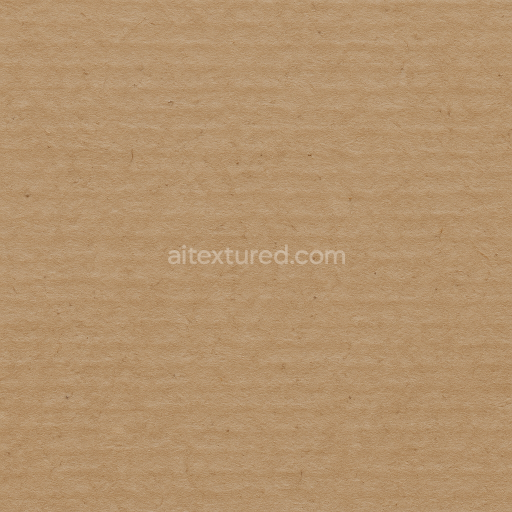
In terms of form the texture replicates the laminated architecture of cardboard where multiple flat sheets are glued to the corrugated core creating visible layering lines and subtle edge wear. The fibrous structure is detailed enough to reveal individual pulp strands woven into the paper sheets contributing to a tactile surface quality. This texture is optimized for use in advanced rendering environments such as Blender Unreal Engine and Unity supporting high-fidelity material workflows with detailed normal height and roughness maps. The 8K resolution ensures crisp details even at close camera distances preserving the authenticity of cardboard’s layered ridges and grain patterns.
For practical implementation it is advisable to carefully adjust the UV scale to maintain realistic proportions of the fluting ridges relative to model size. Tuning the roughness map can simulate different cardboard finishes from slightly glossy coated cartons to raw matte packaging surfaces. Combining height and normal maps with subtle parallax occlusion can enhance the perceived depth of the corrugated structure without excessive geometry. This texture delivers a versatile and physically accurate representation of cardboard surfaces suitable for product visualization packaging design and environment modeling where detailed fibrous materiality is required.
Import the texture maps into Blender with sRGB color space for albedo/base color and Non-Color for normal, roughness, metallic, AO, height, and ORM maps. Connect normal maps through a Normal Map node, then adjust UV scale with a Mapping node so the material repeats naturally on your model.
For the full step-by-step setup, see How to Use Seamless Textures in Blender. Browse related material examples in wood, concrete, and metal.
Yes. This texture is designed as a seamless tileable PBR material, so it can repeat across large surfaces without visible borders.
You can download PNG/WEBP versions and use 1K, 2K, 4K and 8K download options when available on the page.
Yes. The download options and engine-mapped ZIP workflow are designed for Blender, Unreal Engine, Unity Standard, URP and HDRP material pipelines.
Yes. The texture is available under the AITextured free commercial license. Review the license page for redistribution and AI-training restrictions.

Generate, preview, and export seamless PBR materials for Blender, Unity, and Unreal Engine—directly in your browser.
AI text-to-texture: type a prompt and get a seamless, tileable base image ready for PBR workflows (great starting point for materials).
Create a full PBR set (Normal, Roughness, AO, Metallic, etc.) from a single image. Seamless and tiling-friendly.
Instant WebGL viewer: inspect materials on a sphere, plane, and cube. Check tiling and lighting in real time.
Re-packages maps per engine: Unreal (BaseColor + ORM), Unity (Mask/MetallicSmoothness), Blender (separate channels).
PNG ↔ JPG ↔ SVG: fast convert, SVG rasterize, embed/trace options, quality & background controls.