Seamless Cardboard 004 by Textures - PBR 3D Texture (8K ready)
Seamless texture (tileable) · PNG, WEBP, PBR ZIP. License: AITextured Free Commercial License (FCL) v1.1. Free personal and commercial use. Raw resale, standalone redistribution, mirroring/scraping, competing asset packs, and AI/ML training are not allowed without written permission. Attribution is not required, but appreciated..

| ID | seamless-3d-texture-pbr-8k-of-recycled-cardboard-with-visible-cardboard-folds-and-fiber-strands |
|---|---|
| Category | Cardboard |
| Formats | PNG, WEBP, PBR ZIP |
| Size | 1k (1024x1024px), 2k (2048x2048px), 4k (4096x4096px), 8k (8192x8192px) |
| Color | sRGB |
| Tileable | Yes |
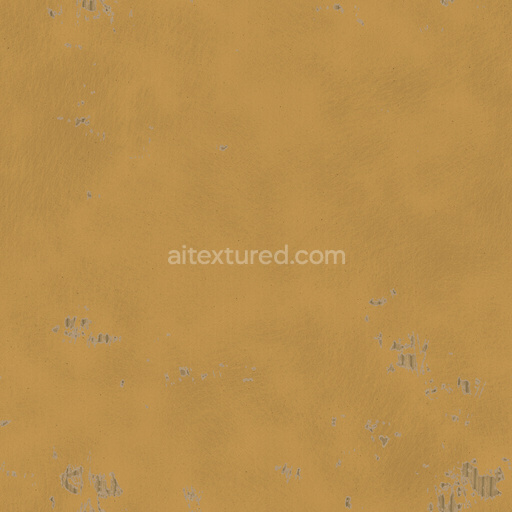
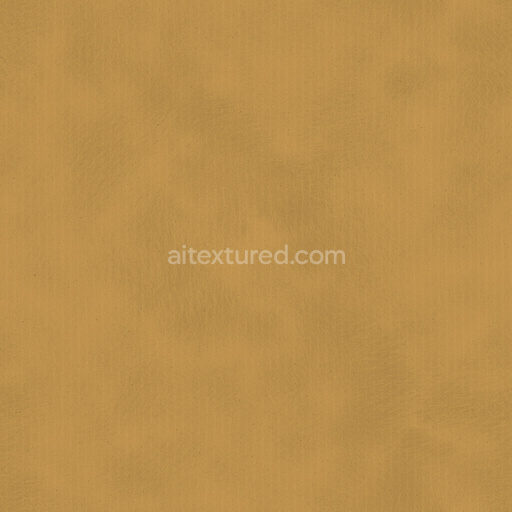
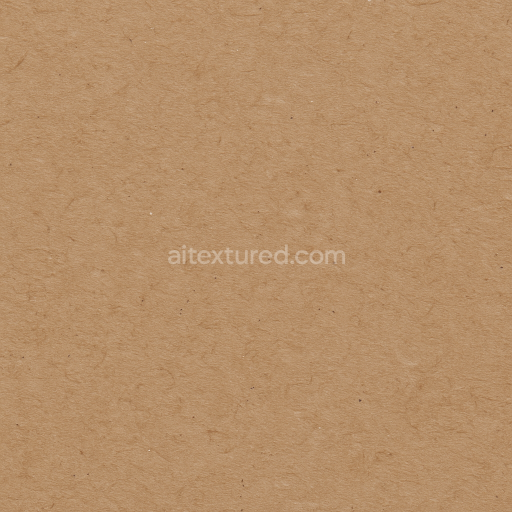
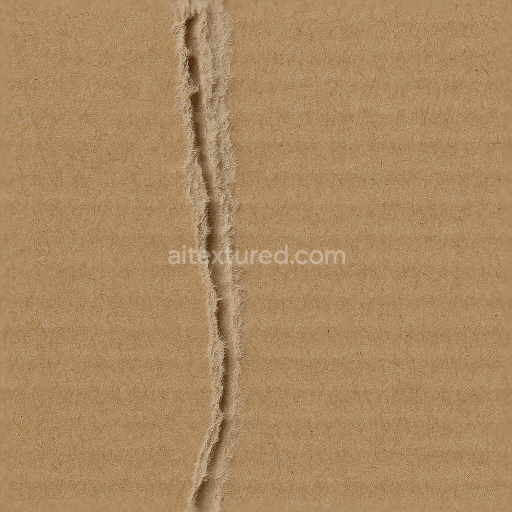
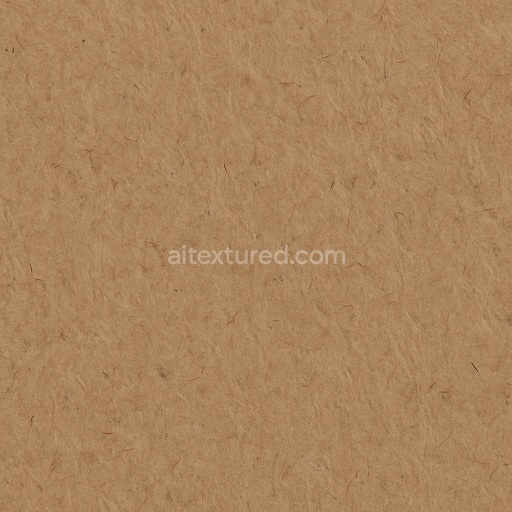
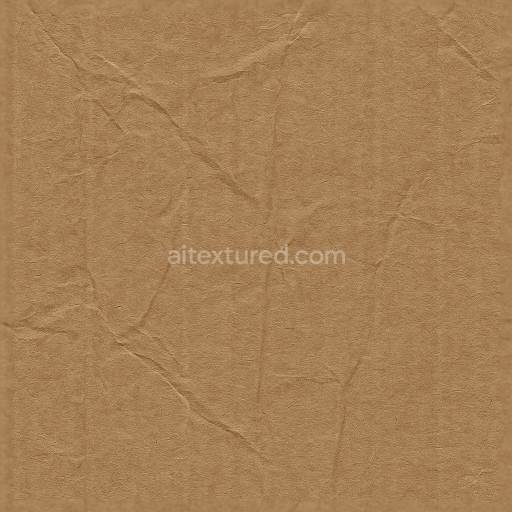
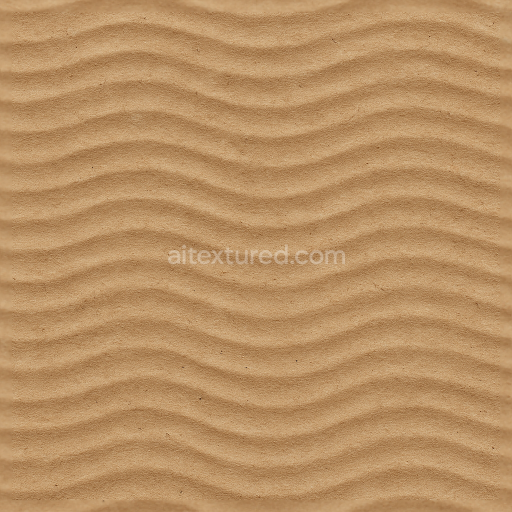
This seamless 8K PBR texture captures the intricate details of recycled cardboard emphasizing its fibrous composition and characteristic surface folds. The material primarily consists of densely packed cardboard pulp fibers which create a rough yet structured substrate. These fibers are naturally intertwined and layered resulting in a slightly porous surface that exhibits subtle variations in thickness and density. The visible cardboard grain follows a predominantly linear orientation shaped by the pulp’s manufacturing process while the random fiber strands and occasional folds add organic complexity to the texture’s form. This interplay of fibers and folds reflects the natural wear and compressions typical of recycled cardboard sheets giving the texture a tactile and authentic feel.
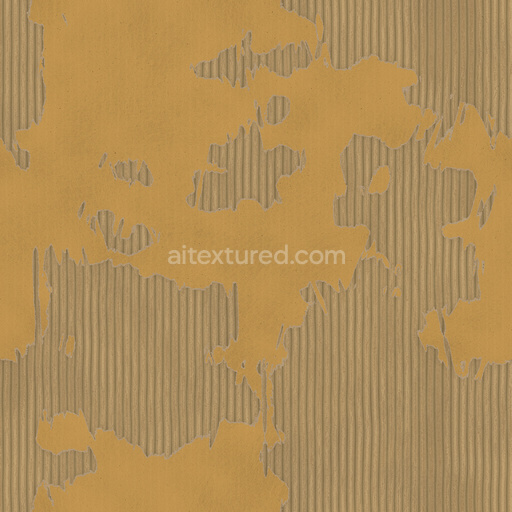
The surface finish of this material is matte and uncoated preserving the raw natural appearance of recycled cardboard without any lamination or gloss. Its coloration is a muted blend of earthy browns beige tones and off-white fiber highlights revealing the presence of both virgin and reclaimed pulp fibers. These subtle color variations correspond closely to the BaseColor (Albedo) map capturing the material’s inherent heterogeneity. In the Normal and Height maps the detailed fiber strands and surface folds are carefully represented providing depth and dimensionality that enhance the perception of roughness and irregularity. The Roughness map reflects the cardboard’s generally coarse texture with slight variations where compressed folds appear smoother while the Metallic map remains near zero as cardboard is a non-metallic organic material. Ambient Occlusion adds natural shading to fiber clusters and crevices emphasizing the layered structure and enhancing realism.
Geometrically the texture exhibits a subtle laminated pattern formed by overlapping pulp fiber layers interspersed with natural creases and indentations. These folds are irregular but follow the overall planar form of the cardboard sheet creating a seamless tile that works well for repeated surfaces. The texture’s porous quality and visible grain make it ideal for simulating environmental effects such as dirt accumulation and wear over time. Its neutral lighting setup and seamless tiling ensure compatibility with physically based rendering workflows in Blender Unreal Engine and Unity supporting detailed close-ups as well as large-scale applications without noticeable repetition or distortion.
For practical use it is recommended to carefully adjust the UV scale to match the intended model size as the high-resolution 8K detail can reveal excessive repetition if tiled too frequently. Additionally fine-tuning the roughness values can help balance the matte finish while preserving the subtle highlights on fiber strands and folds. When layering this texture in a PBR material setup blending the height map with parallax or normal maps can enhance depth perception especially in scenes requiring close camera interaction or realistic light scattering over the natural fiber surface.
Import the texture maps into Blender with sRGB color space for albedo/base color and Non-Color for normal, roughness, metallic, AO, height, and ORM maps. Connect normal maps through a Normal Map node, then adjust UV scale with a Mapping node so the material repeats naturally on your model.
For the full step-by-step setup, see How to Use Seamless Textures in Blender. Browse related material examples in wood, concrete, and metal.
Yes. This texture is designed as a seamless tileable PBR material, so it can repeat across large surfaces without visible borders.
You can download PNG/WEBP versions and use 1K, 2K, 4K and 8K download options when available on the page.
Yes. The download options and engine-mapped ZIP workflow are designed for Blender, Unreal Engine, Unity Standard, URP and HDRP material pipelines.
Yes. The texture is available under the AITextured free commercial license. Review the license page for redistribution and AI-training restrictions.


Generate, preview, and export seamless PBR materials for Blender, Unity, and Unreal Engine—directly in your browser.
AI text-to-texture: type a prompt and get a seamless, tileable base image ready for PBR workflows (great starting point for materials).
Create a full PBR set (Normal, Roughness, AO, Metallic, etc.) from a single image. Seamless and tiling-friendly.
Instant WebGL viewer: inspect materials on a sphere, plane, and cube. Check tiling and lighting in real time.
Re-packages maps per engine: Unreal (BaseColor + ORM), Unity (Mask/MetallicSmoothness), Blender (separate channels).
PNG ↔ JPG ↔ SVG: fast convert, SVG rasterize, embed/trace options, quality & background controls.