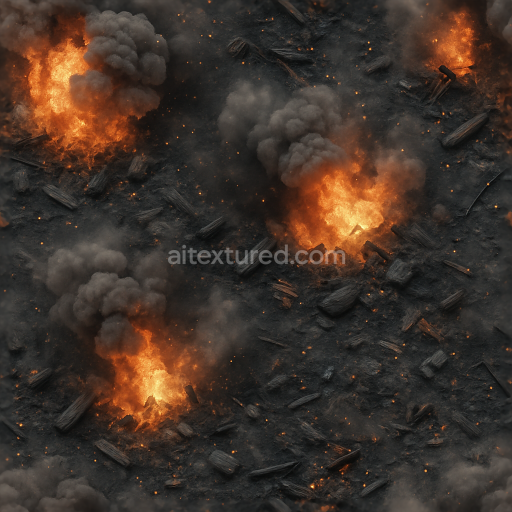
Chemical Blast With Gas Explosion And Flame Burst Details In Photorealistic 8K PBR
Seamless texture (tileable) · PNG, WEBP, PBR ZIP. License: AITextured Free Commercial License (FCL) v1.1. Free personal and commercial use. Raw resale, standalone redistribution, mirroring/scraping, competing asset packs, and AI/ML training are not allowed without written permission. Attribution is not required, but appreciated..

| ID | seamless-3d-texture-of-incendiary-effect-with-blazing-fire-sparks-and-energy-burst-in-vivid-8k-pbr-quality |
|---|---|
| Category | Explosion |
| Formats | PNG, WEBP, PBR ZIP |
| Size | 1k (1024x1024px), 2k (2048x2048px), 4k (4096x4096px), 8k (8192x8192px) |
| Color | sRGB |
| Tileable | Yes |
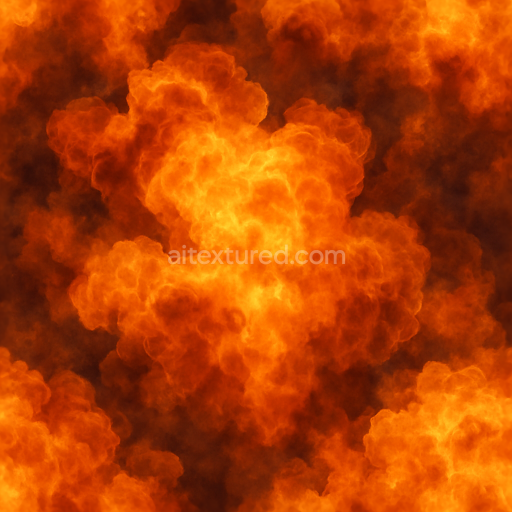
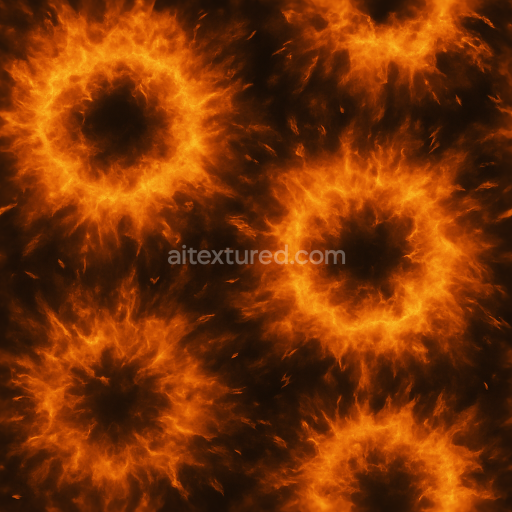
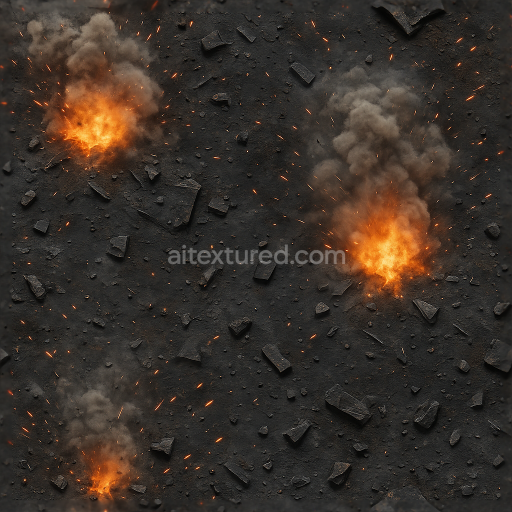
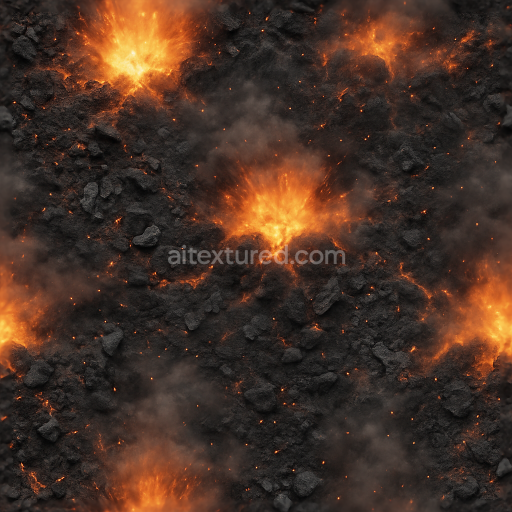
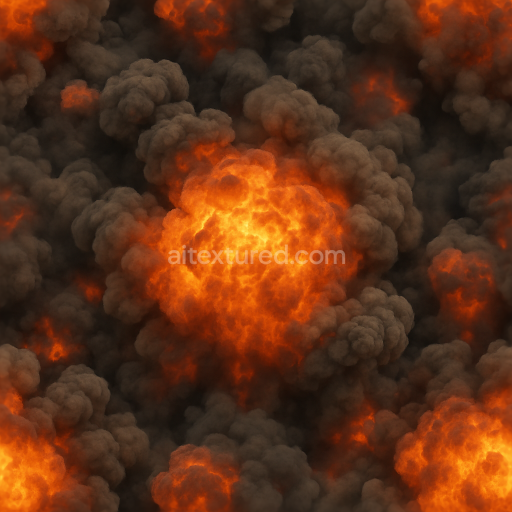
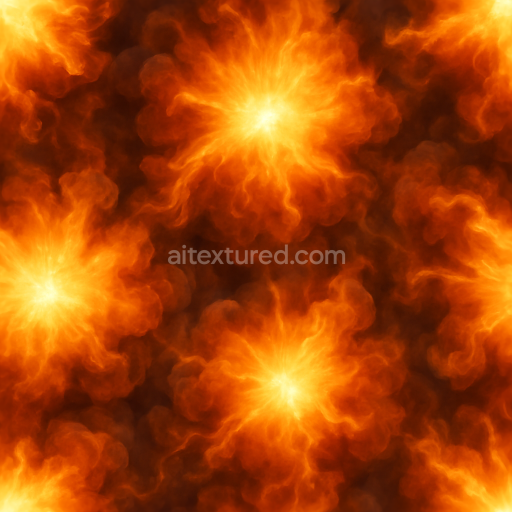
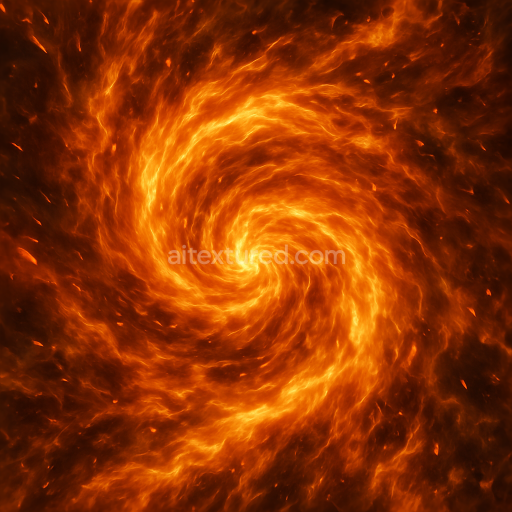
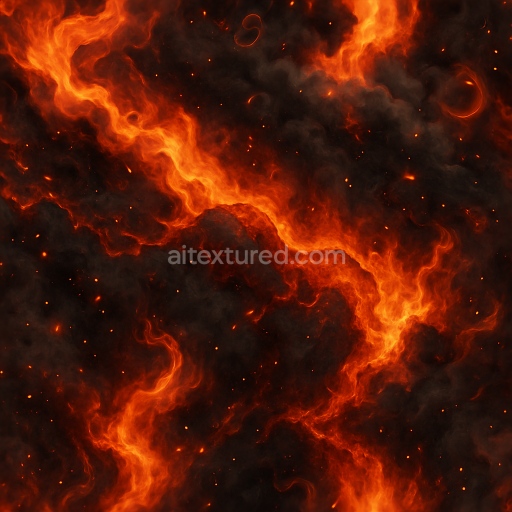
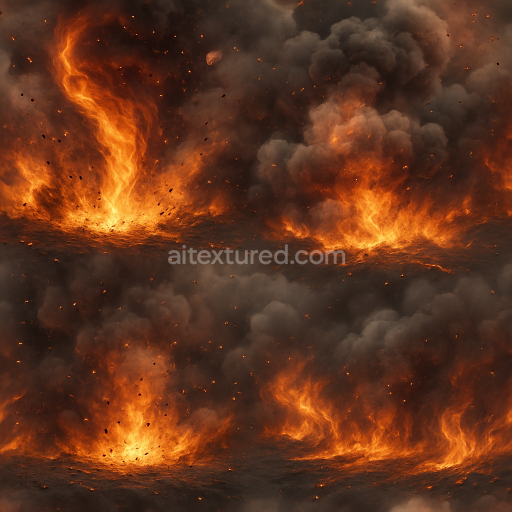
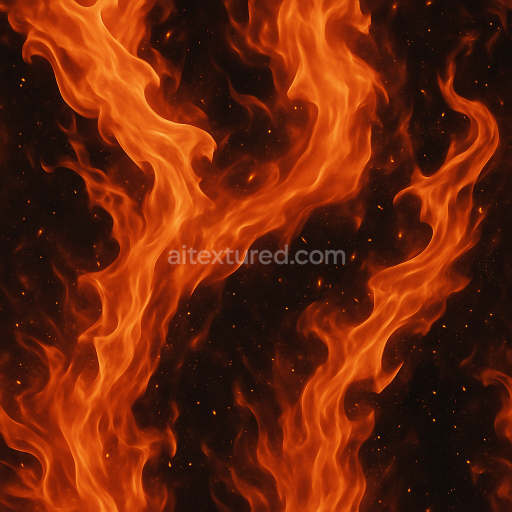
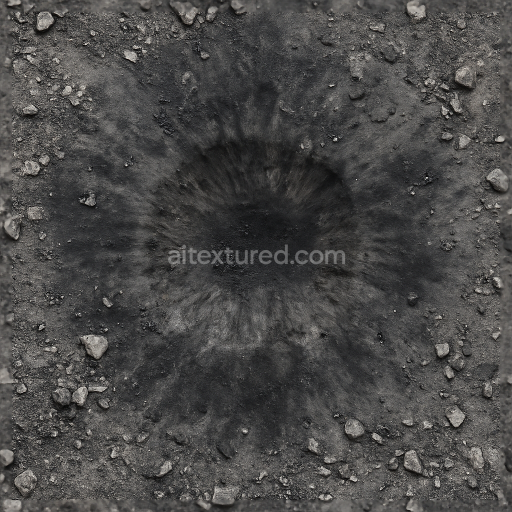
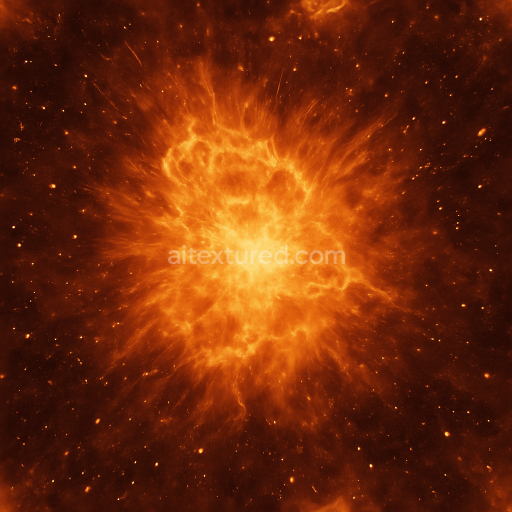
This seamless 3D texture portrays an incendiary effect characterized by vivid blazing fire sparks and dynamic energy bursts rendered at an impressive 8K resolution to capture every intricate detail. The underlying material can be conceptualized as a volatile composite substrate akin to a scorched porous mineral base interspersed with fragmented carbonized fibers and granular ash particles. These aggregates simulate the chaotic dispersion of fire embers and thermal scorch marks forming a complex irregular geometric pattern that mimics the unpredictable flow and flare of an explosive burst. The overall form is non-repetitive yet seamlessly tileable with organic veining and fissures that replicate the natural fracturing caused by intense heat and combustion.
In terms of composition the texture assumes a layered structure where a semi-matte oxidized surface finish overlays a slightly roughened binder matrix—representing residual char and soot deposits. Pigments range from deep oranges and fiery reds to glowing yellows and subtle whites blending to create a dynamic color gradient that enhances the impression of incandescence. The substrate’s porosity is moderate allowing light to scatter realistically within the fiery embers while the surface roughness varies to reflect areas of intense heat versus cooler cooled ash. This complexity is expertly translated into the PBR workflow: the BaseColor (Albedo) delivers the vibrant color palette of the fire and embers; the Normal map encodes fine surface details like the ridges and cracks formed by thermal stress; Roughness varies to simulate the transition from glossy flare bursts to matte scorch patches; Metallic is kept minimal to none consistent with non-metallic mineral and ash materials; Ambient Occlusion enhances depth in crevices and fissures; and Height/Displacement maps provide subtle relief for enhanced realism in close-up renders.
Designed for full compatibility with Blender Unreal Engine and Unity this texture is optimized for seamless tiling without visible repetition artifacts making it ideal for large-scale incendiary effects in 3D animations game environments and VFX sequences. The ultra-high 8K resolution ensures crisp detail retention even under close inspection or on high-density displays. Its albedo-only format uses neutral lighting to facilitate easy integration into diverse lighting conditions and rendering setups.
For practical application it is recommended to fine-tune the roughness map to balance glossiness and diffusion depending on the desired intensity of the fire flare. Additionally adjusting the UV scale can help control the apparent size of the sparks and embers for better visual coherence with the surrounding environment. Utilizing a combined approach of height and normal maps will enhance the perception of depth in energy bursts and thermal scorch details offering a more immersive and tactile surface experience in real-time engines or offline renders.
Import the texture maps into Blender with sRGB color space for albedo/base color and Non-Color for normal, roughness, metallic, AO, height, and ORM maps. Connect normal maps through a Normal Map node, then adjust UV scale with a Mapping node so the material repeats naturally on your model.
For the full step-by-step setup, see How to Use Seamless Textures in Blender. Browse related material examples in wood, concrete, and metal.
Yes. This texture is designed as a seamless tileable PBR material, so it can repeat across large surfaces without visible borders.
You can download PNG/WEBP versions and use 1K, 2K, 4K and 8K download options when available on the page.
Yes. The download options and engine-mapped ZIP workflow are designed for Blender, Unreal Engine, Unity Standard, URP and HDRP material pipelines.
Yes. The texture is available under the AITextured free commercial license. Review the license page for redistribution and AI-training restrictions.


Build, preview, and export seamless PBR materials. Generate full map sets from a single image, inspect them in a real-time WebGL viewer, and re-package maps for Unreal, Unity, and Blender—directly in your browser.
AI text-to-texture: type a prompt and get a seamless, tileable base image ready for PBR workflows (great starting point for materials).
Create a full PBR set (Normal, Roughness, AO, Metallic, etc.) from a single image. Seamless and tiling-friendly.
Instant WebGL viewer: inspect materials on a sphere, plane, and cube. Check tiling and lighting in real time.
Re-packages maps per engine: Unreal (BaseColor + ORM), Unity (Mask/MetallicSmoothness), Blender (separate channels).
PNG ↔ JPG ↔ SVG: fast convert, SVG rasterize, embed/trace options, quality & background controls.