
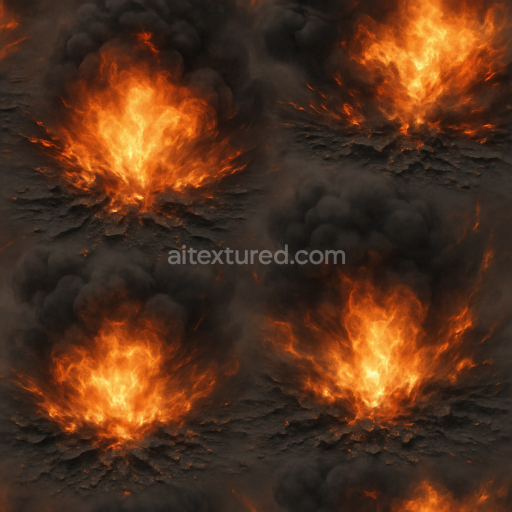
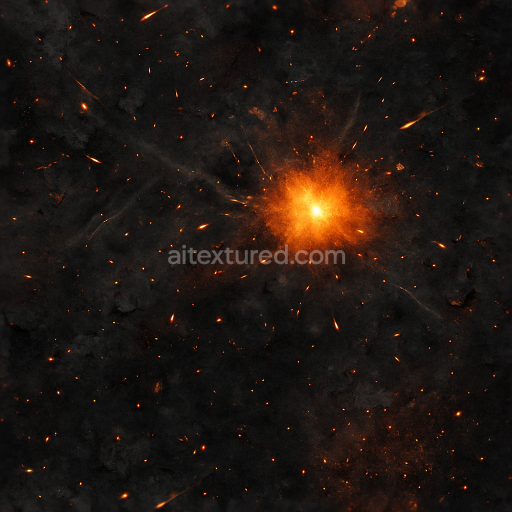
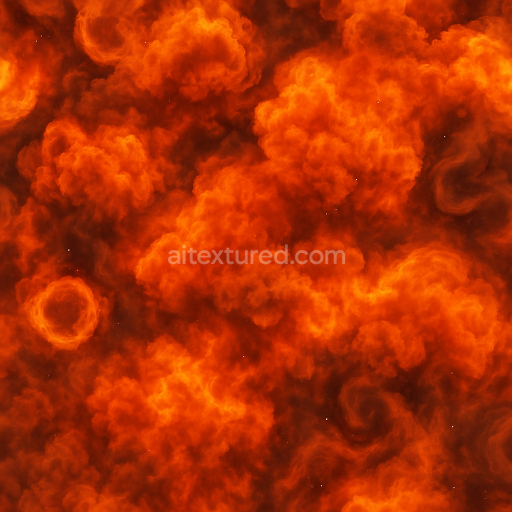
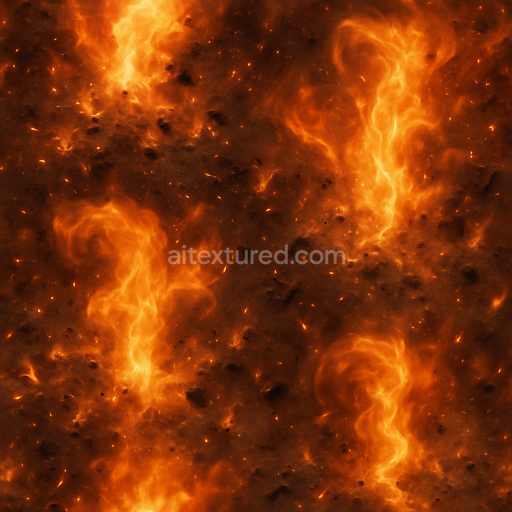
Charred Rubble And Burnt Ground With Blast Scorch Marks In Detailed 8K PBR Quality
Seamless texture (tileable) · PNG, WEBP, PBR ZIP. License: AITextured Free Commercial License (FCL) v1.1. Free personal and commercial use. Raw resale, standalone redistribution, mirroring/scraping, competing asset packs, and AI/ML training are not allowed without written permission. Attribution is not required, but appreciated..

| ID | seamless-3d-texture-of-explosive-dust-and-burnt-metal-debris-from-chemical-blast-in-photorealistic-8k-pbr |
|---|---|
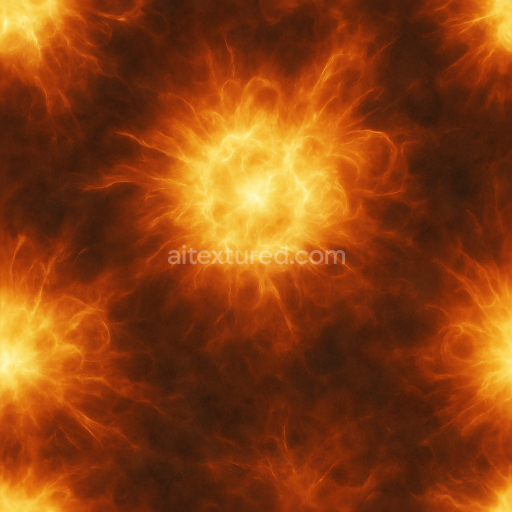
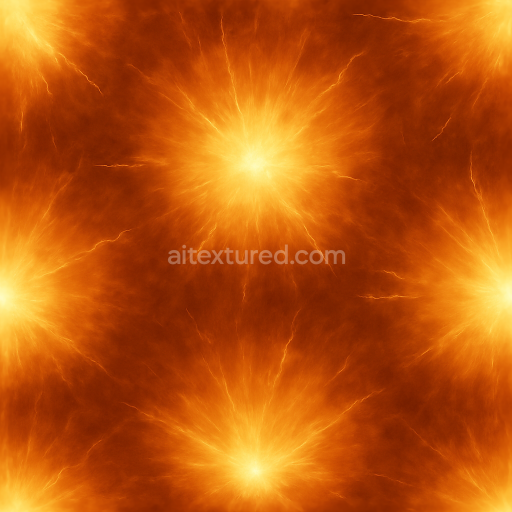
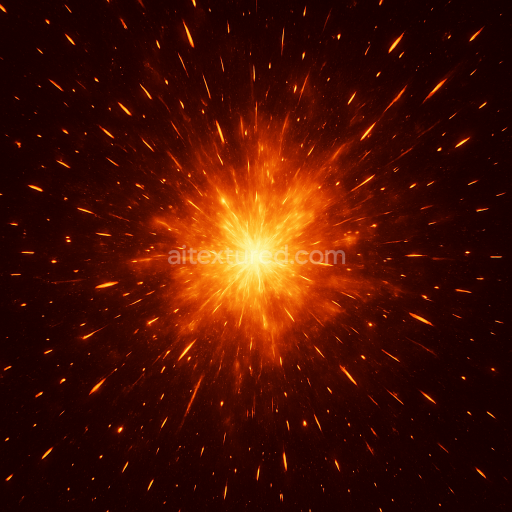
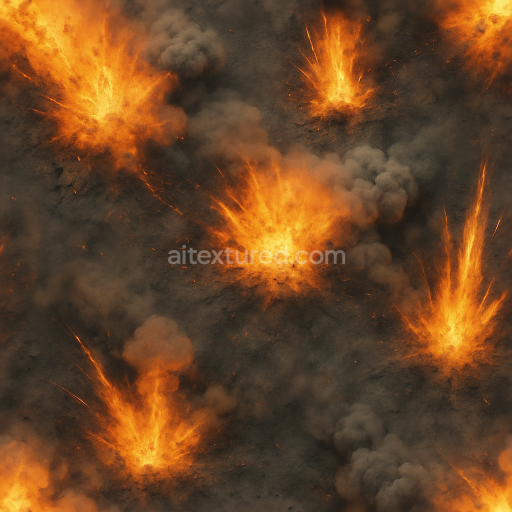
| Category | Explosion |
| Formats | PNG, WEBP, PBR ZIP |
| Size | 1k (1024x1024px), 2k (2048x2048px), 4k (4096x4096px), 8k (8192x8192px) |
| Color | sRGB |
| Tileable | Yes |
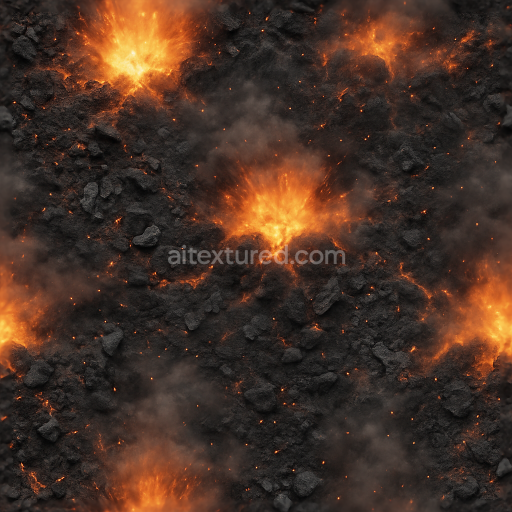
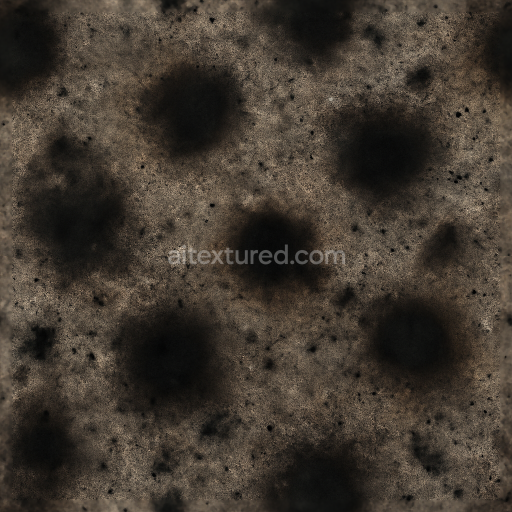
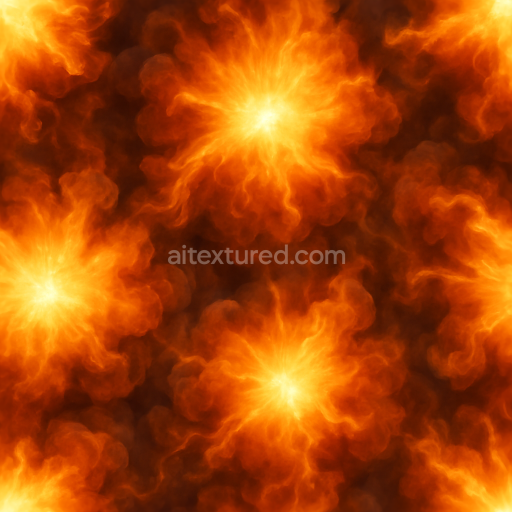
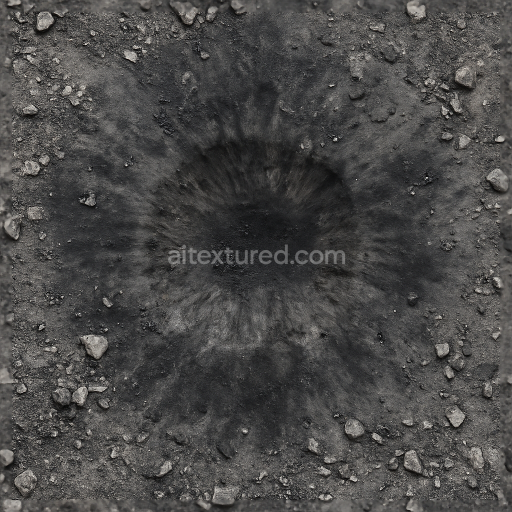
This seamless 3D texture captures the intricate aftermath of a chemical explosion combining layers of explosive dust with charred and burnt metal debris. The primary substrate appears as a mix of pulverized ground materials—consisting of a fine dusty aggregate of ash soot and oxidized soil particles—interspersed with twisted fragments of metal that bear the hallmarks of thermal damage. These metal shards display a rough irregular geometry with warped edges and crater-like indentations indicative of intense heat and mechanical stress. The overall form is a dense uneven rubble pattern where sharp metal debris contrasts against the granular powdery dust creating a complex interwoven surface that simulates a chaotic post-blast environment.
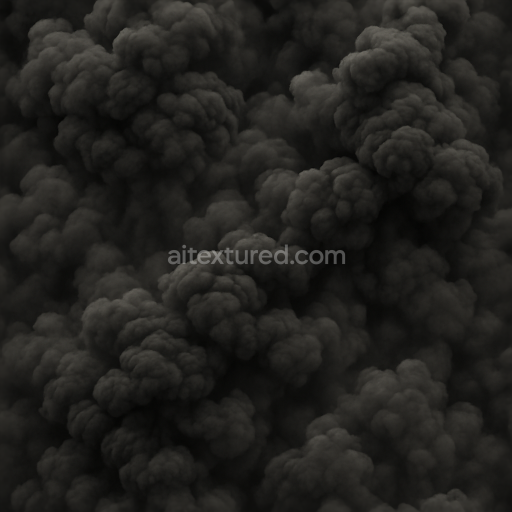
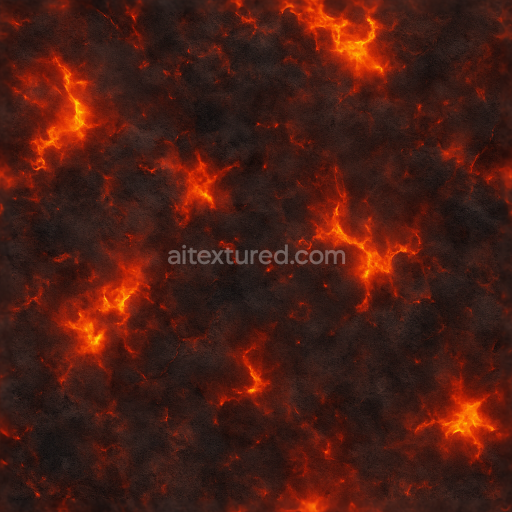
Materially the texture combines porous mineral dust with oxidized burnt steel elements. The dust substrate exhibits a matte highly diffuse finish with subtle microsurface variations reflecting the abrasive nature of ash and scorched earth. The burnt metal shows signs of oxidation and thermal stress featuring a charred surface layer with a slightly metallic sheen disrupted by corrosion and roughness variations. Coloration ranges from dark grays and blacks of incinerated material to rust-like browns and deep reds from oxidized metal with occasional hints of bluish thermal scorch. These color gradients and the interplay of surface finishes are mapped through the BaseColor (Albedo) channel while the Normal and Height maps emphasize the fine debris relief and metal warping. The Roughness channel varies from high roughness in dusty areas to lower roughness on exposed metal fragments adding realism to how light interacts with the surface. Metallic values are selectively assigned to metal debris enhancing the photorealism of the burnt fragments while Ambient Occlusion enriches shadow depth in crevices and layered rubble.
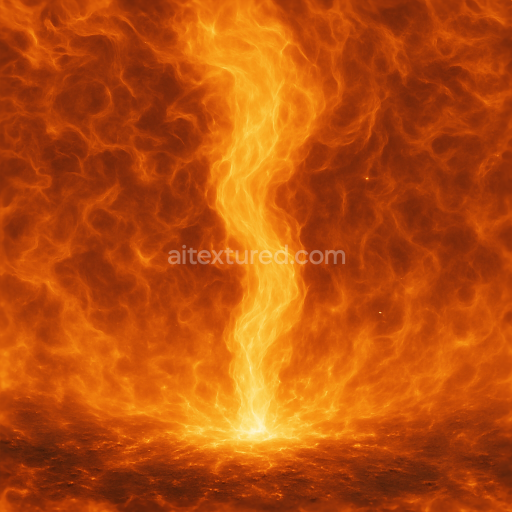
Rendered at an ultra-high 8K resolution this PBR texture provides exceptional detail suitable for close-up views in advanced rendering engines like Blender Unreal Engine and Unity. The seamless tiling ensures it can cover large surfaces without visible repetition making it ideal for creating expansive post-explosion scenes or environments requiring realistic blast damage. The height/displacement information supports parallax effects or tessellation adding three-dimensional depth to the rubble and metal debris while normal maps enhance subtle surface undulations.
For practical use it is recommended to carefully adjust the UV scale to avoid overly repetitive patterns in large-scale applications and to fine-tune the roughness channel to match specific lighting conditions—lower roughness values can simulate slightly polished burnt metal while higher values emphasize dusty matte areas. Blending the height map with normal maps in your material setup will improve surface realism particularly when viewed at grazing angles ensuring the texture maintains its photorealistic impact across various rendering environments.
Import the texture maps into Blender with sRGB color space for albedo/base color and Non-Color for normal, roughness, metallic, AO, height, and ORM maps. Connect normal maps through a Normal Map node, then adjust UV scale with a Mapping node so the material repeats naturally on your model.
For the full step-by-step setup, see How to Use Seamless Textures in Blender. Browse related material examples in wood, concrete, and metal.
Yes. This texture is designed as a seamless tileable PBR material, so it can repeat across large surfaces without visible borders.
You can download PNG/WEBP versions and use 1K, 2K, 4K and 8K download options when available on the page.
Yes. The download options and engine-mapped ZIP workflow are designed for Blender, Unreal Engine, Unity Standard, URP and HDRP material pipelines.
Yes. The texture is available under the AITextured free commercial license. Review the license page for redistribution and AI-training restrictions.
Build, preview, and export seamless PBR materials. Generate full map sets from a single image, inspect them in a real-time WebGL viewer, and re-package maps for Unreal, Unity, and Blender—directly in your browser.
AI text-to-texture: type a prompt and get a seamless, tileable base image ready for PBR workflows (great starting point for materials).
Create a full PBR set (Normal, Roughness, AO, Metallic, etc.) from a single image. Seamless and tiling-friendly.
Instant WebGL viewer: inspect materials on a sphere, plane, and cube. Check tiling and lighting in real time.
Re-packages maps per engine: Unreal (BaseColor + ORM), Unity (Mask/MetallicSmoothness), Blender (separate channels).
PNG ↔ JPG ↔ SVG: fast convert, SVG rasterize, embed/trace options, quality & background controls.