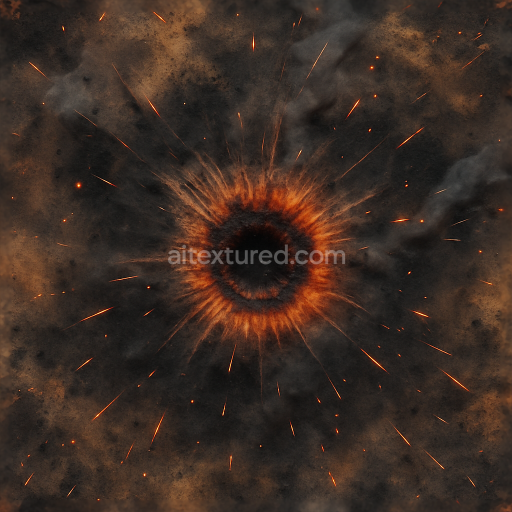
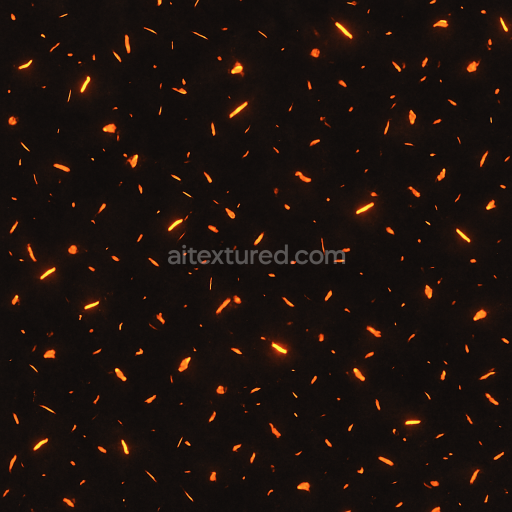
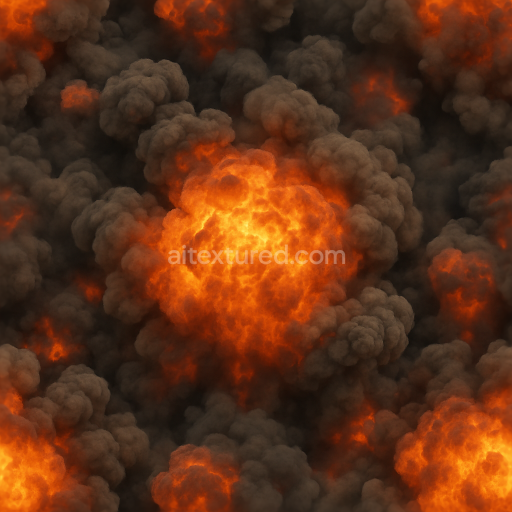
Seamless 8K PBR 3D texture of ash particles with spark shower and flame burst in explosion
Seamless texture (tileable) · PNG, WEBP, PBR ZIP. License: AITextured Free Commercial License (FCL) v1.1. Free personal and commercial use. Raw resale, standalone redistribution, mirroring/scraping, competing asset packs, and AI/ML training are not allowed without written permission. Attribution is not required, but appreciated..

| ID | seamless-3d-texture-illustrating-detonation-flash-with-shockwave-and-explosive-residue-in-crisp-8k-pbr |
|---|---|
| Category | Explosion |
| Formats | PNG, WEBP, PBR ZIP |
| Size | 1k (1024x1024px), 2k (2048x2048px), 4k (4096x4096px), 8k (8192x8192px) |
| Color | sRGB |
| Tileable | Yes |
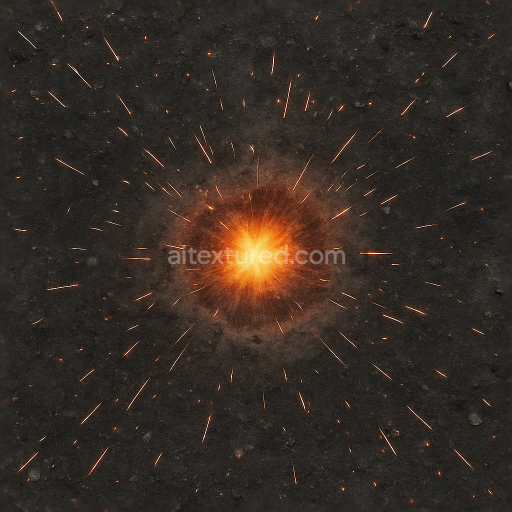
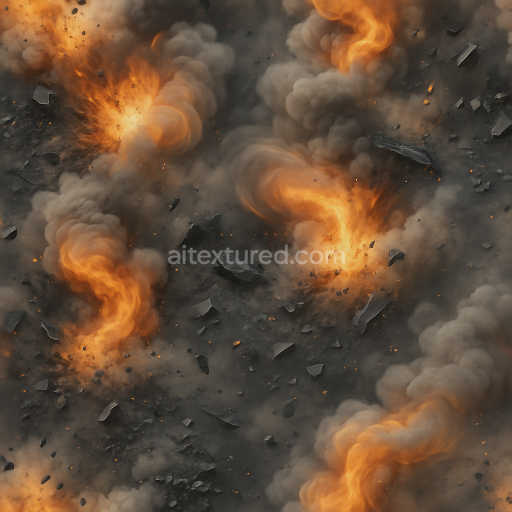
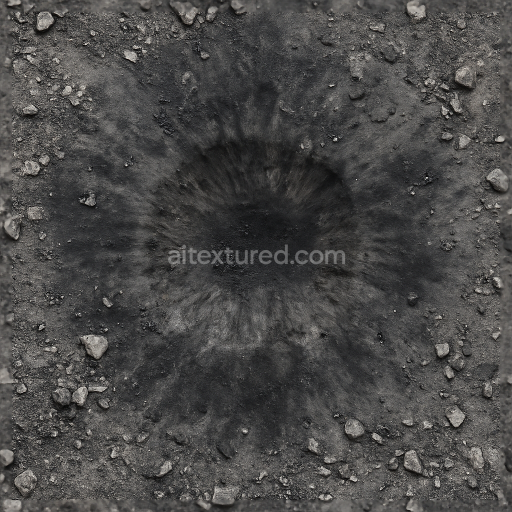
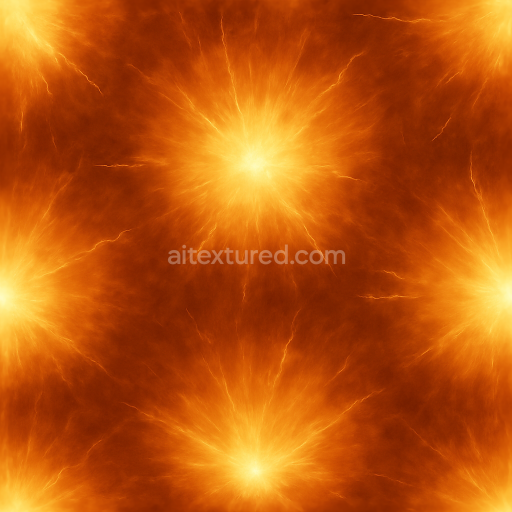
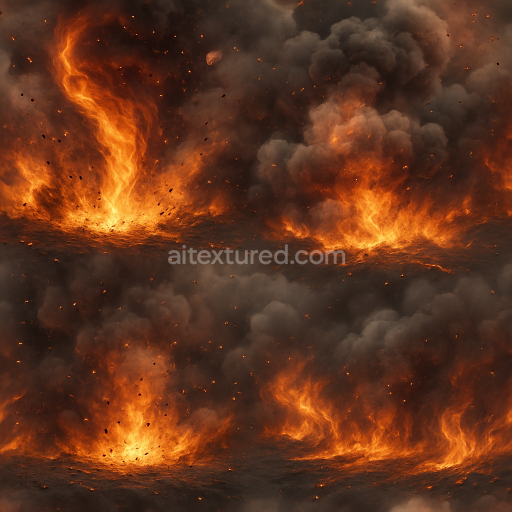
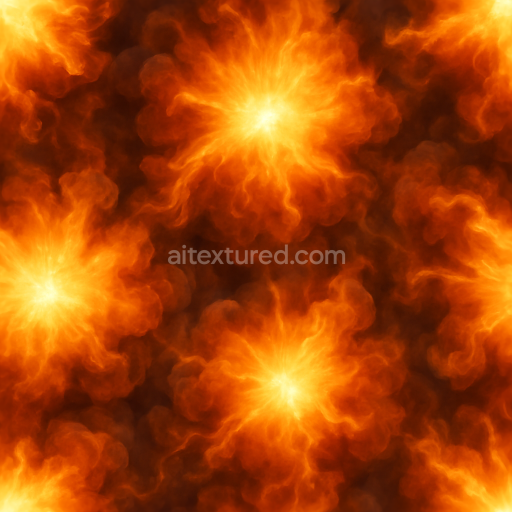
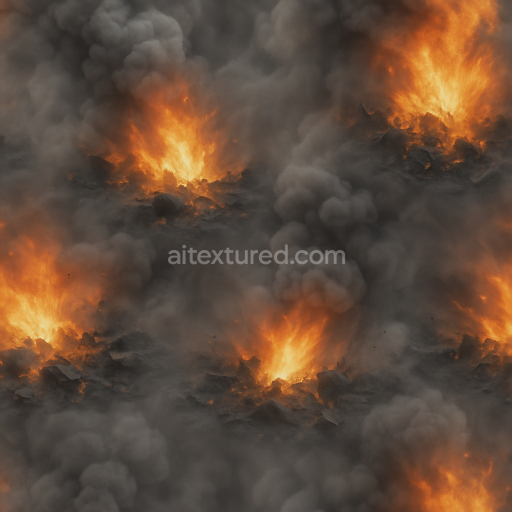
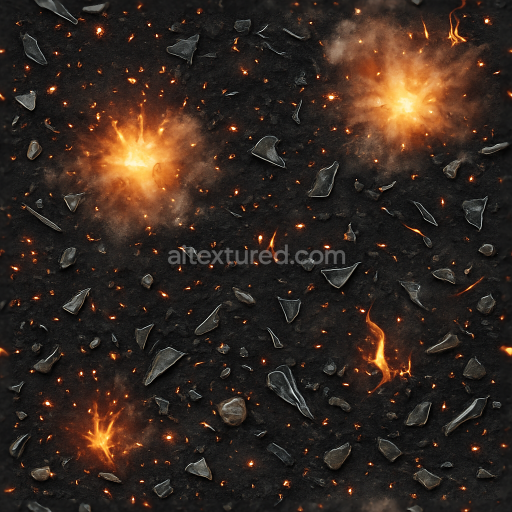
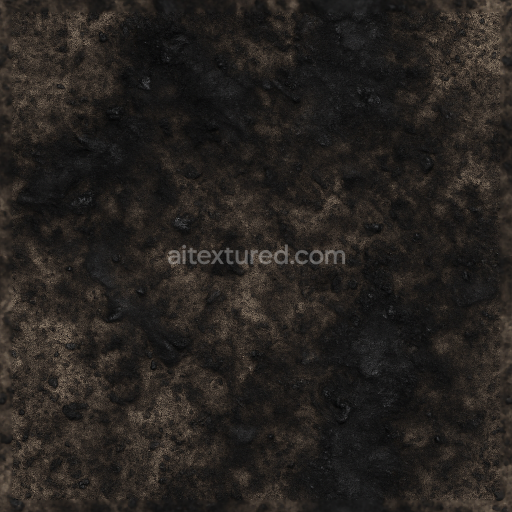
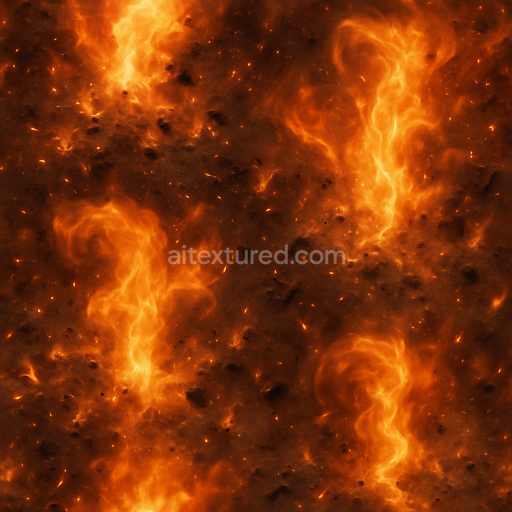
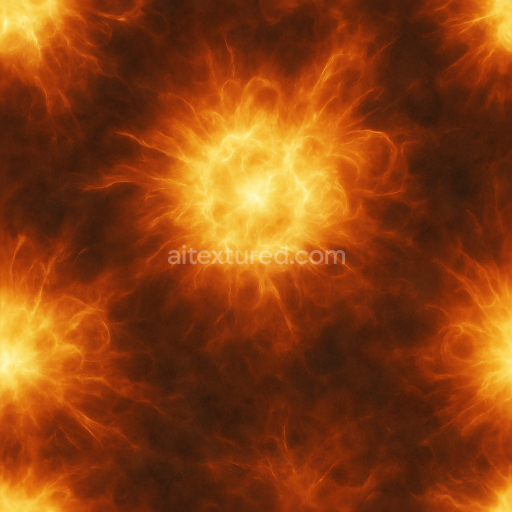
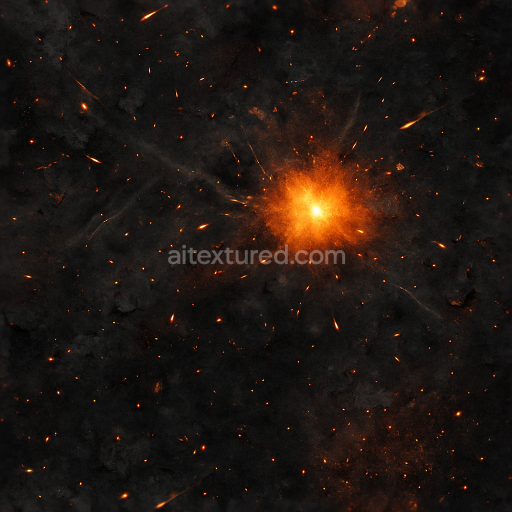
This seamless 3D texture meticulously represents the intense visual phenomena of a detonation flash complete with an expanding shockwave and scattered explosive residue. The underlying material mimics a composite of scorched metallic and carbonized mineral substrates reflecting the aftermath of a high-energy blast. The base surface appears as a fractured uneven alloy matrix embedded with fine particulate aggregates—blast fragments and ash-like grains—held together by a heat-fused silicate binder. This composition creates a rugged porous structure exhibiting subtle micro-cracks and thermal erosion typical of explosive impacts. The surface finish ranges from matte oxidized metal patches to areas with a faintly polished sheen where molten residues have resolidified producing varied reflectivity across the texture.
In terms of form the texture features a chaotic but continuous pattern of radial shockwave ripples emanating from the detonation center overlaid with irregular clusters of explosive residue and fragmented debris. These geometric distortions simulate pressure wave dynamics and energy bursts with fine gradations in height and displacement maps accentuating the three-dimensional relief of blast craters and scorched flares. The fire flare and thermal scorch zones display subtle gradations of warm pigmentations—deep oranges to smoky grays—contrasted against the cooler darkened metal tones. This intricate layering provides nuanced BaseColor (Albedo) data while the Normal and Height maps capture the crisp undulations and surface roughness variations caused by intense heat and mechanical stress.
The texture’s PBR channels are carefully balanced to enhance realism: the BaseColor channel conveys the complex coloration from scorched metals and charred mineral deposits; the Normal map defines sharp edges of blast fragments and shockwave ripples; Roughness varies from high (matte oxidized regions) to moderate (resolidified molten zones) avoiding uniformity; Metallic values are selectively applied to simulate exposed metal shards among the residue; Ambient Occlusion deepens crevices and overlapping debris for depth; and Height/Displacement maps emphasize volumetric distortion for enhanced parallax effects. This level of detail is captured at an 8K resolution ensuring crispness and fidelity even in close-up renders suitable for integration in Blender Unreal Engine and Unity workflows.
For practical usage it is recommended to adjust the UV scale to maintain the texture’s seamless radial flow without visible repetition especially in large-scale environments. Fine-tuning roughness can help balance between polished and matte areas depending on lighting conditions. Additionally blending the height map subtly with normal maps can improve depth perception without causing excessive geometry displacement which is beneficial for real-time applications. This texture is optimized primarily as an albedo-driven material with neutral lighting providing flexibility across diverse rendering pipelines and ensuring compatibility in various 3D visualization scenarios involving explosive effects.
Import the texture maps into Blender with sRGB color space for albedo/base color and Non-Color for normal, roughness, metallic, AO, height, and ORM maps. Connect normal maps through a Normal Map node, then adjust UV scale with a Mapping node so the material repeats naturally on your model.
For the full step-by-step setup, see How to Use Seamless Textures in Blender. Browse related material examples in wood, concrete, and metal.
Yes. This texture is designed as a seamless tileable PBR material, so it can repeat across large surfaces without visible borders.
You can download PNG/WEBP versions and use 1K, 2K, 4K and 8K download options when available on the page.
Yes. The download options and engine-mapped ZIP workflow are designed for Blender, Unreal Engine, Unity Standard, URP and HDRP material pipelines.
Yes. The texture is available under the AITextured free commercial license. Review the license page for redistribution and AI-training restrictions.

Build, preview, and export seamless PBR materials. Generate full map sets from a single image, inspect them in a real-time WebGL viewer, and re-package maps for Unreal, Unity, and Blender—directly in your browser.
AI text-to-texture: type a prompt and get a seamless, tileable base image ready for PBR workflows (great starting point for materials).
Create a full PBR set (Normal, Roughness, AO, Metallic, etc.) from a single image. Seamless and tiling-friendly.
Instant WebGL viewer: inspect materials on a sphere, plane, and cube. Check tiling and lighting in real time.
Re-packages maps per engine: Unreal (BaseColor + ORM), Unity (Mask/MetallicSmoothness), Blender (separate channels).
PNG ↔ JPG ↔ SVG: fast convert, SVG rasterize, embed/trace options, quality & background controls.