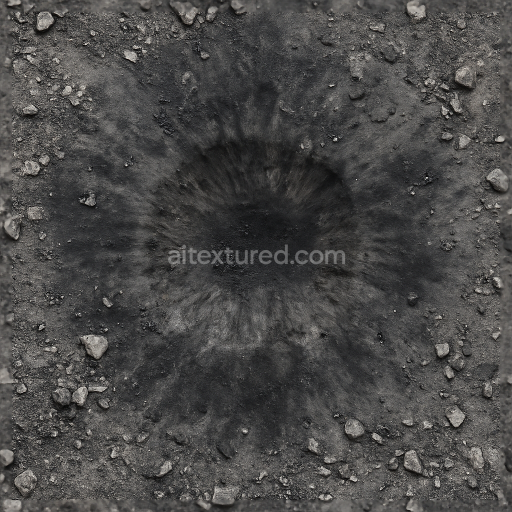
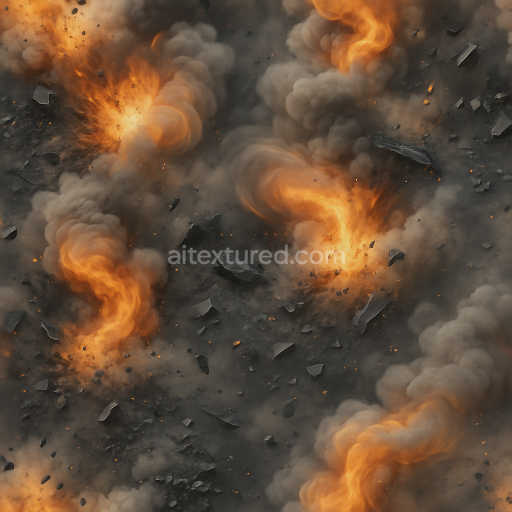
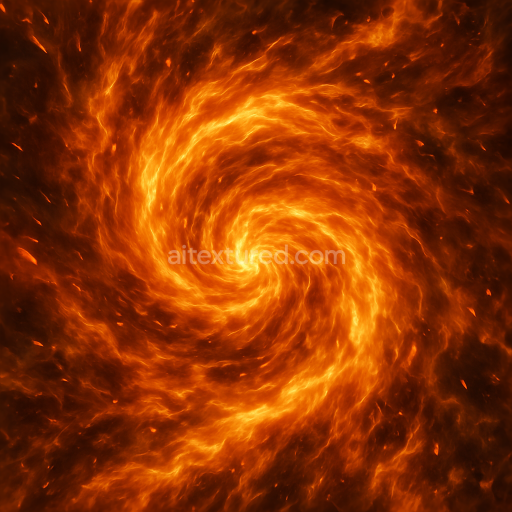
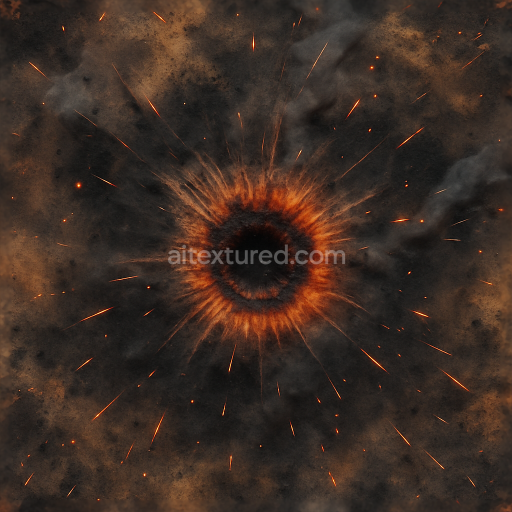
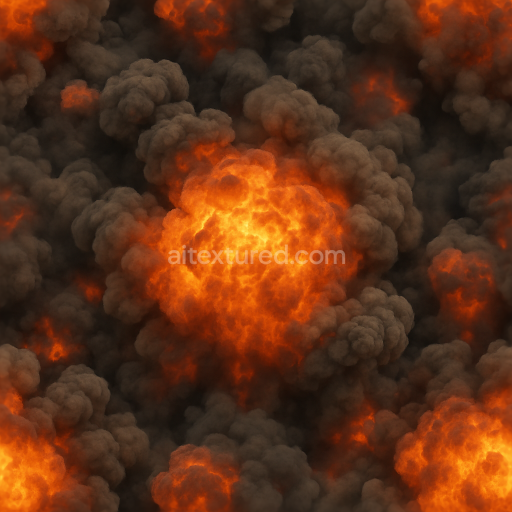
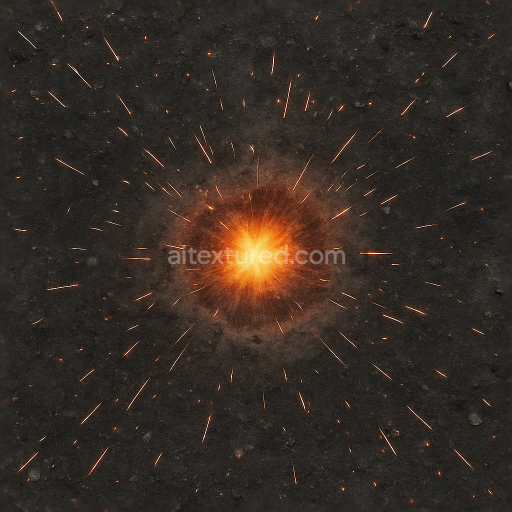
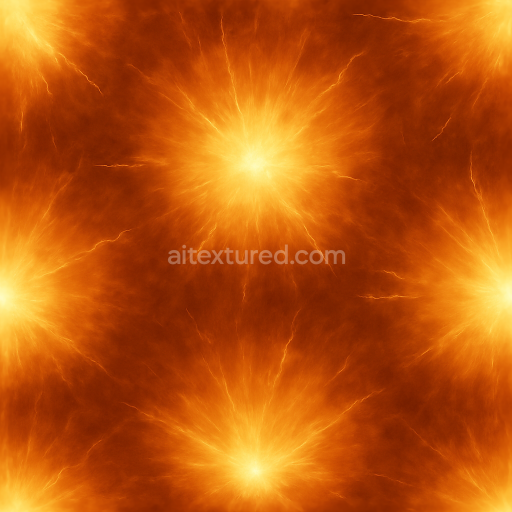
Showing Explosive Blast Crater With Scorched Earth And Rubble Details In 8K PBR Quality
Seamless texture (tileable) · PNG, WEBP, PBR ZIP. License: AITextured Free Commercial License (FCL) v1.1. Free personal and commercial use. Raw resale, standalone redistribution, mirroring/scraping, competing asset packs, and AI/ML training are not allowed without written permission. Attribution is not required, but appreciated..

| ID | seamless-8k-pbr-3d-texture-showing-burning-rubble-and-charred-wood-with-molten-metal-highlights |
|---|---|
| Category | Explosion |
| Formats | PNG, WEBP, PBR ZIP |
| Size | 1k (1024x1024px), 2k (2048x2048px), 4k (4096x4096px), 8k (8192x8192px) |
| Color | sRGB |
| Tileable | Yes |
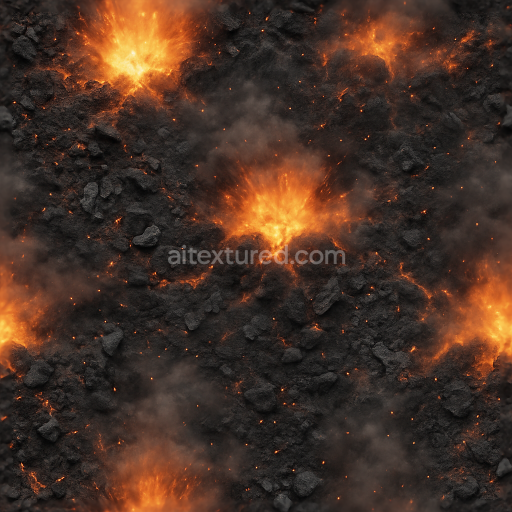
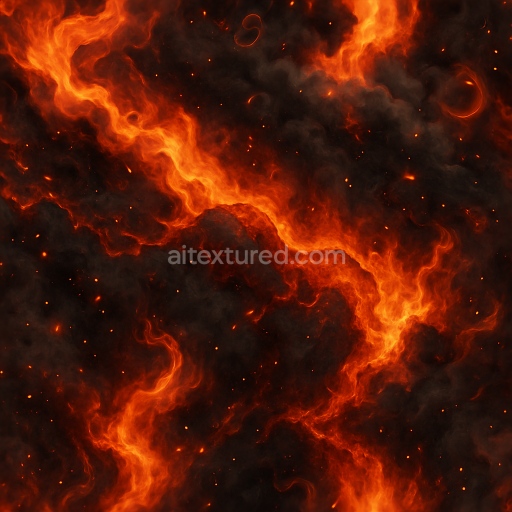
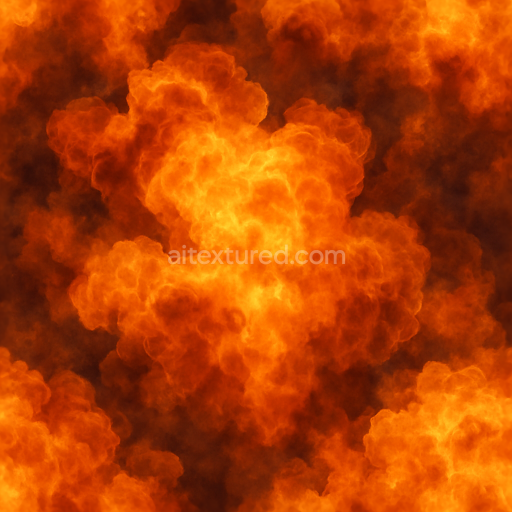
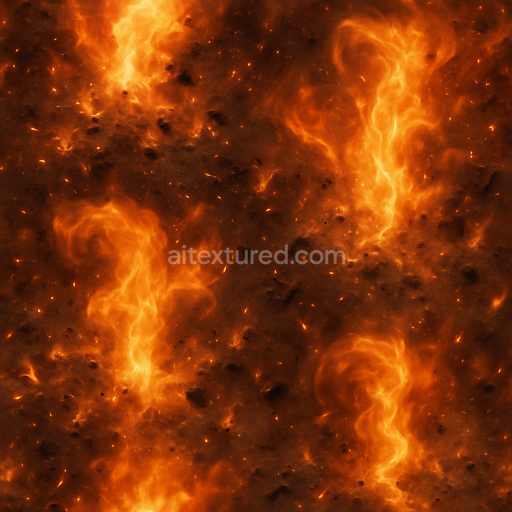
This seamless 8k PBR 3D texture captures the chaotic aftermath of an explosion combining materials such as burning rubble charred wood fragments and molten metal veins into a complex multilayered surface. The primary substrate consists of fragmented concrete and stone debris exhibiting rough irregular geometric forms with sharp edges and fractured planes. Interspersed among this rubble are splintered wooden planks heavily burnt and cracked showing fibrous grain patterns and deep fissures. The molten metal appears as glowing viscous veins that seep through the rubble creating a dynamic contrast with the matte porous charred wood and rough stone surfaces. Fine ash particles settle across the scene adding delicate granular detail to the surface topology.
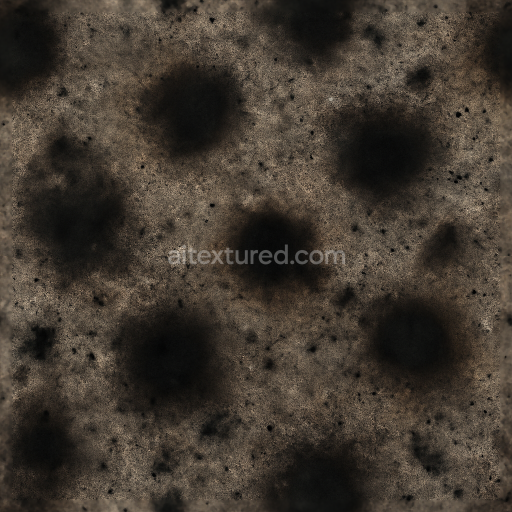
From a material composition perspective the rubble base combines mineral aggregates bonded by a weathered cementitious matrix exhibiting typical porosity and micro-cracks that capture dirt and soot. The charred wood shows carbonized cellulose fibers with a brittle texture characterized by high surface roughness and irregular grain disruptions caused by thermal degradation. Molten metal veins display a semi-glossy oxidized finish with glowing emissive highlights simulating heat retention and recent solidification. The surface finish varies across the texture: the stone rubble is matte and weathered the wood is dry and crackled and the metal veins are partially polished with an oxidized patina. Scorch marks and subtle shockwave distortions create localized depressions and warping enhancing the tactile depth and visual complexity of the overall texture.
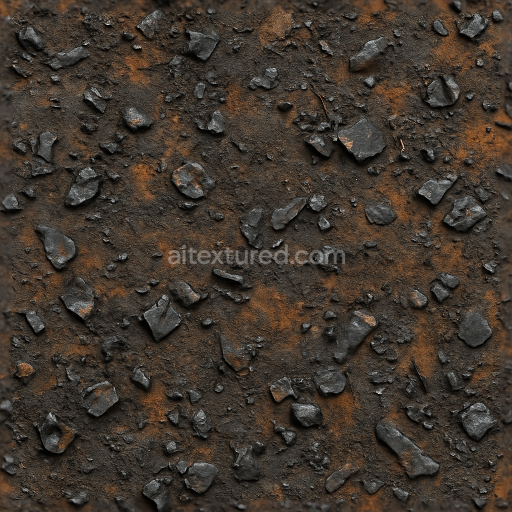
The texture’s PBR channels accurately reflect these material qualities for realistic rendering: the BaseColor (Albedo) map features muted grays and browns for rubble and wood punctuated by vivid orange and red tones in the molten metal veins. The Normal map captures the fractured geometry wood grain and molten metal ridges providing intricate surface detail. The Roughness map varies widely with high roughness on the porous stone and charred wood contrasted by lower roughness on the molten metal highlights. The Metallic map isolates the molten metal areas assigning them near-metallic values while the rest of the texture remains non-metallic. Ambient Occlusion enhances the depth in crevices and fissures especially around rubble edges and wood cracks. Height/Displacement maps emphasize the layered rubble and warped shockwave forms allowing for convincing parallax effects and surface relief.
Rendered at an 8k resolution this texture is optimized for use in Blender Unreal Engine and Unity ensuring detailed close-up inspection and seamless tiling across large surfaces without visible repetition. For practical implementation it is recommended to adjust the UV scale to match the scene’s destruction scale and to fine-tune roughness values to balance between the matte ash-covered rubble and the semi-glossy molten metal veins. Blending height or parallax maps with normal maps can further enhance the perceived depth of the shockwave distortions and scorch marks creating a more immersive and realistic explosion aftermath environment.
Import the texture maps into Blender with sRGB color space for albedo/base color and Non-Color for normal, roughness, metallic, AO, height, and ORM maps. Connect normal maps through a Normal Map node, then adjust UV scale with a Mapping node so the material repeats naturally on your model.
For the full step-by-step setup, see How to Use Seamless Textures in Blender. Browse related material examples in wood, concrete, and metal.
Yes. This texture is designed as a seamless tileable PBR material, so it can repeat across large surfaces without visible borders.
You can download PNG/WEBP versions and use 1K, 2K, 4K and 8K download options when available on the page.
Yes. The download options and engine-mapped ZIP workflow are designed for Blender, Unreal Engine, Unity Standard, URP and HDRP material pipelines.
Yes. The texture is available under the AITextured free commercial license. Review the license page for redistribution and AI-training restrictions.


Build, preview, and export seamless PBR materials. Generate full map sets from a single image, inspect them in a real-time WebGL viewer, and re-package maps for Unreal, Unity, and Blender—directly in your browser.
AI text-to-texture: type a prompt and get a seamless, tileable base image ready for PBR workflows (great starting point for materials).
Create a full PBR set (Normal, Roughness, AO, Metallic, etc.) from a single image. Seamless and tiling-friendly.
Instant WebGL viewer: inspect materials on a sphere, plane, and cube. Check tiling and lighting in real time.
Re-packages maps per engine: Unreal (BaseColor + ORM), Unity (Mask/MetallicSmoothness), Blender (separate channels).
PNG ↔ JPG ↔ SVG: fast convert, SVG rasterize, embed/trace options, quality & background controls.