Featuring Fiery Sparks And Ember Particles From Explosion In High Detail 8K PBR
Seamless texture (tileable) · PNG, WEBP, PBR ZIP. License: AITextured Free Commercial License (FCL) v1.1. Free personal and commercial use. Raw resale, standalone redistribution, mirroring/scraping, competing asset packs, and AI/ML training are not allowed without written permission. Attribution is not required, but appreciated..

| ID | seamless-3d-texture-illustrating-burning-fragments-and-spark-trail-effects-in-fiery-explosion-in-8k-pbr |
|---|---|
| Category | Explosion |
| Formats | PNG, WEBP, PBR ZIP |
| Size | 1k (1024x1024px), 2k (2048x2048px), 4k (4096x4096px), 8k (8192x8192px) |
| Color | sRGB |
| Tileable | Yes |
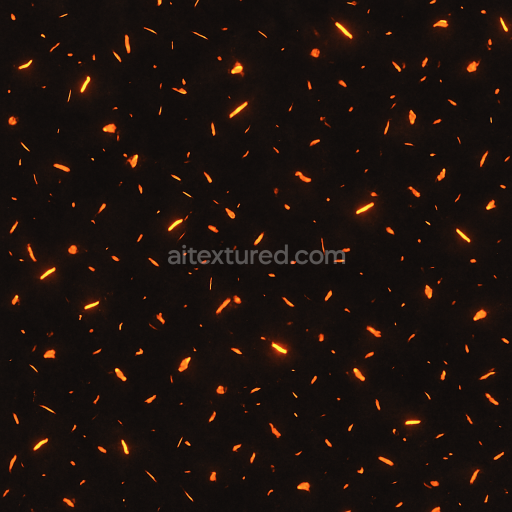
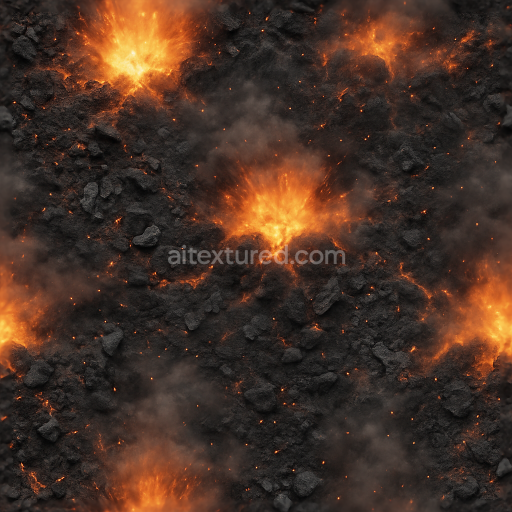
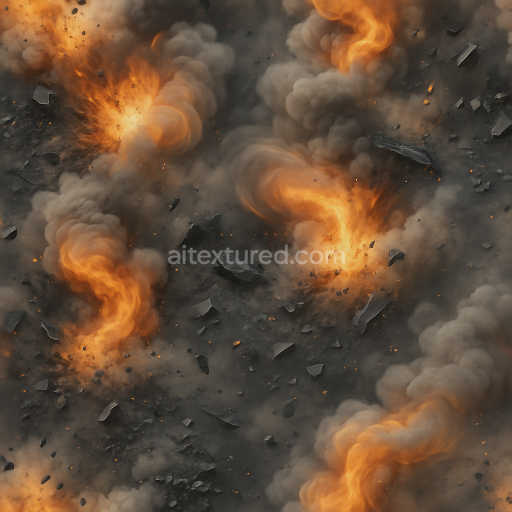
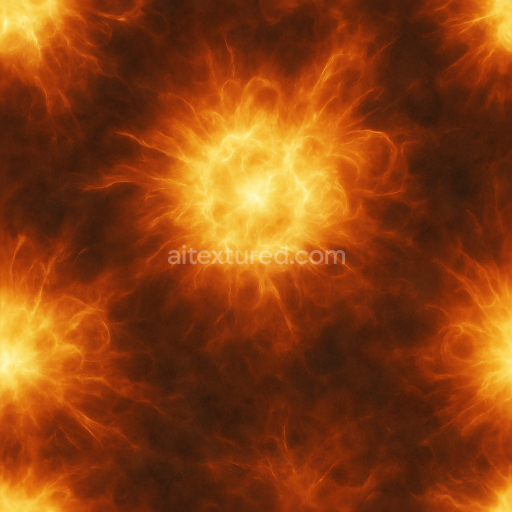
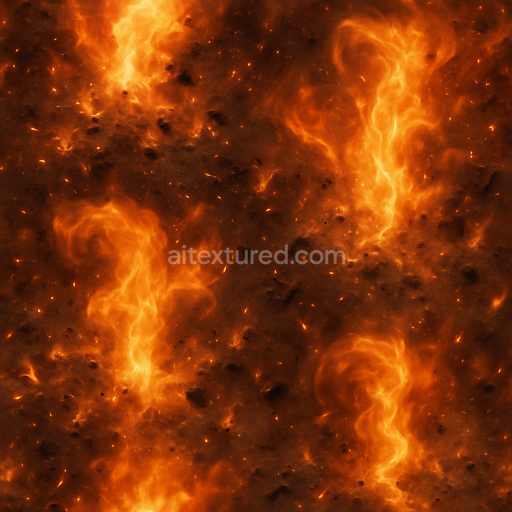
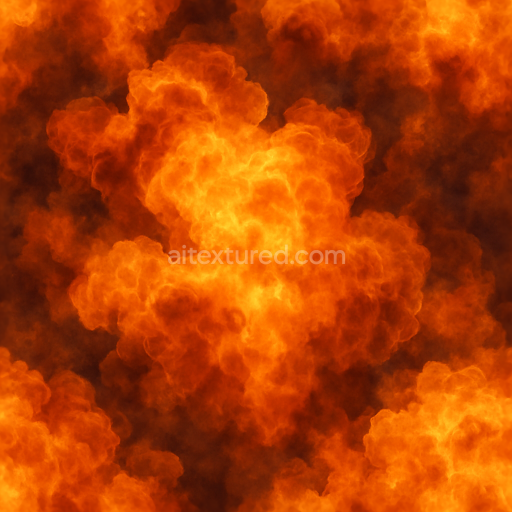
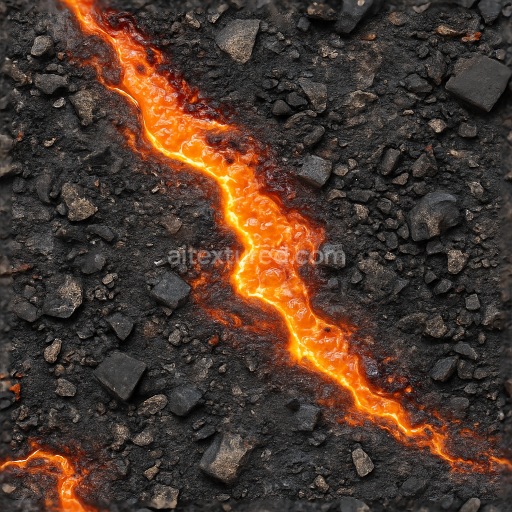
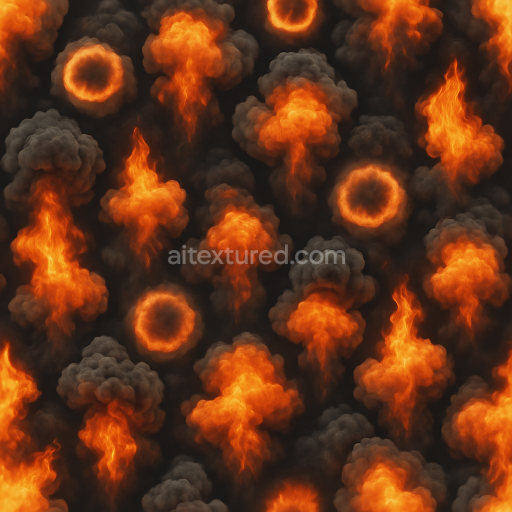
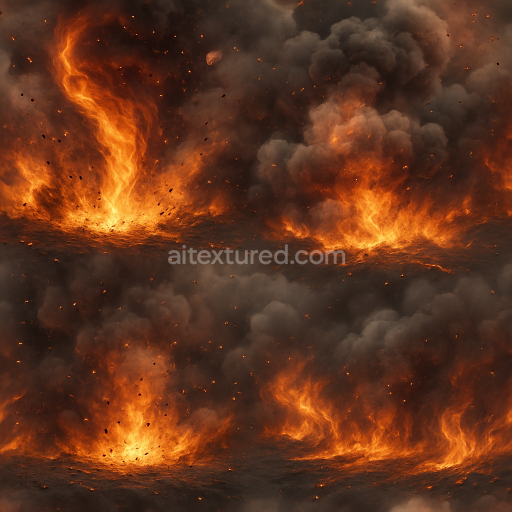
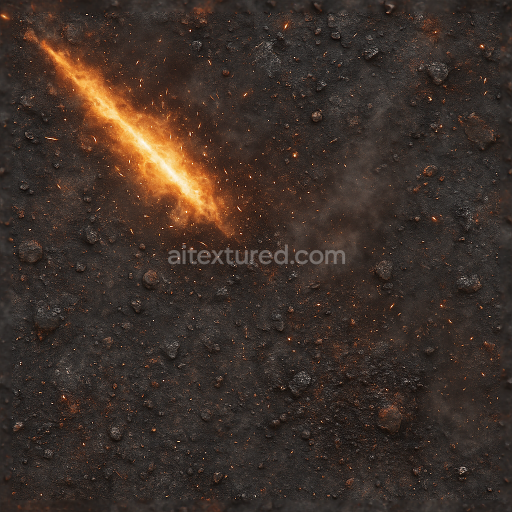
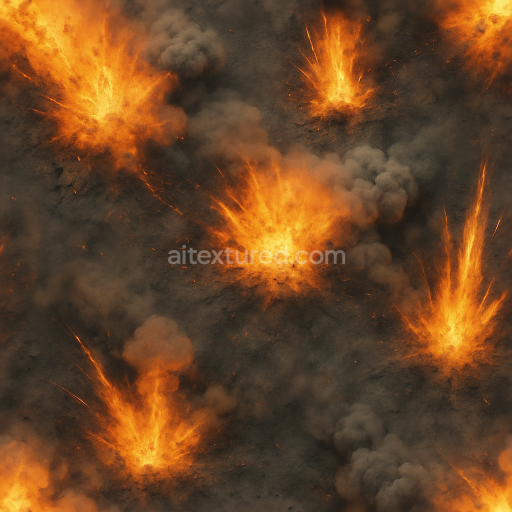
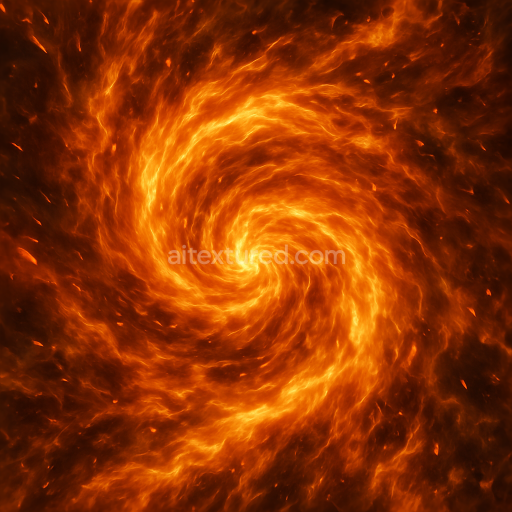
This seamless 3D texture vividly represents the intricate interplay of burning fragments and trailing sparks within a fiery explosion rendered in ultra-high 8K resolution with full PBR detail. The base material evokes a composite of incandescent fragmented debris suspended within a volatile thermal plasma resembling a densely packed aggregate of scorched mineral and metallic particles fused by intense heat. The geometric form is irregular yet consistently tiled mimicking fractured shards and ember clusters distributed across a complex chaotic surface. This pattern simulates the dynamic flow and dispersal of incendiary materials with sharp angular fragments interspersed with fluid flame-like tongues that introduce organic curvature amidst the hard edges.
From a materials standpoint the substrate can be understood as a brittle partially molten mineral composite containing silicate grains and metallic oxides that have undergone rapid oxidation and thermal expansion. The binders are effectively the molten residues and vaporized gases that momentarily fuse these fragments before dispersal creating a transient adhesive matrix. The texture’s porosity is variable with denser metal-rich shards exhibiting low porosity and rough oxidized surfaces while flame-imbued regions show more diffuse semi-transparent layers simulating hot gases and plasma. Surface finishes range from intensely reflective molten metal glints (captured in the metallic PBR channel) to matte charred rock faces (expressed through roughness and ambient occlusion maps). Thermal scorch and flare bursts are accentuated by height and normal maps that create depth and relief emphasizing cracks fissures and the layered stratification of explosive debris.
Coloration is dominated by a spectrum of fiery hues: deep reds bright oranges and glowing yellows intermixed with dark charcoals and metallic grays replicating the incandescent glow of fire sparks and flare bursts. These pigments are mapped primarily in the BaseColor (Albedo) channel while the Normal map conveys the intricate surface topography of broken fragments and flame tongues. The Roughness channel is finely tuned to reflect the contrast between glossy molten surfaces and rough oxidized areas. Metallic values highlight the presence of metal-rich inclusions enhancing realism in reflective highlights. Ambient Occlusion adds subtle shading around crevices and overlaps reinforcing the texture’s volumetric complexity. Height and displacement maps are calibrated to simulate relief and embers’ protrusion lending tactile depth in rendering engines.
This texture is optimized for use in Blender Unreal Engine and Unity providing consistent visual fidelity across various rendering pipelines. Its seamless tiling nature ensures uniform application across large surfaces without visible repetition suitable for dynamic explosions in 3D environments VFX or real-time game assets. When implementing it is advisable to adjust the UV scale to balance fragment detail with overall scene composition. Additionally fine-tuning the roughness parameter can help achieve the desired intensity of glossiness versus matte charred surfaces. Blending height and normal maps subtly can enhance the perception of depth without overloading shader complexity maintaining performance while maximizing visual impact.
Import the texture maps into Blender with sRGB color space for albedo/base color and Non-Color for normal, roughness, metallic, AO, height, and ORM maps. Connect normal maps through a Normal Map node, then adjust UV scale with a Mapping node so the material repeats naturally on your model.
For the full step-by-step setup, see How to Use Seamless Textures in Blender. Browse related material examples in wood, concrete, and metal.
Yes. This texture is designed as a seamless tileable PBR material, so it can repeat across large surfaces without visible borders.
You can download PNG/WEBP versions and use 1K, 2K, 4K and 8K download options when available on the page.
Yes. The download options and engine-mapped ZIP workflow are designed for Blender, Unreal Engine, Unity Standard, URP and HDRP material pipelines.
Yes. The texture is available under the AITextured free commercial license. Review the license page for redistribution and AI-training restrictions.


Build, preview, and export seamless PBR materials. Generate full map sets from a single image, inspect them in a real-time WebGL viewer, and re-package maps for Unreal, Unity, and Blender—directly in your browser.
AI text-to-texture: type a prompt and get a seamless, tileable base image ready for PBR workflows (great starting point for materials).
Create a full PBR set (Normal, Roughness, AO, Metallic, etc.) from a single image. Seamless and tiling-friendly.
Instant WebGL viewer: inspect materials on a sphere, plane, and cube. Check tiling and lighting in real time.
Re-packages maps per engine: Unreal (BaseColor + ORM), Unity (Mask/MetallicSmoothness), Blender (separate channels).
PNG ↔ JPG ↔ SVG: fast convert, SVG rasterize, embed/trace options, quality & background controls.