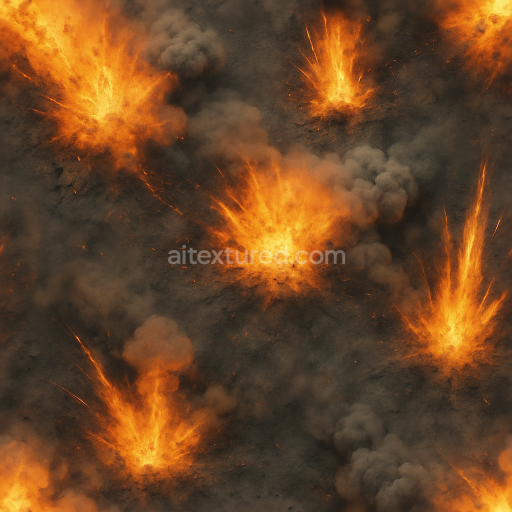
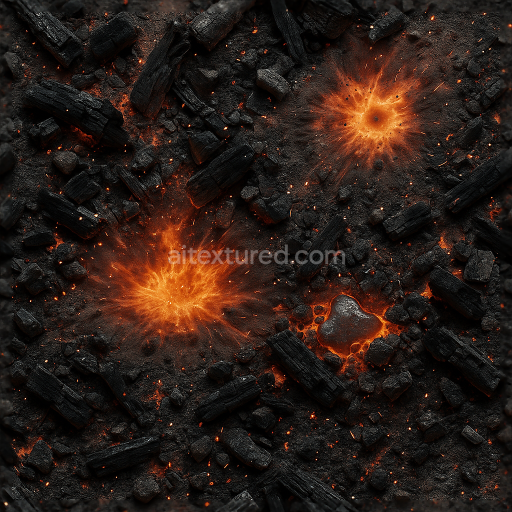
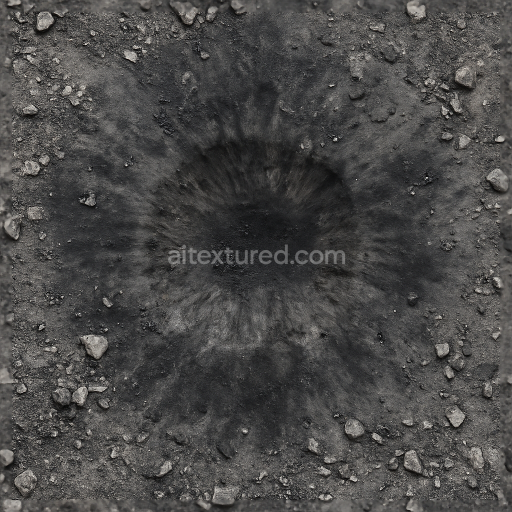
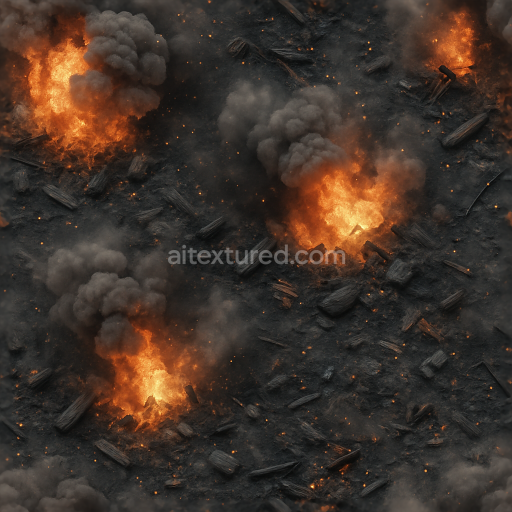
Seamless 8K PBR 3D texture of blast damage with ignition source and burn marks details
Seamless texture (tileable) · PNG, WEBP, PBR ZIP. License: AITextured Free Commercial License (FCL) v1.1. Free personal and commercial use. Raw resale, standalone redistribution, mirroring/scraping, competing asset packs, and AI/ML training are not allowed without written permission. Attribution is not required, but appreciated..

| ID | seamless-8k-pbr-3d-texture-of-smoldering-debris-with-shattered-glass-and-metal-fragments |
|---|---|
| Category | Explosion |
| Formats | PNG, WEBP, PBR ZIP |
| Size | 1k (1024x1024px), 2k (2048x2048px), 4k (4096x4096px), 8k (8192x8192px) |
| Color | sRGB |
| Tileable | Yes |
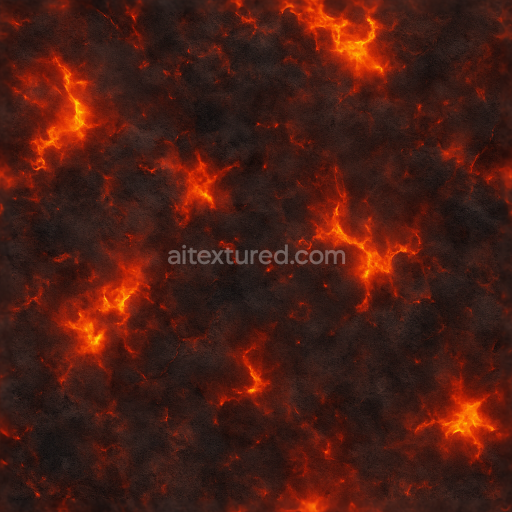
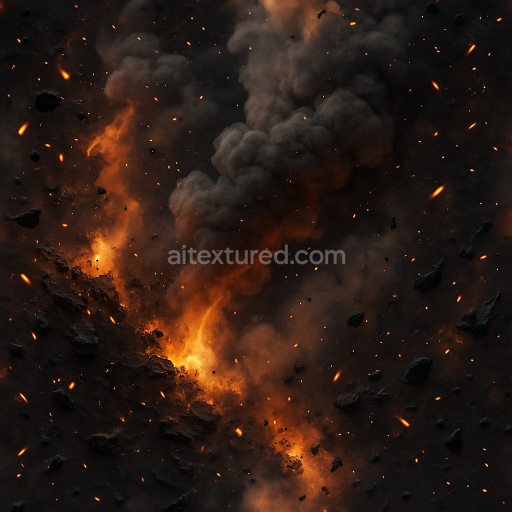
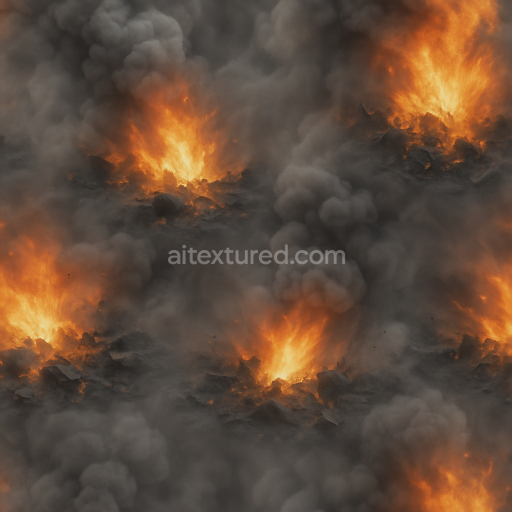
This seamless 8k PBR 3D texture depicts a complex composition of smoldering debris featuring a chaotic arrangement of fractured glass shards embedded within jagged metal fragments. The underlying substrate mimics a rough charcoal surface exhibiting a porous and cracked form reminiscent of burnt wood or scorched concrete. This base material is characterized by a matte almost powdery finish that absorbs light unevenly giving depth to the dark grays and muted blacks that dominate the color palette. Scattered throughout are flame tongues and glowing ember-like fire sparks which add subtle warm orange and red hues enhancing the overall visual richness without overpowering the naturalistic feel. The texture’s geometry suggests an irregular fractured pattern with sharp edges and deep fissures representing the aftermath of an intense explosion.
The texture composition is thoughtfully layered to reflect realistic material interactions. The charcoal-like base serves as the primary substrate acting as a brittle low-density aggregate with natural fissures and micro-cracks that create intricate height variations and displacement effects. Embedded within this matrix are shards of shattered glass exhibiting high reflectivity and smoothness yet fractured irregularly to convey sharpness and fragility. Metal fragments oxidized and partially burnt introduce a contrasting rough metallic grain with subtle rust and heat discoloration. These metal pieces have a brushed and weathered surface finish with varying degrees of roughness and metallicity that respond accurately under dynamic lighting conditions. The explosion dust is represented as fine particulate matter dispersed across the surface contributing to ambient occlusion and subtle surface roughness variations.
In terms of PBR channel mapping the BaseColor (Albedo) channel captures the nuanced interplay of dark charcoal translucent glass blues and grays and rusty metallic oranges. The Normal map encodes the detailed microgeometry of the cracked substrate and jagged fragments creating convincing depth and tactile realism. The Roughness map varies widely—from the matte charcoal base to the glossy glass shards and the semi-rough oxidized metal—allowing light to scatter appropriately across different materials. Metallic maps isolate the metal fragments defining their conductive properties while Ambient Occlusion enhances crevices and overlapping debris for enhanced shadowing. Height/Displacement maps emphasize the multi-layered relief allowing for realistic parallax and displacement effects that bring the explosion aftermath to life.
This texture is optimized for 8k resolution ensuring exceptional detail necessary for close-up renders and high-fidelity environment creation. It is fully compatible and ready to integrate seamlessly into Blender Unreal Engine and Unity workflows supporting physically-based rendering pipelines without additional modification. For practical application it is advisable to carefully adjust UV scaling to balance tile repetition with scene scale and to fine-tune roughness values to match specific lighting scenarios. Blending height or parallax maps with normal maps can further enhance surface depth without excessive geometry making this texture a versatile asset for realistic explosion aftermath visualizations.
Import the texture maps into Blender with sRGB color space for albedo/base color and Non-Color for normal, roughness, metallic, AO, height, and ORM maps. Connect normal maps through a Normal Map node, then adjust UV scale with a Mapping node so the material repeats naturally on your model.
For the full step-by-step setup, see How to Use Seamless Textures in Blender. Browse related material examples in wood, concrete, and metal.
Yes. This texture is designed as a seamless tileable PBR material, so it can repeat across large surfaces without visible borders.
You can download PNG/WEBP versions and use 1K, 2K, 4K and 8K download options when available on the page.
Yes. The download options and engine-mapped ZIP workflow are designed for Blender, Unreal Engine, Unity Standard, URP and HDRP material pipelines.
Yes. The texture is available under the AITextured free commercial license. Review the license page for redistribution and AI-training restrictions.
Build, preview, and export seamless PBR materials. Generate full map sets from a single image, inspect them in a real-time WebGL viewer, and re-package maps for Unreal, Unity, and Blender—directly in your browser.
AI text-to-texture: type a prompt and get a seamless, tileable base image ready for PBR workflows (great starting point for materials).
Create a full PBR set (Normal, Roughness, AO, Metallic, etc.) from a single image. Seamless and tiling-friendly.
Instant WebGL viewer: inspect materials on a sphere, plane, and cube. Check tiling and lighting in real time.
Re-packages maps per engine: Unreal (BaseColor + ORM), Unity (Mask/MetallicSmoothness), Blender (separate channels).
PNG ↔ JPG ↔ SVG: fast convert, SVG rasterize, embed/trace options, quality & background controls.