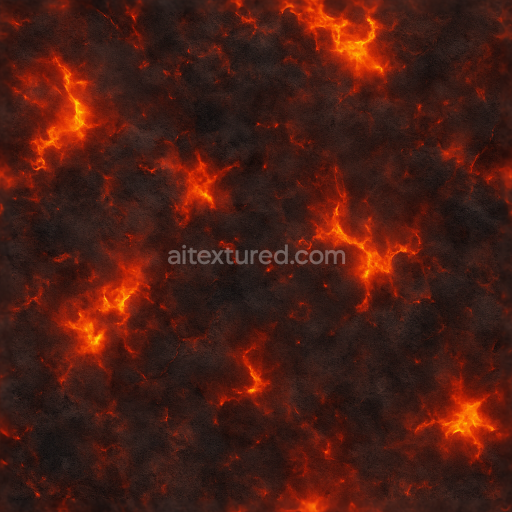
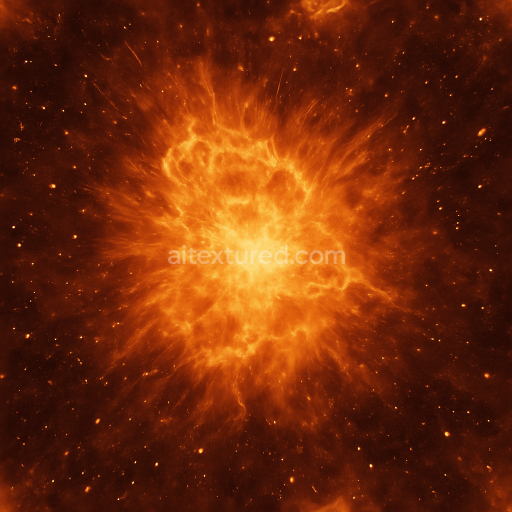
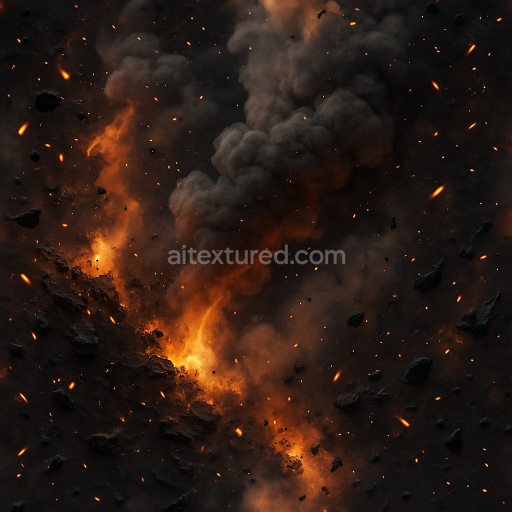
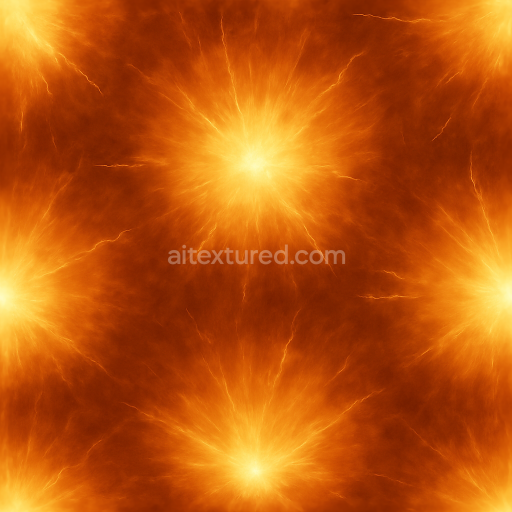
Seamless 8K PBR 3D texture displaying blazing inferno with burnt fabric and hot coals
Seamless texture (tileable) · PNG, WEBP, PBR ZIP. License: AITextured Free Commercial License (FCL) v1.1. Free personal and commercial use. Raw resale, standalone redistribution, mirroring/scraping, competing asset packs, and AI/ML training are not allowed without written permission. Attribution is not required, but appreciated..

| ID | seamless-8k-pbr-3d-texture-showing-firestorm-fury-with-molten-lava-and-flame-sparks |
|---|---|
| Category | Explosion |
| Formats | PNG, WEBP, PBR ZIP |
| Size | 1k (1024x1024px), 2k (2048x2048px), 4k (4096x4096px), 8k (8192x8192px) |
| Color | sRGB |
| Tileable | Yes |
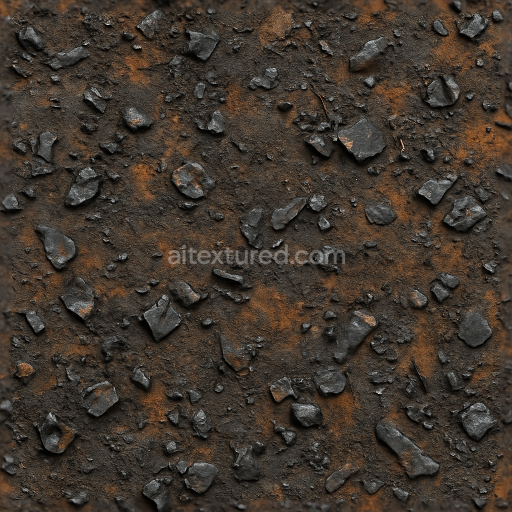
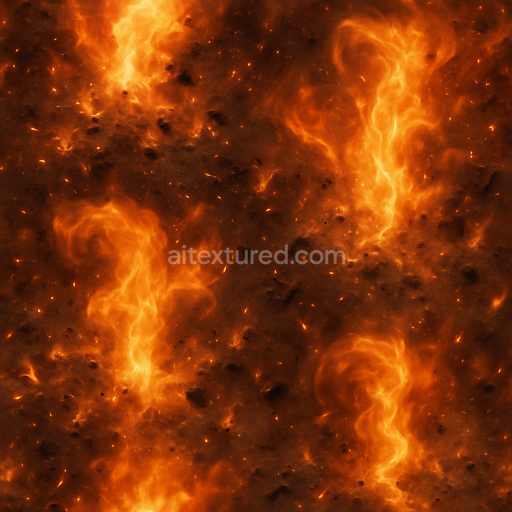
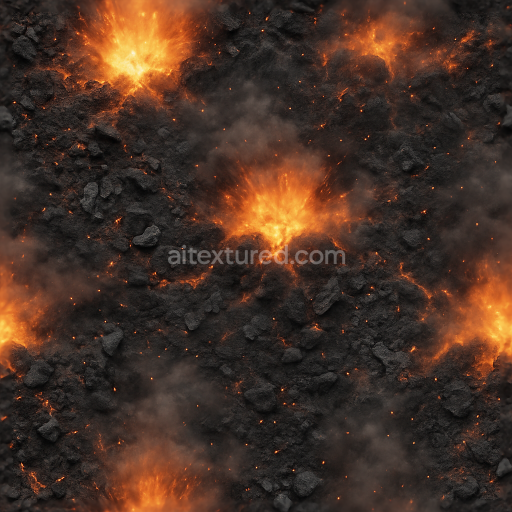
This seamless 8k PBR 3D texture depicts an intense firestorm fury combining dynamic elements of molten lava flame sparks and burning embers within a complex organic substrate. The base material can be understood as a heavily weathered volcanic rock surface interspersed with glowing viscous lava flows. This substrate features a cracked uneven geometry resembling fractured basalt with jagged edges and deep fissures. The form presents a natural irregular tessellation of rough stone segments partially engulfed by flowing molten material creating a vivid contrast between solid and liquid phases. Embedded within this texture are fine aggregates of blackened debris and ash particles contributing to the porous and eroded surface morphology characteristic of high-temperature combustion environments.
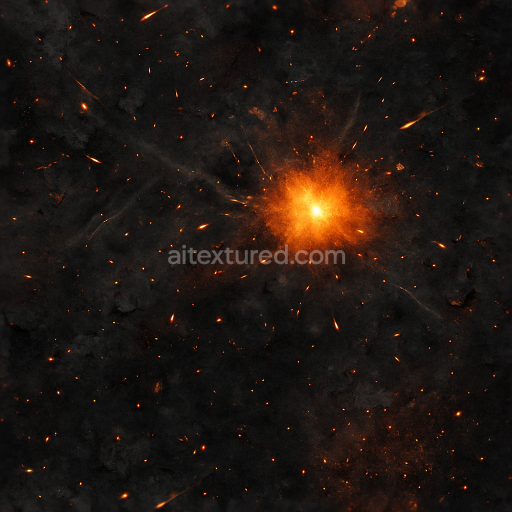
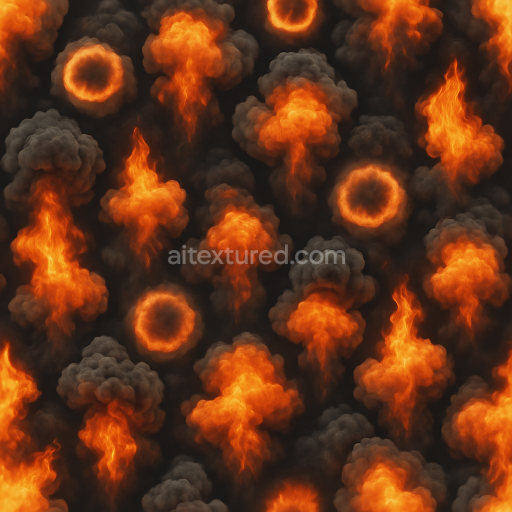
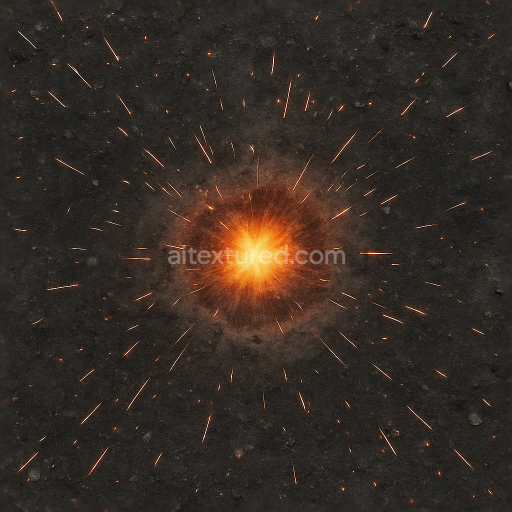
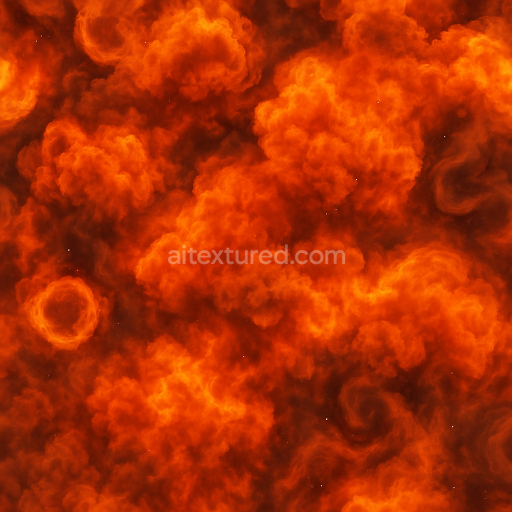
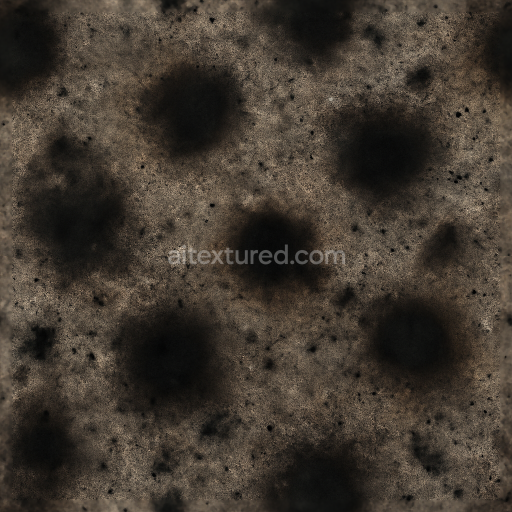
The composition integrates a mineral-rich volcanic matrix as the primary substrate bound by silicate-based adhesives that have been thermally altered to simulate partial vitrification. These binders fuse the granular components while allowing microfractures and voids to persist enhancing the porosity and weathered appearance. The molten lava sections are rendered with a semi-translucent viscous quality incorporating glowing orange and red pigments that emulate incandescent silicate melts. Scattered flame sparks and burning embers introduce small-scale emissive details while smoke rings and detonation smoke layers overlay the surface simulated through subtle opacity maps and height variations that give depth and volume to gaseous elements. The blackened debris is textured with a matte rough finish showing signs of oxidation and charring contrasting with the smoother glossy sheen of the molten lava flows.
In PBR channel terms the BaseColor (Albedo) map captures the rich palette of deep blacks fiery reds and glowing oranges accurately representing both cooled rock and molten lava hues. The Normal map encodes the fractured rock geometry and the undulating lava surface adding tactile depth and accentuating cracks and embers. Roughness is carefully varied: the volcanic rock areas exhibit high roughness for a matte weathered feel while lava flows have low roughness for a glossy molten appearance. Metallic values remain low overall emphasizing the non-metallic mineral nature of the material with some subtle highlights in ember regions to simulate reflective ash particles. Ambient Occlusion enhances crevices and fissures to heighten realism while the Height/Displacement map defines the pronounced relief of lava ridges and smoke ring formations providing convincing parallax effects.
This texture is optimized at 8k resolution ensuring exceptional detail and clarity when applied to large-scale surfaces or close-up renders. It is fully compatible with major 3D engines and software such as Blender Unreal Engine and Unity supporting seamless tiling without visible repetition or seams. For practical application it is recommended to adjust the UV scale to balance the fine granular detail of blackened debris and the broader lava flows ensuring neither element dominates disproportionately. Additionally fine-tuning the roughness channel can help achieve the desired balance between matte rock and glossy molten segments while blending normal and height maps can enhance the perceived depth of smoke rings and flame sparks for more dynamic lighting interactions.
Import the texture maps into Blender with sRGB color space for albedo/base color and Non-Color for normal, roughness, metallic, AO, height, and ORM maps. Connect normal maps through a Normal Map node, then adjust UV scale with a Mapping node so the material repeats naturally on your model.
For the full step-by-step setup, see How to Use Seamless Textures in Blender. Browse related material examples in wood, concrete, and metal.
Yes. This texture is designed as a seamless tileable PBR material, so it can repeat across large surfaces without visible borders.
You can download PNG/WEBP versions and use 1K, 2K, 4K and 8K download options when available on the page.
Yes. The download options and engine-mapped ZIP workflow are designed for Blender, Unreal Engine, Unity Standard, URP and HDRP material pipelines.
Yes. The texture is available under the AITextured free commercial license. Review the license page for redistribution and AI-training restrictions.


Build, preview, and export seamless PBR materials. Generate full map sets from a single image, inspect them in a real-time WebGL viewer, and re-package maps for Unreal, Unity, and Blender—directly in your browser.
AI text-to-texture: type a prompt and get a seamless, tileable base image ready for PBR workflows (great starting point for materials).
Create a full PBR set (Normal, Roughness, AO, Metallic, etc.) from a single image. Seamless and tiling-friendly.
Instant WebGL viewer: inspect materials on a sphere, plane, and cube. Check tiling and lighting in real time.
Re-packages maps per engine: Unreal (BaseColor + ORM), Unity (Mask/MetallicSmoothness), Blender (separate channels).
PNG ↔ JPG ↔ SVG: fast convert, SVG rasterize, embed/trace options, quality & background controls.