Seamless Gravel 008 by Textures - PBR 3D Texture (8K ready)
Seamless texture (tileable) · PNG, WEBP, PBR ZIP. License: AITextured Free Commercial License (FCL) v1.1. Free personal and commercial use. Raw resale, standalone redistribution, mirroring/scraping, competing asset packs, and AI/ML training are not allowed without written permission. Attribution is not required, but appreciated..

| ID | seamless-3d-texture-pbr-8k-of-gravel-driveway-stones-with-gravel-aggregates-and-fine-gravel |
|---|---|
| Category | Gravel |
| Formats | PNG, WEBP, PBR ZIP |
| Size | 1k (1024x1024px), 2k (2048x2048px), 4k (4096x4096px), 8k (8192x8192px) |
| Color | sRGB |
| Tileable | Yes |
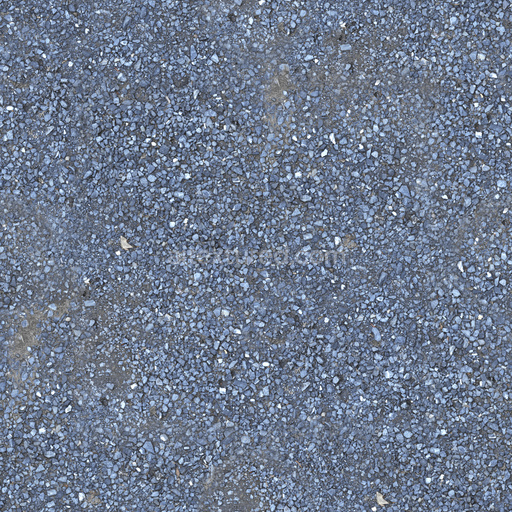
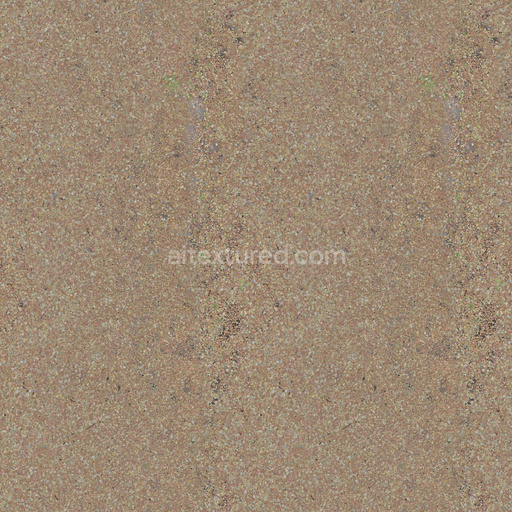
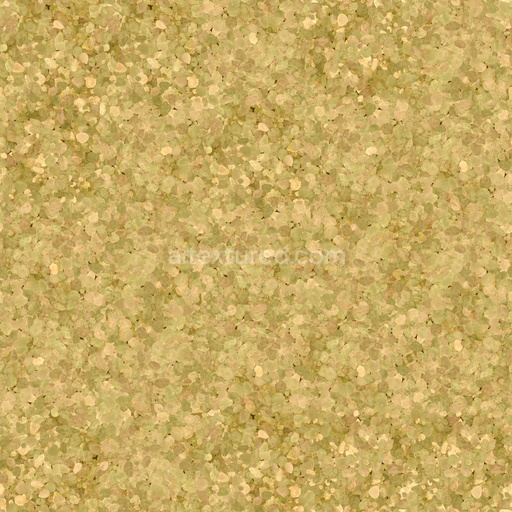
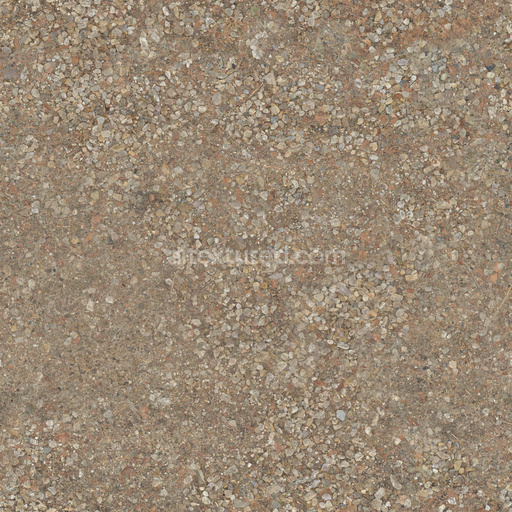
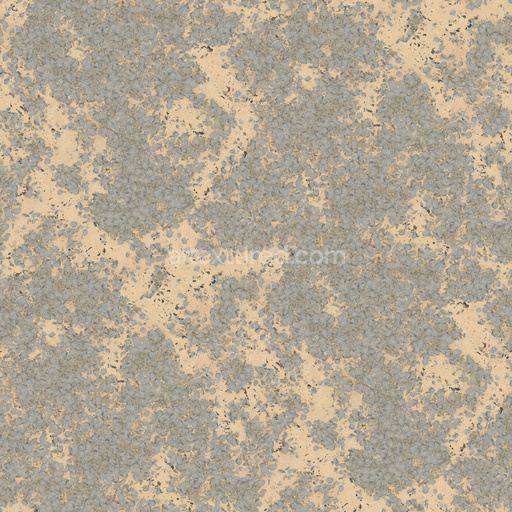
This seamless 3D texture at an ultra-high 8K resolution presents an exceptionally detailed and photo-realistic depiction of gravel driveway stones featuring a natural combination of gravel aggregates and fine gravel particles. The material composition predominantly includes irregular angular fragments of quartz and granite derivatives embedded within a compacted mineral substrate that functions as a natural binder. This substrate resembles weathered sediment or lightly cemented earth offering cohesion while preserving subtle porosity and interstitial spaces between the gravel pieces. The resulting granular surface exhibits organic randomness and tactile depth accurately reflecting the typical uneven distribution and varied sizes of stones and fine gravel found on authentic gravel driveway surfaces. The seamless design ensures a continuous non-repetitive gravel surface making it ideal for expansive outdoor environments and detailed close-up renderings alike fully optimized for Blender Unreal Engine and Unity workflows.
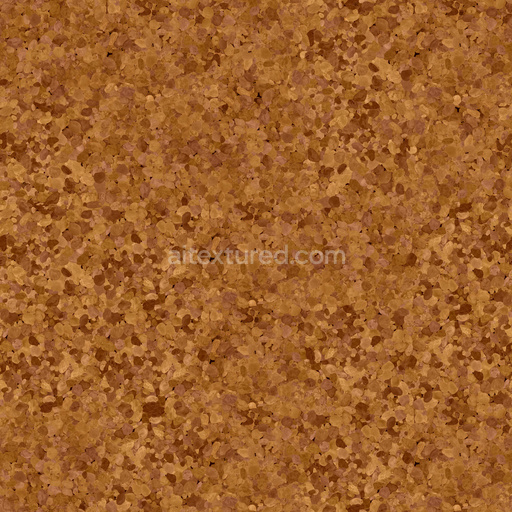
The physical and visual qualities of this gravel driveway texture are expertly captured and expressed through its PBR channels. The BaseColor (Albedo) map reveals earthy tones ranging from granite gray and muted browns to soft beige mirroring the natural mineral diversity of the gravel aggregates. The Normal map effectively conveys the rough uneven topography of the gravel surface emphasizing sharp edges of larger stones alongside the subtle depressions formed by fine gravel particles. Roughness values vary realistically across the surface: larger rock fragments present a coarse matte finish while finer gravel areas show slightly smoother dust-coated textures. The Metallic channel remains close to zero consistent with the non-metallic nature of natural stone and mineral components. Ambient Occlusion enhances visual depth by accentuating crevices and overlaps between stones while the finely detailed Height/Displacement map simulates subtle elevation changes and surface irregularities typical of a compacted gravel driveway.
The texture subtly suggests surface weathering through faint dust accumulation and minimal erosion maintaining a dry unpolished appearance without gloss or wetness. This granular texture conveys tactile roughness that is both visually convincing and physically plausible elevating realism in any 3D scene. Thanks to its 8K resolution crisp detail is preserved down to the edges of individual gravel grains and stone fragments ensuring high fidelity even at tight UV scales. For optimal application it is recommended to carefully adjust the UV scale to balance the visibility of fine gravel against larger aggregates preventing the texture from appearing overly uniform or repetitive. Additionally fine-tuning the roughness map—such as slightly lowering roughness values on selected gravel patches—can replicate polished or frequently traveled areas adding nuanced authenticity to outdoor environments rendered in Blender Unreal Engine or Unity.
Import the texture maps into Blender with sRGB color space for albedo/base color and Non-Color for normal, roughness, metallic, AO, height, and ORM maps. Connect normal maps through a Normal Map node, then adjust UV scale with a Mapping node so the material repeats naturally on your model.
For the full step-by-step setup, see How to Use Seamless Textures in Blender. Browse related material examples in wood, concrete, and metal.
Yes. This texture is designed as a seamless tileable PBR material, so it can repeat across large surfaces without visible borders.
You can download PNG/WEBP versions and use 1K, 2K, 4K and 8K download options when available on the page.
Yes. The download options and engine-mapped ZIP workflow are designed for Blender, Unreal Engine, Unity Standard, URP and HDRP material pipelines.
Yes. The texture is available under the AITextured free commercial license. Review the license page for redistribution and AI-training restrictions.
Build, preview, and export seamless PBR materials. Generate full map sets from a single image, inspect them in a real-time WebGL viewer, and re-package maps for Unreal, Unity, and Blender—directly in your browser.
AI text-to-texture: type a prompt and get a seamless, tileable base image ready for PBR workflows (great starting point for materials).
Create a full PBR set (Normal, Roughness, AO, Metallic, etc.) from a single image. Seamless and tiling-friendly.
Instant WebGL viewer: inspect materials on a sphere, plane, and cube. Check tiling and lighting in real time.
Re-packages maps per engine: Unreal (BaseColor + ORM), Unity (Mask/MetallicSmoothness), Blender (separate channels).
PNG ↔ JPG ↔ SVG: fast convert, SVG rasterize, embed/trace options, quality & background controls.