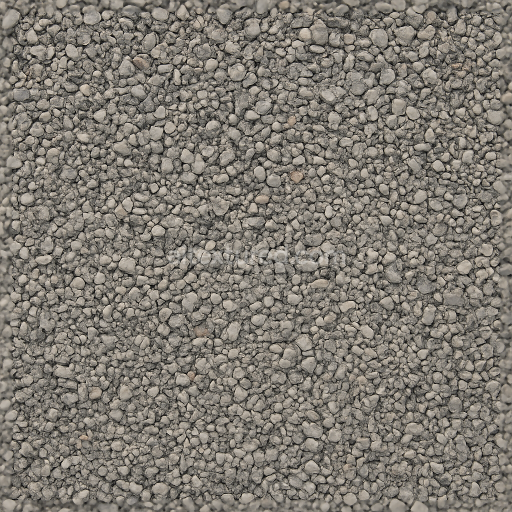
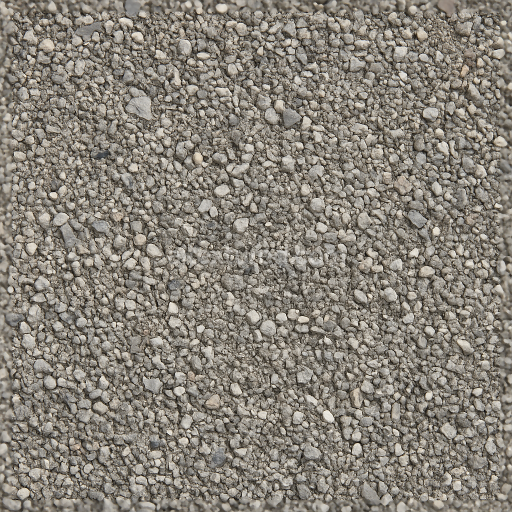
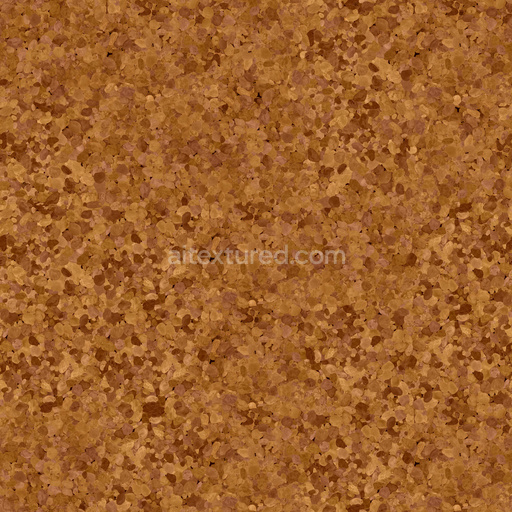
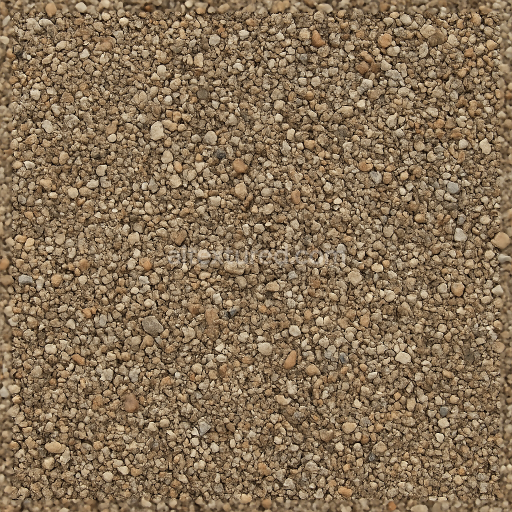
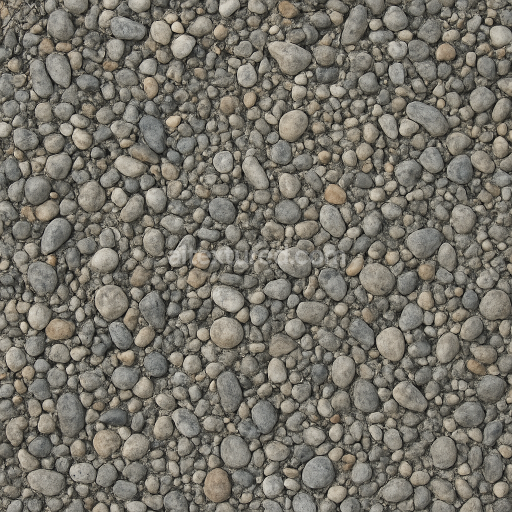
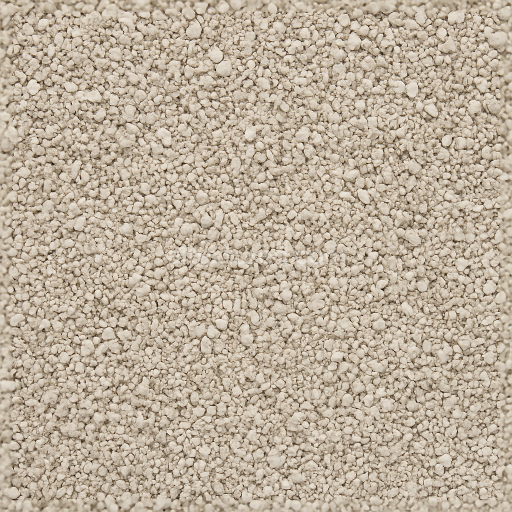
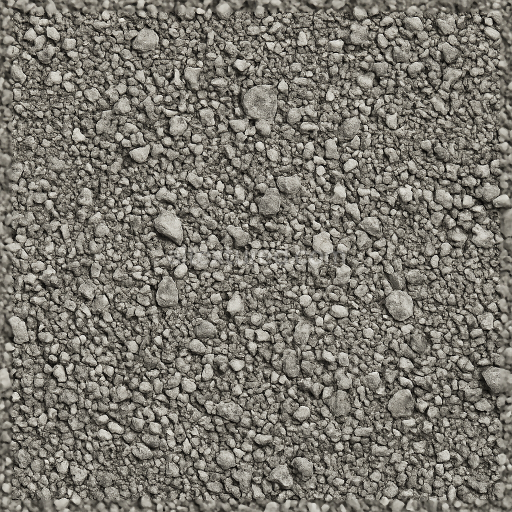
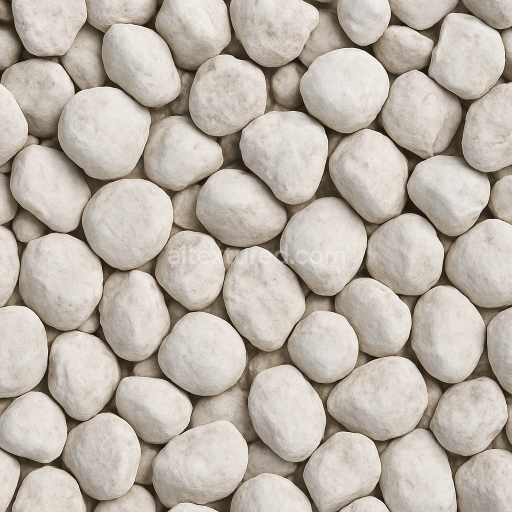
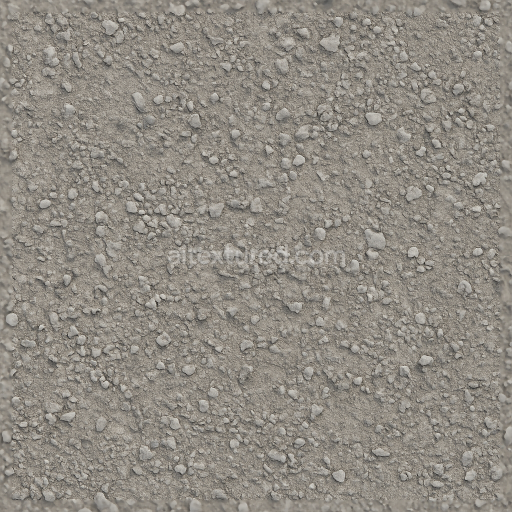
Seamless 3d texture pbr 8K of gravel road surface with crushed gravel and stone aggregates free download

. Formats: WEBP, PNG . Free for personal & commercial use.

Preview — Seamless 3d texture pbr 8K of gravel road surface with crushed gravel and stone aggregates

IDseamless-3d-texture-pbr-8k-of-gravel-road-surface-with-crushed-gravel-and-stone-aggregates
Gravel
WEBP, PNG
Size1k (1024x1024px), 2k (2048x2048px), 4k (4096x4096px), 8k (8192x8192px)
sRGB

This seamless 3D texture in 8K resolution offers an exceptionally detailed and photorealistic representation of a gravel road surface predominantly composed of crushed gravel and diverse stone aggregates. The foundational base material consists mainly of compacted mineral substrates including quartz and granite fragments naturally bound together by fine mineral particles and subtle clay matrices acting as adhesives. These elements securely hold the aggregate in place while preserving visible interstitial voids giving the gravel surface its characteristic granular and porous structure. The uneven distribution of angular crushed stones of varying sizes interspersed with finer gravel grains and scattered gritty fragments creates a realistic non-uniform topology. This intricate arrangement reflects natural weathering and erosion effects typical of outdoor environments combining rough sharp-edged stones with smoother particles to enhance visual complexity and authenticity.

Within the PBR workflow this gravel surface texture’s complex material composition is expertly captured across multiple channels to elevate realism and depth. The BaseColor (Albedo) channel displays a natural palette of muted grays earthy browns and subtle warm ocher tones accurately mimicking the varied coloration of untreated gravel road surfaces. The Normal map highlights the rugged jagged contours of crushed gravel and stone aggregates providing pronounced surface relief and tactile detail. The Roughness map varies dynamically illustrating the contrast between the coarse matte crushed gravel and the comparatively smoother stone fragments which affects light scattering and diffuse reflections in a lifelike manner. Metallic values remain minimal consistent with the non-metallic mineral nature of the aggregates while the Ambient Occlusion map enhances the perception of depth by darkening shadows within crevices and gaps between stones. The Height or Displacement map captures elevation differences and subtle surface bumps essential for creating convincing parallax and tessellation effects in real-time rendering engines.

Optimized for Blender Unreal Engine and Unity this seamless texture in 8K resolution ensures outstanding clarity and fine detail making it ideal for both close-up renders and expansive outdoor scenes. Its seamless tiling capability allows for large-scale coverage of gravel road surfaces without noticeable repetition maintaining immersion in realistic environmental visualizations such as rural roads construction sites or natural landscapes. For practical implementation adjusting the UV scale is recommended to preserve the natural proportions of gravel particles and avoid exaggerated patterns in smaller scenes. Additionally fine-tuning the roughness parameter can simulate different moisture levels or compaction states of the gravel surface enabling versatile visual customization while optimizing performance and maintaining high visual fidelity.

How to Use These Seamless PBR Textures in Blender

This guide shows how to connect a full PBR texture set to Principled BSDF in Blender (Cycles or Eevee). Works with any of our seamless textures free download, including PBR PNG materials for Blender / Unreal / Unity.

What’s inside the download

  • *_albedo.png — Base Color (sRGB)
  • *_normal.png — Normal map (Non-Color)
  • *_roughness.png — Roughness (Non-Color)
  • *_metallic.png — Metallic (Non-Color)
  • *_ao.png — Ambient Occlusion (Non-Color)
  • *_height.png — Height / Displacement (Non-Color)
  • *_ORM.png — Packed map (R=AO, G=Roughness, B=Metallic, Non-Color)

Quick start (Node Wrangler, 30 seconds)

  1. Enable the addon: Edit → Preferences → Add-ons → Node Wrangler.
  2. Create a material and select the Principled BSDF node.
  3. Press Ctrl + Shift + T and select the maps albedo, normal, roughness, metallic (skip height and ORM for now) → Open. The addon wires Base Color, Normal (with a Normal Map node), Roughness, and Metallic automatically.
  4. Add AO and Height using the “Manual wiring” steps below (5 and 6).

Manual wiring (full control)

  1. Create a material (Material Properties → New) and open the Shader Editor.
  2. Add an Image Texture node for each map. Set Color Space:
    • AlbedosRGB
    • AO, Roughness, Metallic, Normal, Height, ORMNon-Color
  3. Connect to Principled BSDF:
    • albedoBase Color
    • roughnessRoughness
    • metallicMetallic (for wood this often stays near 0)
    • normalNormal Map node (Type: Tangent Space) → Normal of Principled. If details look “inverted”, enable Invert Y on the Normal Map node.
  4. Ambient Occlusion (AO):
    • Add a MixRGB (or Mix Color) node in mode Multiply.
    • Input A = albedo, Input B = ao, Factor = 1.0.
    • Output of Mix → Base Color of Principled (replaces the direct albedo connection).
  5. Height / Displacement:
    Cycles — true displacement
    1. Material Properties → SettingsDisplacement: Displacement and Bump.
    2. Add a Displacement node: connect heightHeight, set Midlevel = 0.5, Scale = 0.02–0.08 (tune to taste).
    3. Output of Displacement → Material Output → Displacement.
    4. Add geometry density (e.g., Subdivision Surface) so displacement has polygons to work with.
    Eevee (or lightweight Cycles) — bump only
    1. Add a Bump node: heightHeight.
    2. Set Strength = 0.2–0.5, Distance = 0.05–0.1, and connect Normal output to Principled’s Normal.

Using the packed ORM texture (optional)

Instead of separate AO/Roughness/Metallic maps you can use the single *_ORM.png:

  1. Add one Image Texture (Non-Color) → Separate RGB (or Separate Color).
  2. R (red) → AO (use it in the Multiply node with albedo as above).
  3. G (green) → Roughness of Principled.
  4. B (blue) → Metallic of Principled.

UVs & seamless tiling

  1. These textures are seamless. If your mesh has no UVs, go to UV EditingSmart UV Project.
  2. For scale/repeat, add Texture Coordinate (UV)Mapping and plug it into all texture nodes. Increase Mapping → Scale (e.g., 2/2/2) to tile more densely.

Recommended starter values

  • Normal Map Strength: 0.5–1.0
  • Bump Strength: ~0.3
  • Displacement Scale (Cycles): ~0.03

Common pitfalls

  • Wrong Color Space (normals/roughness/etc. must be Non-Color).
  • “Inverted” details → enable Invert Y on the Normal Map node.
  • Over-strong relief → lower Displacement Scale or Bump Strength.

Example: Download Wood Textures and instantly apply parquet or rustic planks inside Blender for architectural visualization.

To add the downloaded texture, go to Add — Texture — Image Texture.


Add a node and click the Open button.


Select the required texture on your hard drive and connect Color to Base Color.


AITEXTURED Tools

Build, preview, and export seamless PBR materials. Generate full map sets from a single image, inspect them in a real-time WebGL viewer, and re-package maps for Unreal, Unity, and Blender—directly in your browser.