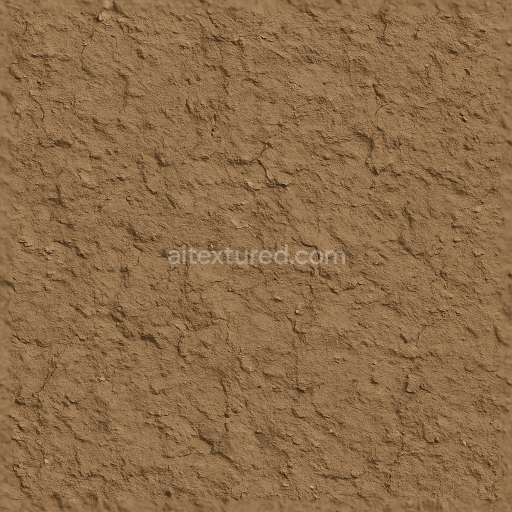
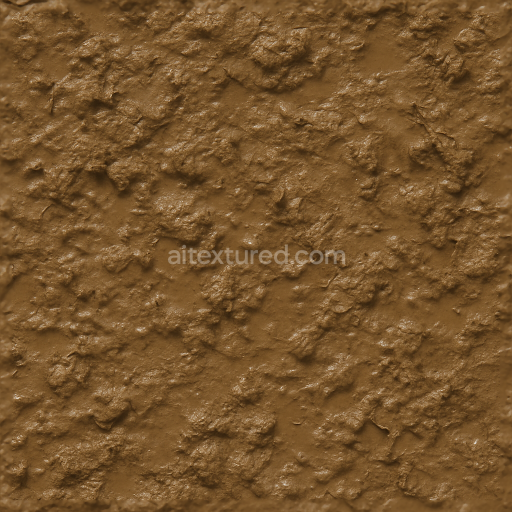
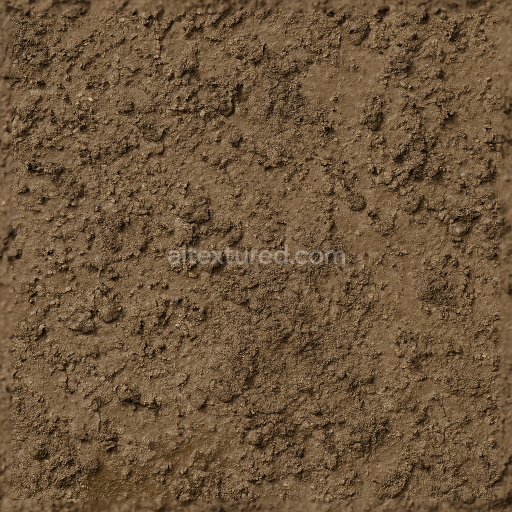
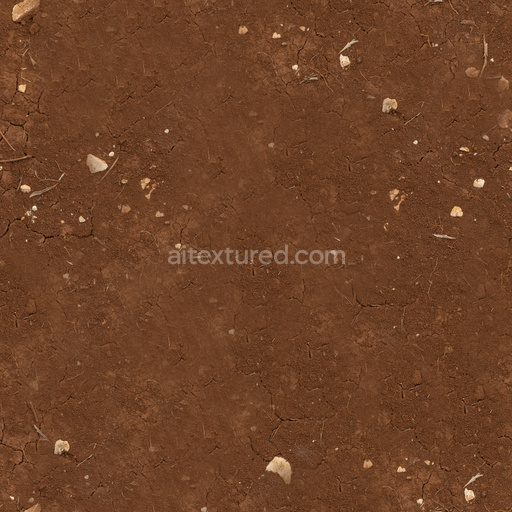
Seamless 3d texture pbr 8k muddy deposit surface with mud compaction and mineral content
. Formats: WEBP, PNG . Free for personal & commercial use.

| ID | seamless-3d-texture-pbr-8k-of-muddy-river-mud-with-smooth-soft-surface-features |
|---|---|
| Mud | |
| WEBP, PNG | |
| Size | 1k (1024x1024px), 2k (2048x2048px), 4k (4096x4096px), 8k (8192x8192px) |
| sRGB | |
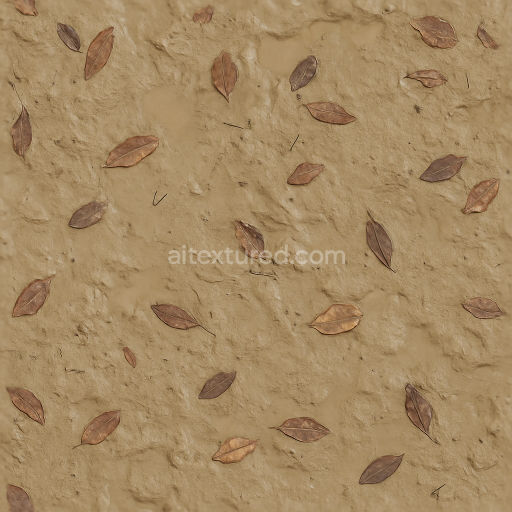
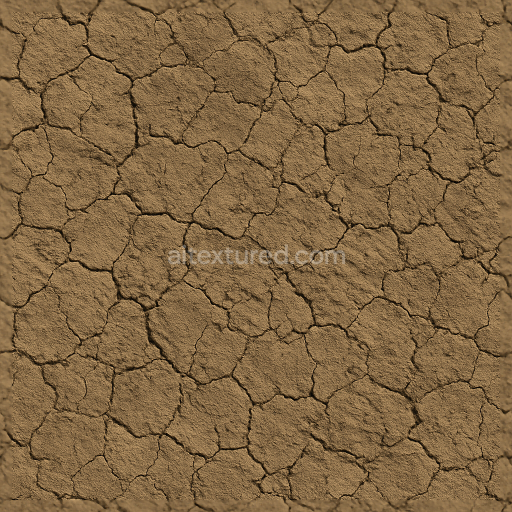
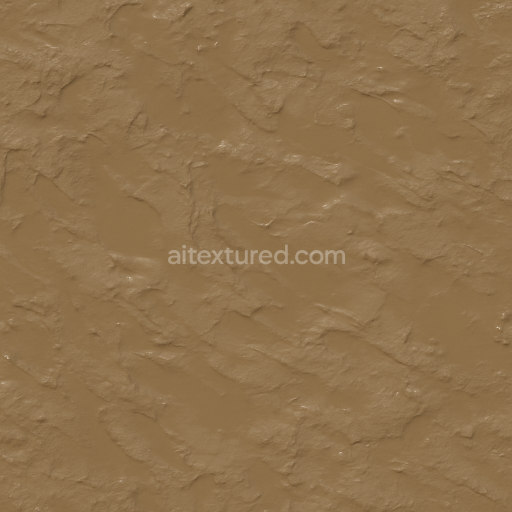
This seamless 3D texture presents an incredibly detailed portrayal of muddy river mud captured in stunning 8K resolution and designed for photorealistic PBR workflows. The base substrate is an organic sedimentary mixture composed primarily of fine mineral particles and natural clay binders that create a cohesive and moist mud surface typical of riverbeds. Subtle mud deposits accumulate in gentle undulations and shallow depressions reflecting natural sedimentation and drying patterns. The color palette features rich earth tones blending muted browns and soft grays with occasional darker patches where moisture concentrates achieved through carefully calibrated BaseColor and Albedo maps. The overall surface finish is smooth and soft with a slightly wet sheen that realistically captures the tactile quality of fresh river mud.
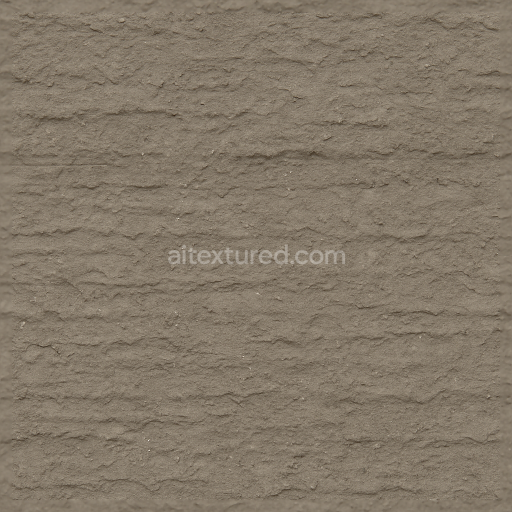
In terms of material channels the Normal map conveys fine grain orientation and micro-roughness emphasizing the delicate texture of the mud’s surface features without harsh bumps. The Roughness map balances smooth wet areas against slightly drier matte patches to simulate variable moisture content. The Metallic channel remains near zero as the natural composition contains no metal elements. Ambient Occlusion enhances subtle crevices and sediment layering adding depth to the visual complexity. Height and Displacement maps accurately reflect the shallow topography of the river mud with gentle ridges and soft depressions that bring dimensional realism to water-edge environments swamps and floodplain terrains. This texture is optimized for seamless tiling allowing for expansive uninterrupted coverage in 3D scenes.
Engineered for compatibility with Blender Unreal Engine and Unity this 8K resolution mud texture is unreal-ready for high-fidelity natural environments. For practical use adjusting the UV scale can help maintain detail integrity when applied to large surfaces while fine-tuning roughness values allows users to simulate drying mud or freshly saturated soft mud surfaces dynamically. This makes it an ideal choice for projects requiring realistic smooth mud surfaces that respond naturally to lighting and environmental conditions enhancing the authenticity of riverbanks marshlands and other water-edge scenarios.
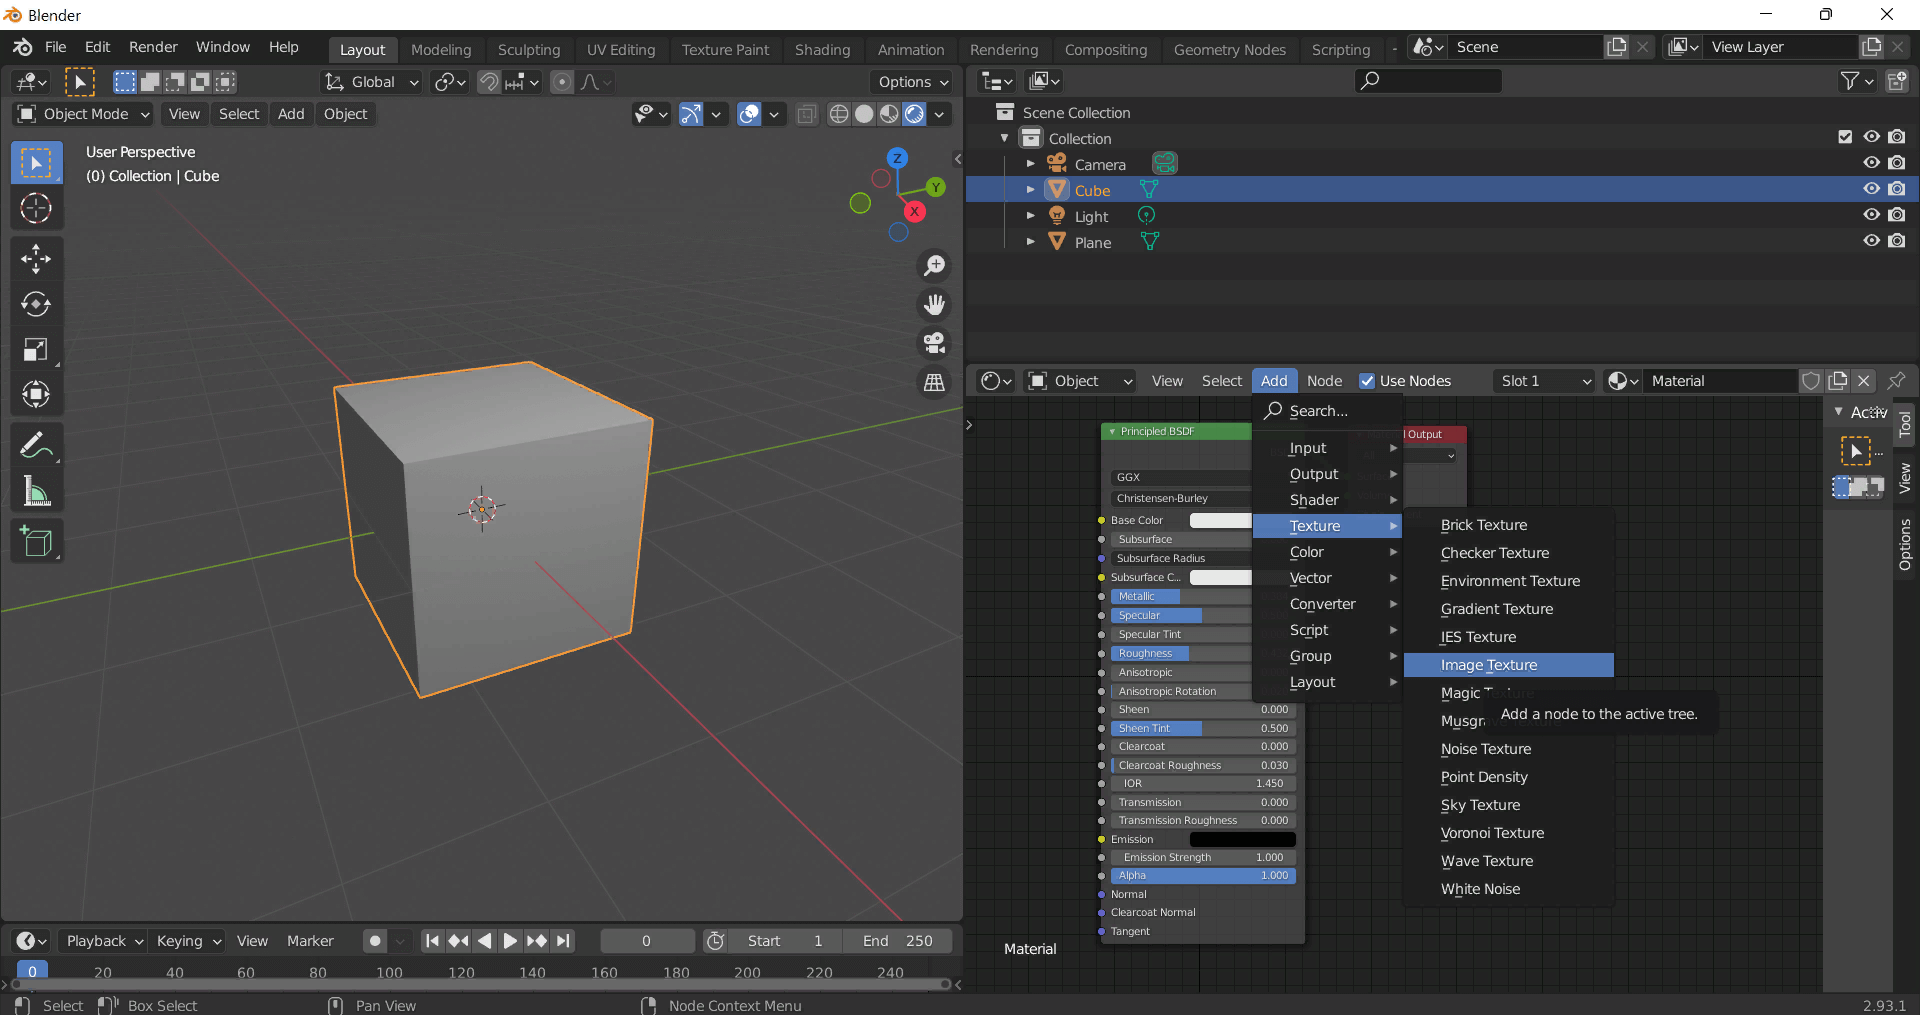
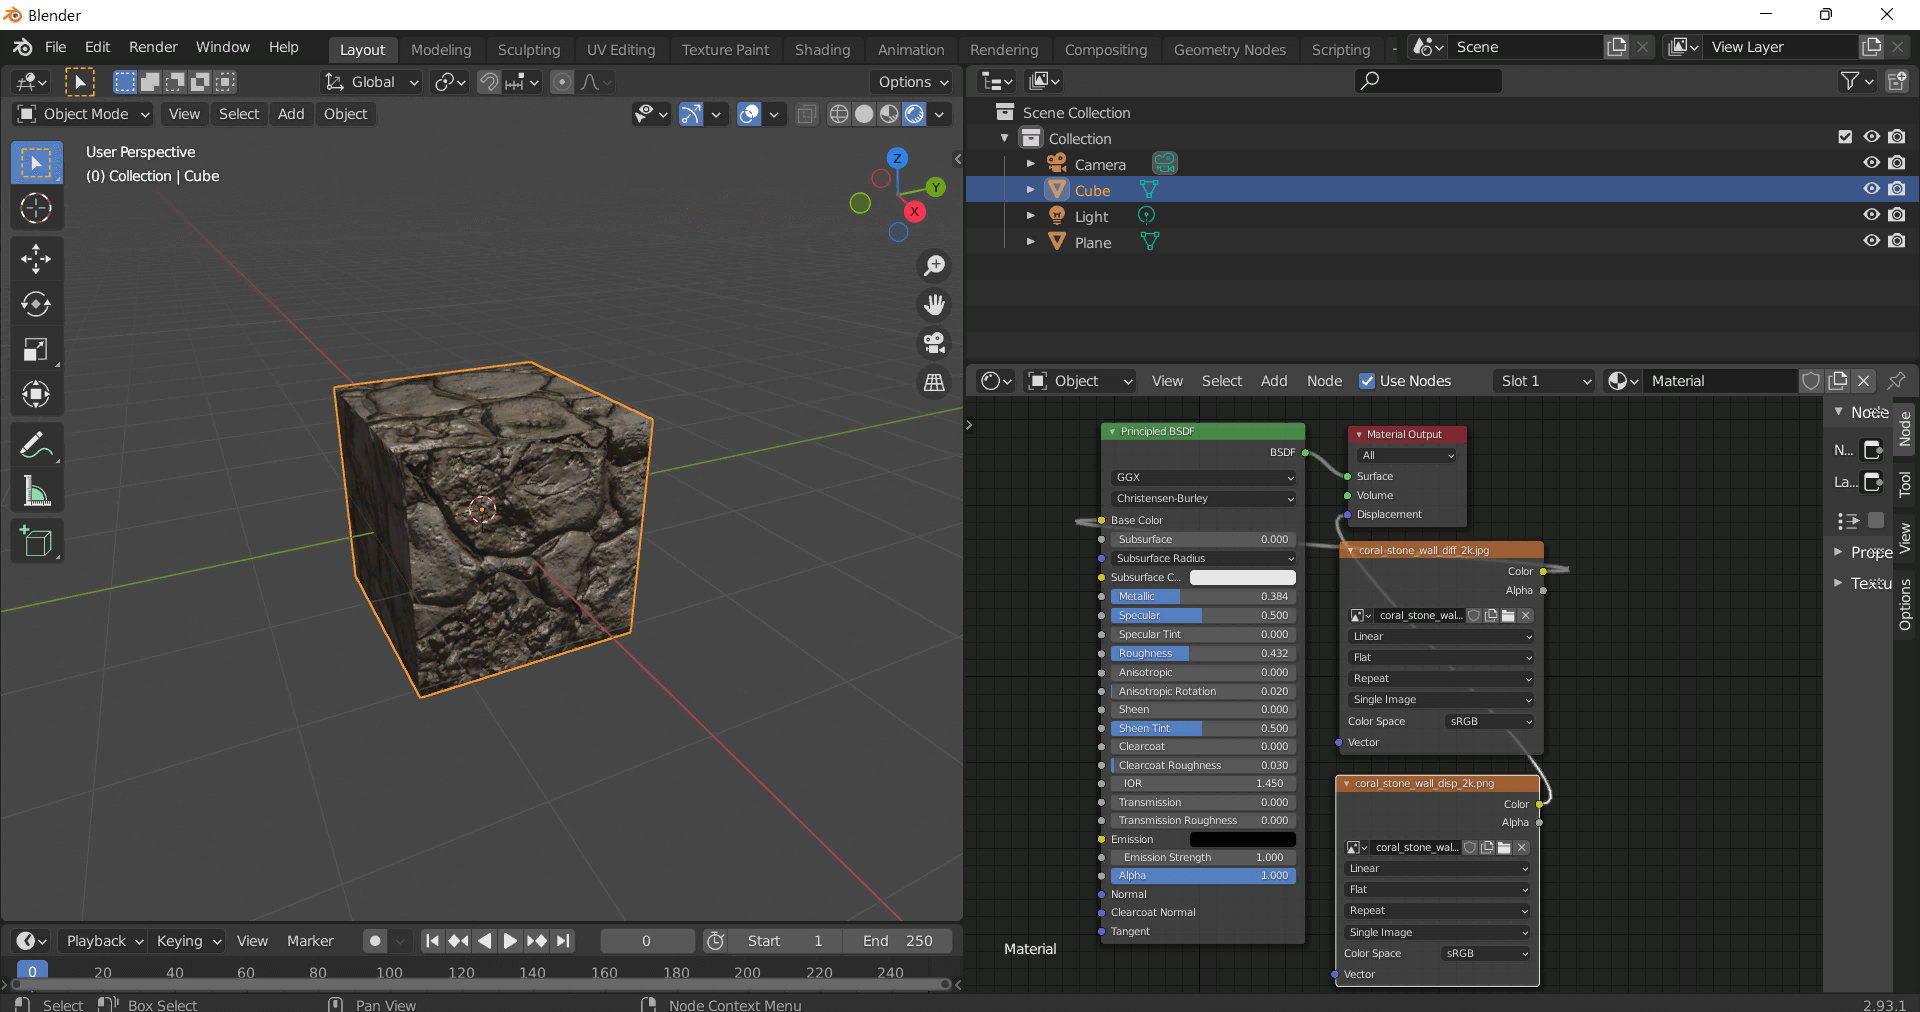
This guide shows how to connect a full PBR texture set to Principled BSDF in Blender (Cycles or Eevee). Works with any of our seamless textures free download, including PBR PNG materials for Blender / Unreal / Unity.
*_albedo.png — Base Color (sRGB)*_normal.png — Normal map (Non-Color)*_roughness.png — Roughness (Non-Color)*_metallic.png — Metallic (Non-Color)*_ao.png — Ambient Occlusion (Non-Color)*_height.png — Height / Displacement (Non-Color)*_ORM.png — Packed map (R=AO, G=Roughness, B=Metallic, Non-Color)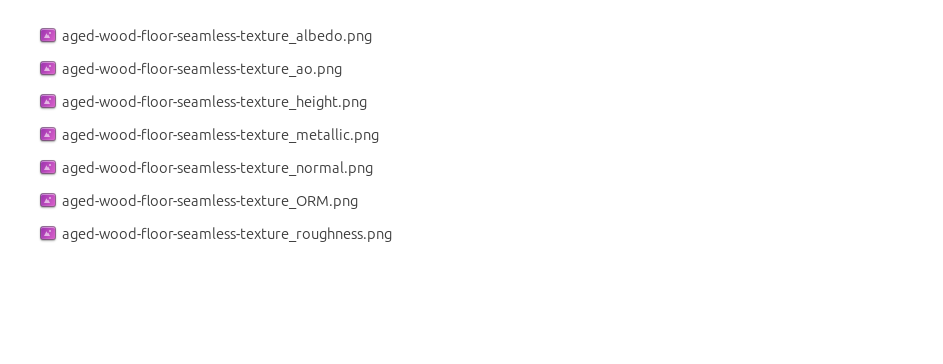
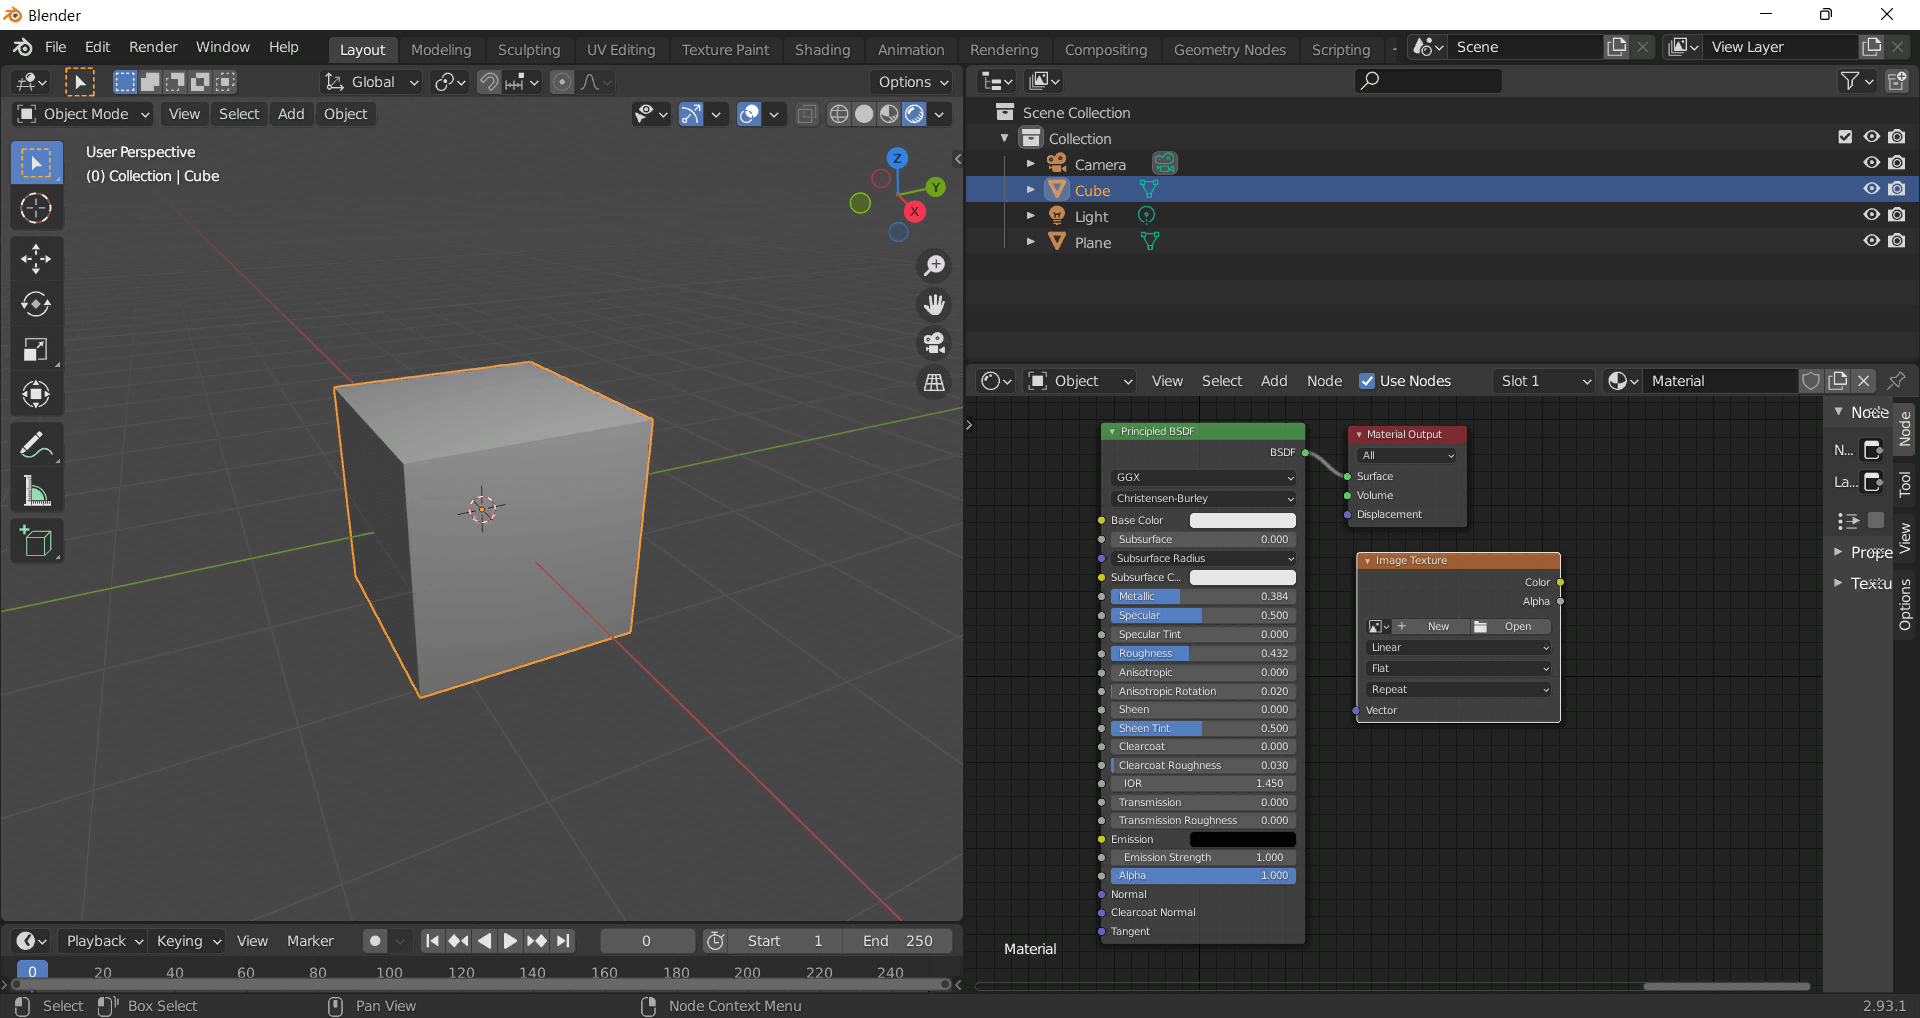
albedo → Base Colorroughness → Roughnessmetallic → Metallic (for wood this often stays near 0)normal → Normal Map node (Type: Tangent Space) → Normal of Principled.
If details look “inverted”, enable Invert Y on the Normal Map node.albedo, Input B = ao, Factor = 1.0.height → Height, set Midlevel = 0.5, Scale = 0.02–0.08 (tune to taste).height → Height.ORM texture (optional)Instead of separate AO/Roughness/Metallic maps you can use the single *_ORM.png:
Example: Download Wood Textures and instantly apply parquet or rustic planks inside Blender for architectural visualization.
To add the downloaded texture, go to Add — Texture — Image Texture.


Build, preview, and export seamless PBR materials. Generate full map sets from a single image, inspect them in a real-time WebGL viewer, and re-package maps for Unreal, Unity, and Blender—directly in your browser.
AI text-to-texture: type a prompt and get a seamless, tileable base image ready for PBR workflows (great starting point for materials).
Create a full PBR set (Normal, Roughness, AO, Metallic, etc.) from a single image. Seamless and tiling-friendly.
Instant WebGL viewer: inspect materials on a sphere, plane, and cube. Check tiling and lighting in real time.
Re-packages maps per engine: Unreal (BaseColor + ORM), Unity (Mask/MetallicSmoothness), Blender (separate channels).
PNG ↔ JPG ↔ SVG: fast convert, SVG rasterize, embed/trace options, quality & background controls.