
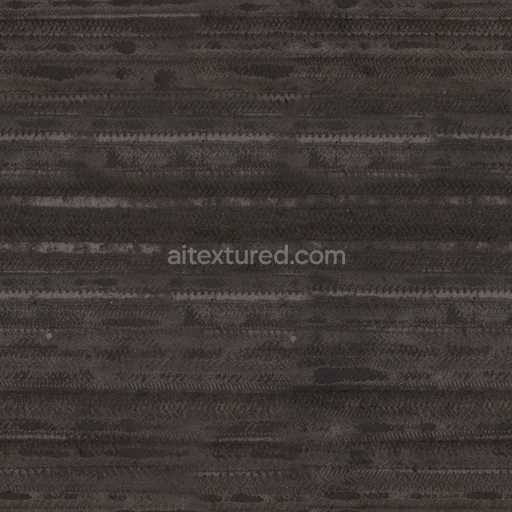
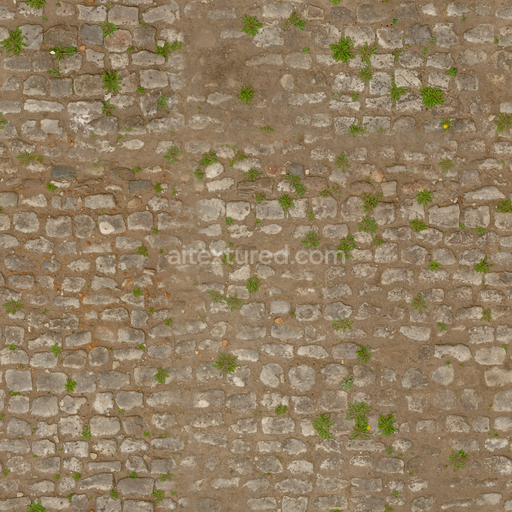
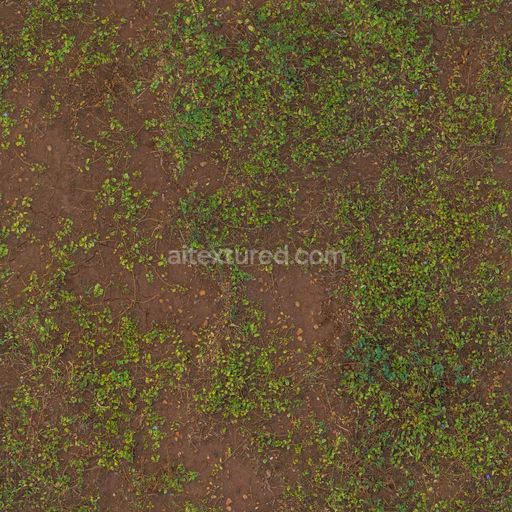
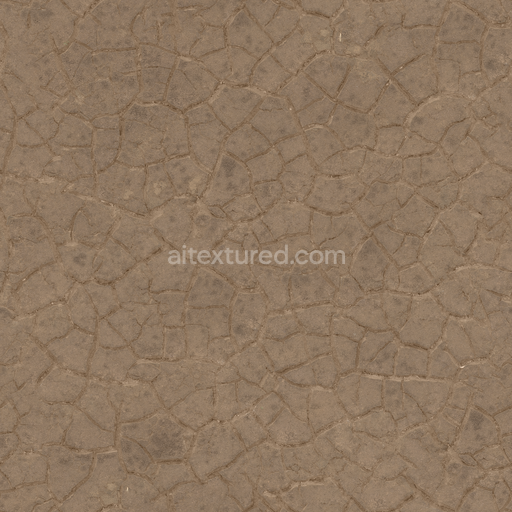
Red Mud Stones - Mud Dirt Flat Soil Cracked Earthy
Seamless texture (tileable) · PNG, WEBP, PBR ZIP. License: AITextured Free Commercial License (FCL) v1.1. Free personal and commercial use. Raw resale, standalone redistribution, mirroring/scraping, competing asset packs, and AI/ML training are not allowed without written permission. Attribution is not required, but appreciated..

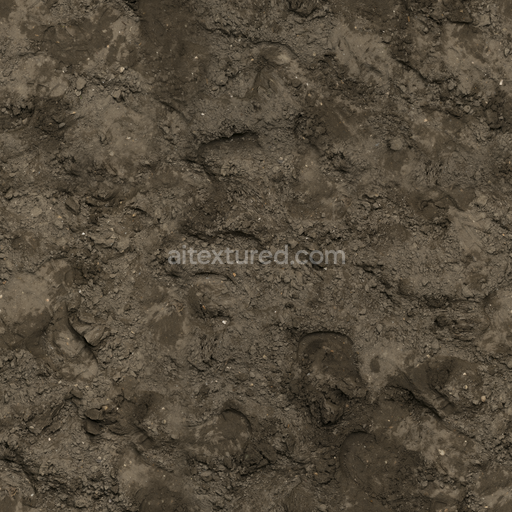
| ID | seamless-3d-texture-pbr-8k-muddy-footprints-on-soft-mud-surface-with-mud-compaction |
|---|---|
| Category | Mud |
| Formats | PNG, WEBP, PBR ZIP |
| Size | 1k (1024x1024px), 2k (2048x2048px), 4k (4096x4096px), 8k (8192x8192px) |
| Color | sRGB |
| Tileable | Yes |
This seamless 3D texture in stunning 8K resolution features photorealistic muddy footprints embedded in a soft mud surface showcasing detailed mud compaction and natural deformation. The base substrate consists primarily of fine organic soil particles mixed with moisture giving the mud its characteristic smooth yet slightly granular appearance. The surface finish captures the wet reflective qualities of soft mud with subtle variations in porosity and compaction that influence how light interacts across the footprint depressions. The interplay of mineral-rich sediments and organic content is evident in the natural brown hues and muted earth tones visible in the BaseColor (Albedo) channel while the Normal and Height maps emphasize the intricate depth and curvature of the footprints and surrounding surface undulations enhancing realism in 3D environments.
Designed with physically based rendering (PBR) workflows in mind this texture includes comprehensive maps to replicate the soft mud’s tactile properties precisely. The Roughness channel reflects the varying moisture levels—drier patches appear rougher and more matte while wetter areas show glossy smooth characteristics. The Metallic map is minimal or absent consistent with the organic non-metallic nature of mud. Ambient Occlusion enhances shadowing within the footprint crevices reinforcing the depth and compaction effects. This mud texture’s seamless tiling capability ensures it can cover large ground surfaces without visible repetition making it ideal for realistic ground modeling in Unreal Engine Blender or Unity projects that demand high fidelity and natural micro-variations in terrain.
To maximize the visual impact and realism it is recommended to adjust the UV scale appropriately so the footprint details remain proportional to the scene’s scale. Fine-tuning the roughness values can help simulate drying mud or freshly trodden footprints depending on environmental context. The high-resolution 8K detail supports advanced parallax or displacement mapping allowing for enhanced dimensionality and interaction with dynamic lighting. This muddy footprints seamless 3D PBR texture is perfectly suited for outdoor environments forest floors construction sites or any setting requiring authentic soft mud surfaces with evident compaction and moisture effects providing versatile and natural results in any 3D rendering pipeline.
Import the texture maps into Blender with sRGB color space for albedo/base color and Non-Color for normal, roughness, metallic, AO, height, and ORM maps. Connect normal maps through a Normal Map node, then adjust UV scale with a Mapping node so the material repeats naturally on your model.
For the full step-by-step setup, see How to Use Seamless Textures in Blender. Browse related material examples in wood, concrete, and metal.
Yes. This texture is designed as a seamless tileable PBR material, so it can repeat across large surfaces without visible borders.
You can download PNG/WEBP versions and use 1K, 2K, 4K and 8K download options when available on the page.
Yes. The download options and engine-mapped ZIP workflow are designed for Blender, Unreal Engine, Unity Standard, URP and HDRP material pipelines.
Yes. The texture is available under the AITextured free commercial license. Review the license page for redistribution and AI-training restrictions.
Build, preview, and export seamless PBR materials. Generate full map sets from a single image, inspect them in a real-time WebGL viewer, and re-package maps for Unreal, Unity, and Blender—directly in your browser.
AI text-to-texture: type a prompt and get a seamless, tileable base image ready for PBR workflows (great starting point for materials).
Create a full PBR set (Normal, Roughness, AO, Metallic, etc.) from a single image. Seamless and tiling-friendly.
Instant WebGL viewer: inspect materials on a sphere, plane, and cube. Check tiling and lighting in real time.
Re-packages maps per engine: Unreal (BaseColor + ORM), Unity (Mask/MetallicSmoothness), Blender (separate channels).
PNG ↔ JPG ↔ SVG: fast convert, SVG rasterize, embed/trace options, quality & background controls.