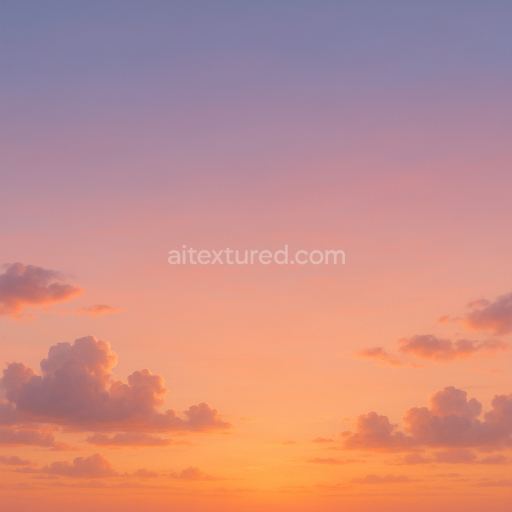
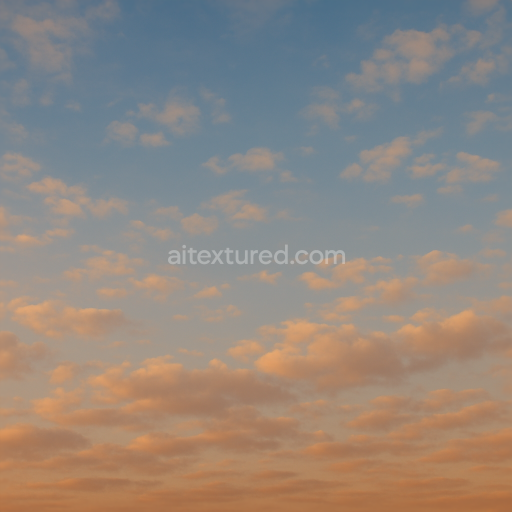
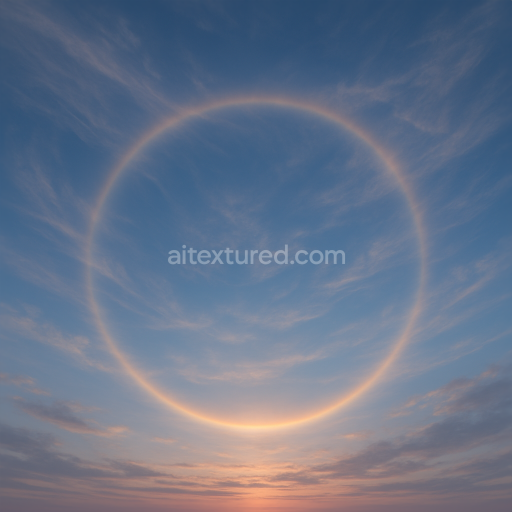
Sunset seamless 8K PBR 3D texture with vibrant sky gradient and dramatic cloudscape
Seamless texture (tileable) · PNG, WEBP, PBR ZIP. License: AITextured Free Commercial License (FCL) v1.1. Free personal and commercial use. Raw resale, standalone redistribution, mirroring/scraping, competing asset packs, and AI/ML training are not allowed without written permission. Attribution is not required, but appreciated..

| ID | seamless-8k-pbr-3d-texture-of-clear-blue-sky-with-soft-clouds-for-photorealistic-rendering |
|---|---|
| Category | Sky |
| Formats | PNG, WEBP, PBR ZIP |
| Size | 1k (1024x1024px), 2k (2048x2048px), 4k (4096x4096px), 8k (8192x8192px) |
| Color | sRGB |
| Tileable | Yes |
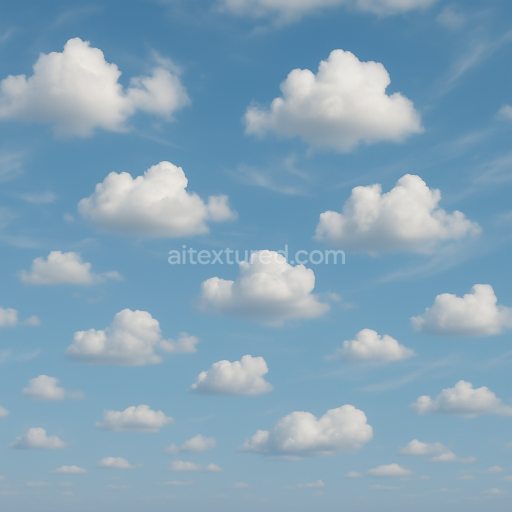
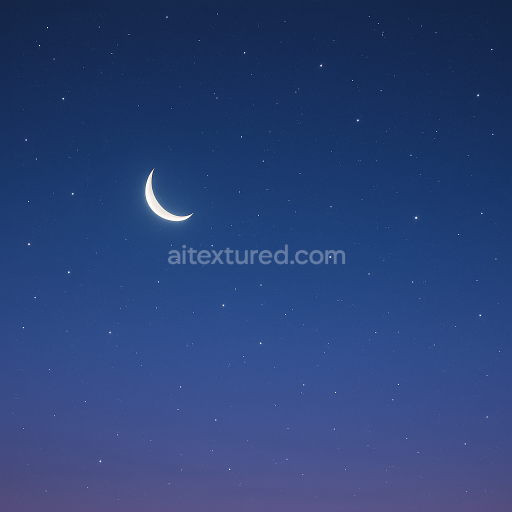
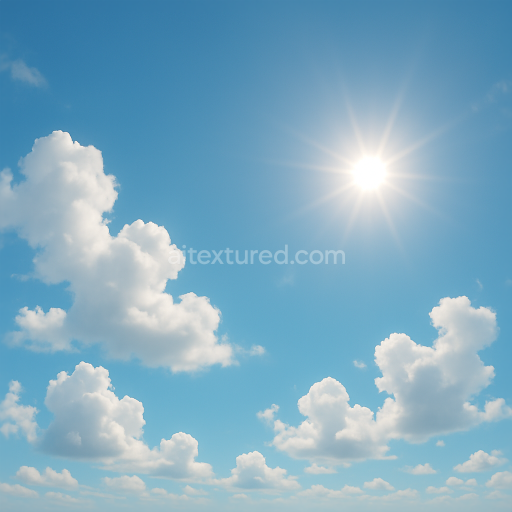
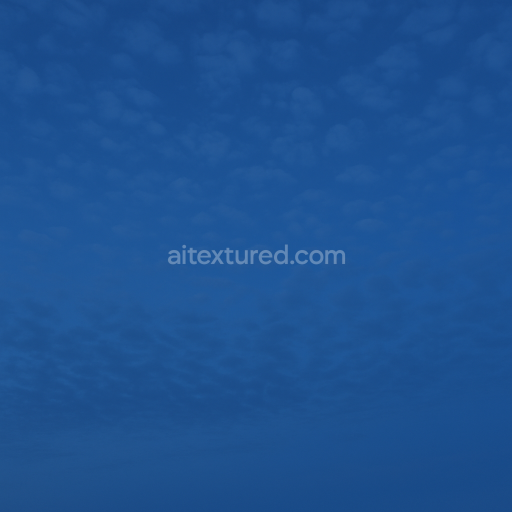
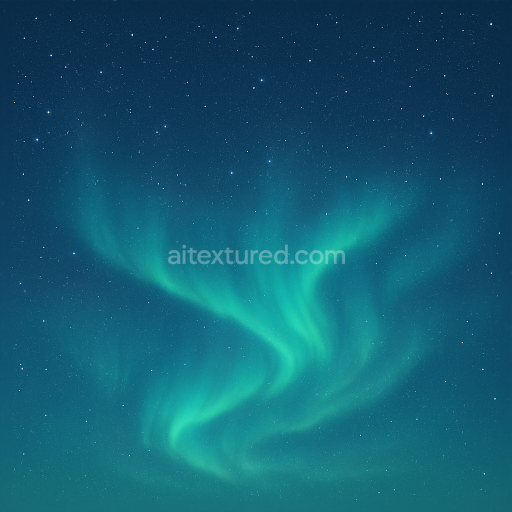
This seamless 8k PBR 3D texture depicts a clear blue sky with soft diffuse clouds designed to replicate the natural atmosphere of a daytime sky dome. The underlying material can be conceptualized as a lightweight translucent atmospheric layer composed primarily of fine water vapor particles suspended within a gaseous substrate. This substrate analogous to a thin volumetric film is uniformly tinted with blue pigments that simulate Rayleigh scattering giving the sky its characteristic gradient from horizon to zenith. The soft clouds are formed by aggregated microdroplets creating subtle variations in opacity and light diffusion. These elements combine to produce a smooth continuous surface without visible seams or abrupt transitions essential for skybox and panoramic applications.
From a PBR perspective this texture’s BaseColor (Albedo) channel captures the nuanced color gradients and cloud patterns with high fidelity utilizing a broad spectrum of pale blues and whites to replicate natural light scattering and cloud translucency. The Normal map subtly encodes gentle volumetric undulations of the cloud surfaces enhancing the perception of depth without hard edges. Roughness values are carefully balanced to reflect the soft matte nature of the sky avoiding glossiness while maintaining slight light diffusion effects. Metallic content is effectively zero as atmospheric elements do not exhibit metallic properties. Ambient Occlusion provides minimal shadowing to emphasize volumetric cloud layers while the Height/Displacement map offers a low-relief simulation of cloud contours for parallax effects in 3D environments.
The texture’s ultra-high 8k resolution ensures exceptional detail and smooth gradients vital for large-scale renders and close camera angles in Blender Unreal Engine and Unity projects. Its seamless design allows for infinite tiling across spherical or dome-shaped skyboxes maintaining visual continuity without distortion. The surface finish mimics the soft diffuse scattering of sunlight through air and moisture resulting in a naturalistic sky background that enhances realism in outdoor scenes. The combination of high-resolution color data and finely tuned PBR maps supports accurate lighting interaction and depth perception in physically based rendering workflows.
For optimal use it is recommended to adjust the UV scale to encompass the entire sky dome evenly preventing pixelation or repetition artifacts. Fine-tuning the Roughness channel can help simulate varying atmospheric clarity from crisp midday skies to slightly hazy conditions. Additionally blending the Height/Displacement map with subtle Normal map details can improve parallax effects when used in close-up shots or VR environments enhancing the three-dimensional illusion of cloud layers without heavy geometry overhead.
Import the texture maps into Blender with sRGB color space for albedo/base color and Non-Color for normal, roughness, metallic, AO, height, and ORM maps. Connect normal maps through a Normal Map node, then adjust UV scale with a Mapping node so the material repeats naturally on your model.
For the full step-by-step setup, see How to Use Seamless Textures in Blender. Browse related material examples in wood, concrete, and metal.
Yes. This texture is designed as a seamless tileable PBR material, so it can repeat across large surfaces without visible borders.
You can download PNG/WEBP versions and use 1K, 2K, 4K and 8K download options when available on the page.
Yes. The download options and engine-mapped ZIP workflow are designed for Blender, Unreal Engine, Unity Standard, URP and HDRP material pipelines.
Yes. The texture is available under the AITextured free commercial license. Review the license page for redistribution and AI-training restrictions.


Build, preview, and export seamless PBR materials. Generate full map sets from a single image, inspect them in a real-time WebGL viewer, and re-package maps for Unreal, Unity, and Blender—directly in your browser.
AI text-to-texture: type a prompt and get a seamless, tileable base image ready for PBR workflows (great starting point for materials).
Create a full PBR set (Normal, Roughness, AO, Metallic, etc.) from a single image. Seamless and tiling-friendly.
Instant WebGL viewer: inspect materials on a sphere, plane, and cube. Check tiling and lighting in real time.
Re-packages maps per engine: Unreal (BaseColor + ORM), Unity (Mask/MetallicSmoothness), Blender (separate channels).
PNG ↔ JPG ↔ SVG: fast convert, SVG rasterize, embed/trace options, quality & background controls.