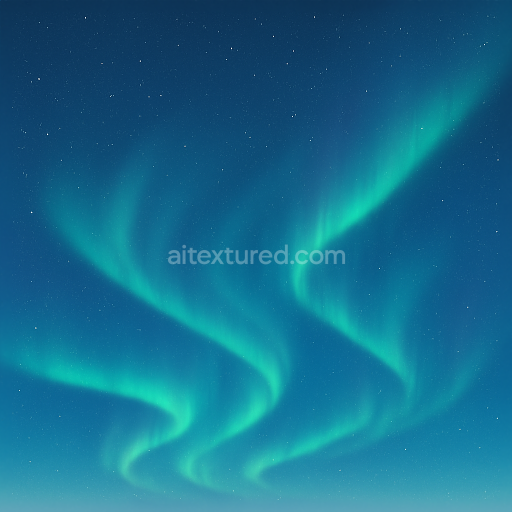
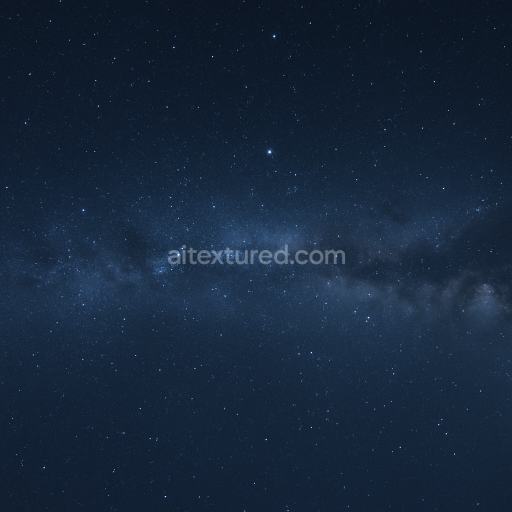
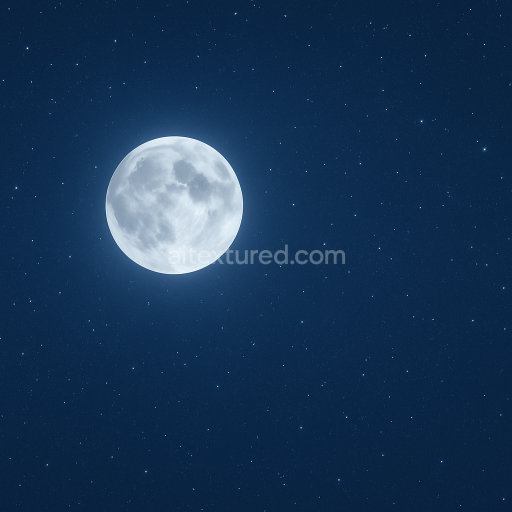
Seamless 8K PBR 3D texture of polar sky with aurora australis and cold winter sky elements
Seamless texture (tileable) · PNG, WEBP, PBR ZIP. License: AITextured Free Commercial License (FCL) v1.1. Free personal and commercial use. Raw resale, standalone redistribution, mirroring/scraping, competing asset packs, and AI/ML training are not allowed without written permission. Attribution is not required, but appreciated..

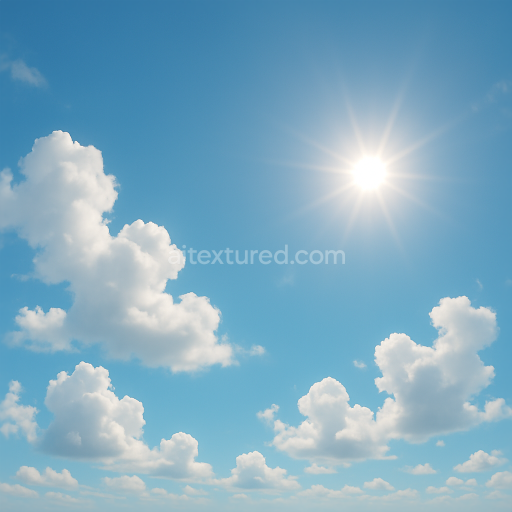
| ID | seamless-8k-pbr-3d-texture-of-rainbow-sky-with-bright-sun-glare-and-scattered-cumulus-clouds |
|---|---|
| Category | Sky |
| Formats | PNG, WEBP, PBR ZIP |
| Size | 1k (1024x1024px), 2k (2048x2048px), 4k (4096x4096px), 8k (8192x8192px) |
| Color | sRGB |
| Tileable | Yes |
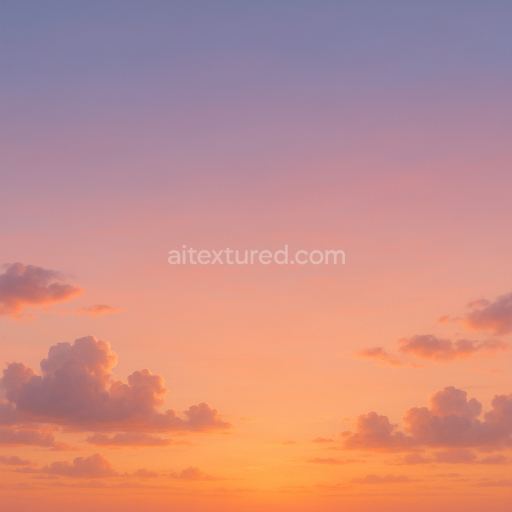
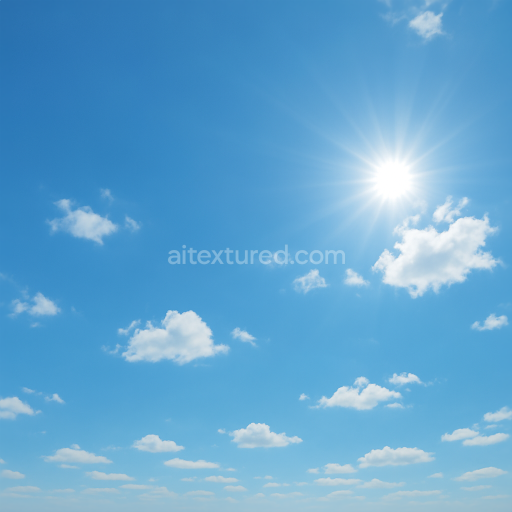
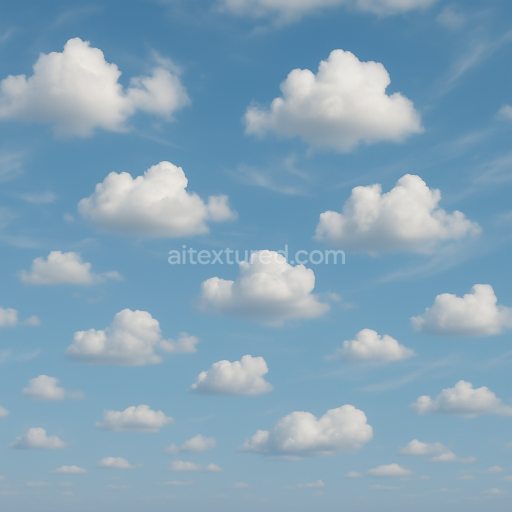
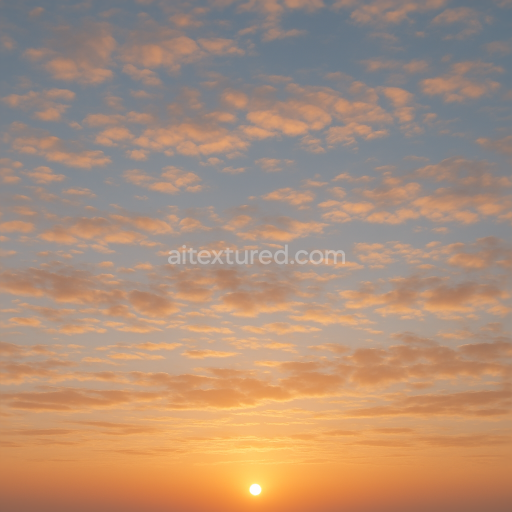
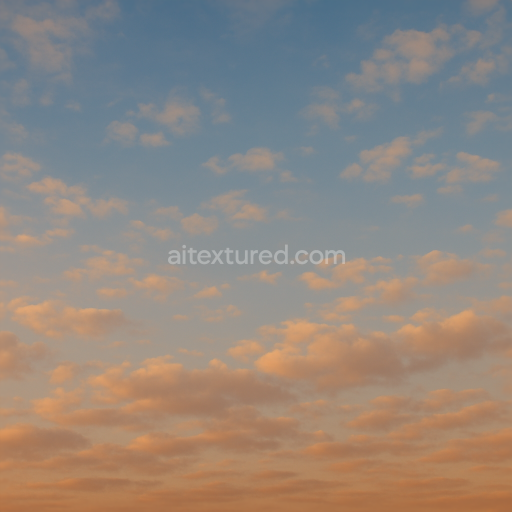
This seamless 8K PBR 3D texture represents a highly detailed sky dome featuring a vivid rainbow arching across a clear blue atmosphere punctuated by scattered cumulus clouds and a bright sun glare. The material composition simulates a complex atmospheric layer with a translucent air substrate where the rainbow is formed by light dispersion and refraction within moisture particles. The cumulus clouds present a soft fibrous aggregate structure with varying density creating subtle volumetric depth and porosity that influences light scattering. The sun glare area is modeled as a bright nearly diffuse light source with a slight bloom effect representing intense solar irradiance interacting with the atmospheric particles.
From a geometric perspective the texture is designed as a seamless spherical sky dome projection with smooth gradients and natural cloud formations that avoid repetitive tiling artifacts. The underlying form relies on a blend of soft-edged amorphous cloud shapes contrasted by the smooth continuous gradient of the clear sky background. This design ensures a realistic panoramic skybox suitable for immersive environments. The texture’s surface finish is matte and slightly diffused to mimic the natural scattering of sunlight in the atmosphere with no metallic elements present. Colorants are carefully balanced pigments representing clear sky blue white cloud highlights and the full spectrum of the rainbow’s colors applied in a gradient fashion to the BaseColor (Albedo) channel.
In terms of PBR channel integration the BaseColor channel carries the vibrant sky hues and cloud whites while the Normal map subtly encodes the volumetric softness and light modulation of the clouds’ edges. Roughness is tuned high overall to maintain a non-glossy soft appearance but slightly reduced near the sun glare to simulate the intense brightness and light bloom. The Metallic channel is uniformly black as the sky and clouds have no metallic properties. Ambient Occlusion gently enhances the cloud shadows and atmospheric depth while the Height/Displacement map captures minor vertical variations in cloud density and sun glare intensity to enhance parallax effects when viewed close-up.
This texture is optimized for use in Blender Unreal Engine and Unity offering smooth performance even at native 8K resolution. For best results it is recommended to adjust the UV scale to fit the specific sky dome geometry and to fine-tune the roughness map near the sun glare to balance realism and performance. Blending the Height map with the Normal map can further improve the perception of volumetric cloud layers in parallax or displacement-enabled renderers enhancing immersion in outdoor scenes requiring natural sky backdrops.
Import the texture maps into Blender with sRGB color space for albedo/base color and Non-Color for normal, roughness, metallic, AO, height, and ORM maps. Connect normal maps through a Normal Map node, then adjust UV scale with a Mapping node so the material repeats naturally on your model.
For the full step-by-step setup, see How to Use Seamless Textures in Blender. Browse related material examples in wood, concrete, and metal.
Yes. This texture is designed as a seamless tileable PBR material, so it can repeat across large surfaces without visible borders.
You can download PNG/WEBP versions and use 1K, 2K, 4K and 8K download options when available on the page.
Yes. The download options and engine-mapped ZIP workflow are designed for Blender, Unreal Engine, Unity Standard, URP and HDRP material pipelines.
Yes. The texture is available under the AITextured free commercial license. Review the license page for redistribution and AI-training restrictions.


Build, preview, and export seamless PBR materials. Generate full map sets from a single image, inspect them in a real-time WebGL viewer, and re-package maps for Unreal, Unity, and Blender—directly in your browser.
AI text-to-texture: type a prompt and get a seamless, tileable base image ready for PBR workflows (great starting point for materials).
Create a full PBR set (Normal, Roughness, AO, Metallic, etc.) from a single image. Seamless and tiling-friendly.
Instant WebGL viewer: inspect materials on a sphere, plane, and cube. Check tiling and lighting in real time.
Re-packages maps per engine: Unreal (BaseColor + ORM), Unity (Mask/MetallicSmoothness), Blender (separate channels).
PNG ↔ JPG ↔ SVG: fast convert, SVG rasterize, embed/trace options, quality & background controls.