
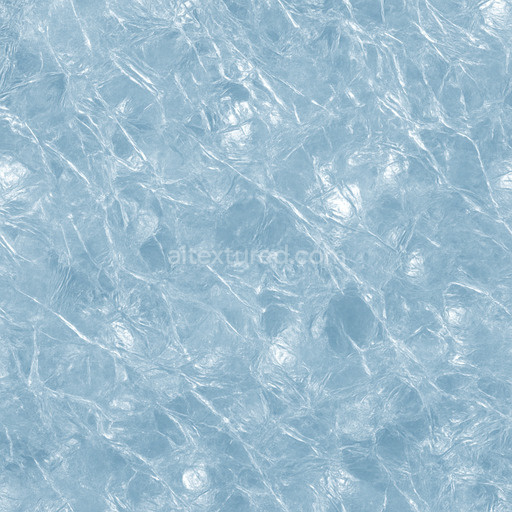
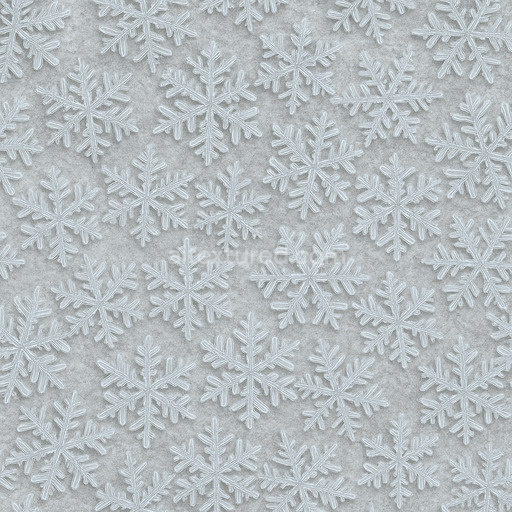
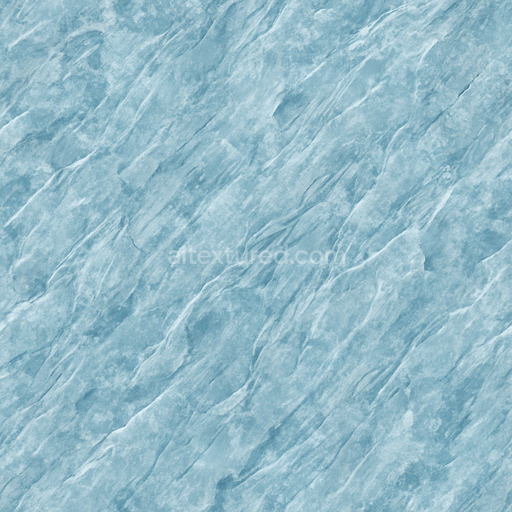
Shiny Glacier Ice Seamless Texture
Seamless texture (tileable) · PNG, WEBP, PBR ZIP. License: AITextured Free Commercial License (FCL) v1.1. Free personal and commercial use. Raw resale, standalone redistribution, mirroring/scraping, competing asset packs, and AI/ML training are not allowed without written permission. Attribution is not required, but appreciated..

| ID | slushy-snow-semi-melted |
|---|---|
| Category | Snow-ice |
| Formats | PNG, WEBP, PBR ZIP |
| Size | 1k (1024x1024px), 2k (2048x2048px), 4k (4096x4096px), 8k (8192x8192px) |
| Color | sRGB |
| Tileable | Yes |
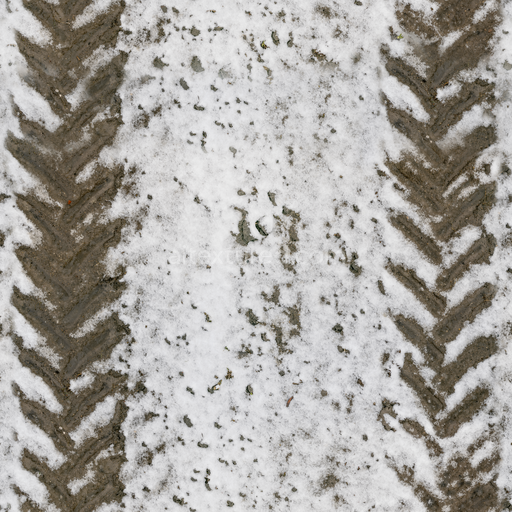
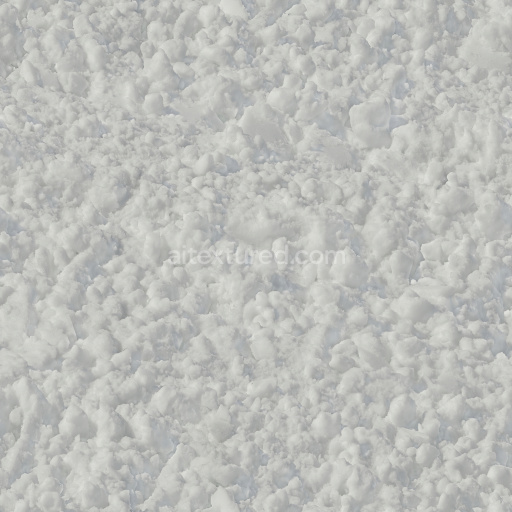
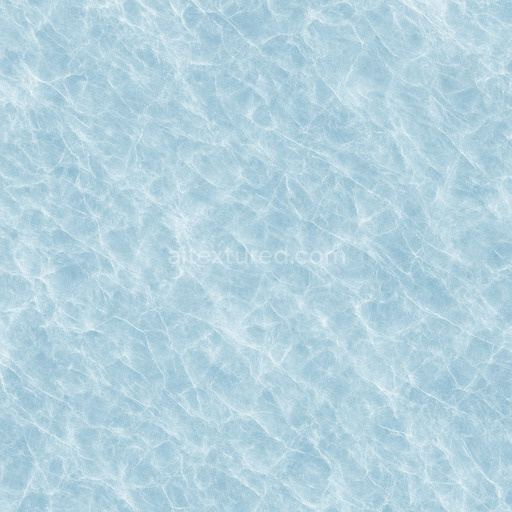
The slushy snow semi melted texture is an expertly crafted seamless snow-ice surface designed to realistically replicate the natural appearance of partially melted slushy snow deposits. This generated material simulates an organic substrate composed primarily of loosely compacted ice crystals intermingled with fine mineral particulates and moisture content resulting in an irregular semi-translucent granular structure. The surface exhibits subtle porosity with varying degrees of wetness and frost accumulation effectively mimicking the natural transition from rigid snow to melting slush. Its base coloration blends soft whites pale blues and muted grays reflecting the complex interplay of light within semi-melted ice and mineral grains captured in the BaseColor/Albedo channel to enhance realism and depth.
From a materials perspective the texture’s roughness channel expertly represents the variable surface finish typical of slushy snow—showcasing partially glossy patches where moisture pools contrast with more matte areas where drier snow crystals remain exposed. The Normal map highlights fine micro-geometry revealing tiny ridges and indentations formed by repeated melting and refreezing cycles while the Height/Displacement map provides tactile depth ideal for parallax displacement techniques. The Metallic map remains minimal and neutral consistent with the organic non-metallic nature of snow and ice. Ambient Occlusion is finely tuned to emphasize subtle crevices and shadowing within the granular topology enhancing three-dimensionality under diverse lighting conditions.
Designed for high-resolution applications up to 8K this tileable slushy snow semi melted texture ensures crisp detail and seamless scalability across large models and terrains. It is fully compatible with popular 3D workflows including Blender Unreal Engine and Unity enabling realistic snow-ice surface creation in architectural visualization immersive game environments and detailed product mockups. To achieve optimal results maintaining a uniform UV scale and texel density is recommended to avoid stretching and preserve consistent visual fidelity. Additionally fine-tuning the roughness map can further enhance the portrayal of varying wetness levels allowing users to simulate subtle transitions between wet slush and drier snow surfaces with precision.
The generated seamless slushy snow semi melted texture offers realistic snow-ice textures with detailed PBR appearance allowing for an accurate 3D preview of material behavior under varying environmental conditions.
Import the texture maps into Blender with sRGB color space for albedo/base color and Non-Color for normal, roughness, metallic, AO, height, and ORM maps. Connect normal maps through a Normal Map node, then adjust UV scale with a Mapping node so the material repeats naturally on your model.
For the full step-by-step setup, see How to Use Seamless Textures in Blender. Browse related material examples in wood, concrete, and metal.
Yes. This texture is designed as a seamless tileable PBR material, so it can repeat across large surfaces without visible borders.
You can download PNG/WEBP versions and use 1K, 2K, 4K and 8K download options when available on the page.
Yes. The download options and engine-mapped ZIP workflow are designed for Blender, Unreal Engine, Unity Standard, URP and HDRP material pipelines.
Yes. The texture is available under the AITextured free commercial license. Review the license page for redistribution and AI-training restrictions.

Build, preview, and export seamless PBR materials. Generate full map sets from a single image, inspect them in a real-time WebGL viewer, and re-package maps for Unreal, Unity, and Blender—directly in your browser.
AI text-to-texture: type a prompt and get a seamless, tileable base image ready for PBR workflows (great starting point for materials).
Create a full PBR set (Normal, Roughness, AO, Metallic, etc.) from a single image. Seamless and tiling-friendly.
Instant WebGL viewer: inspect materials on a sphere, plane, and cube. Check tiling and lighting in real time.
Re-packages maps per engine: Unreal (BaseColor + ORM), Unity (Mask/MetallicSmoothness), Blender (separate channels).
PNG ↔ JPG ↔ SVG: fast convert, SVG rasterize, embed/trace options, quality & background controls.