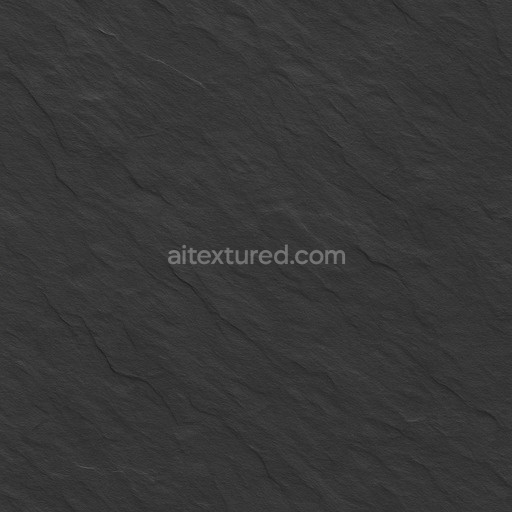
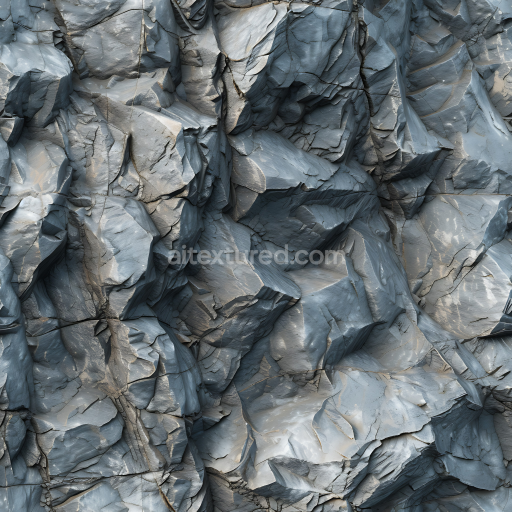
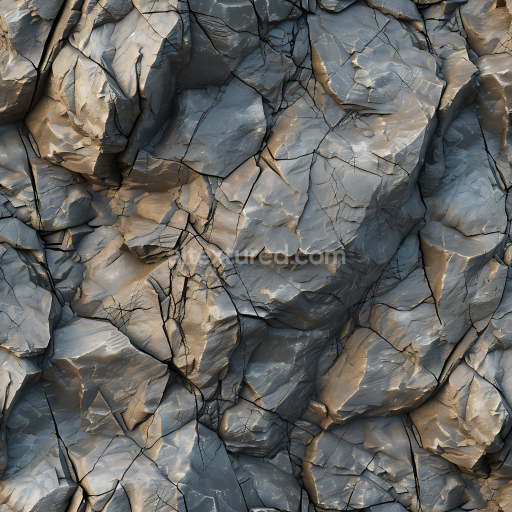
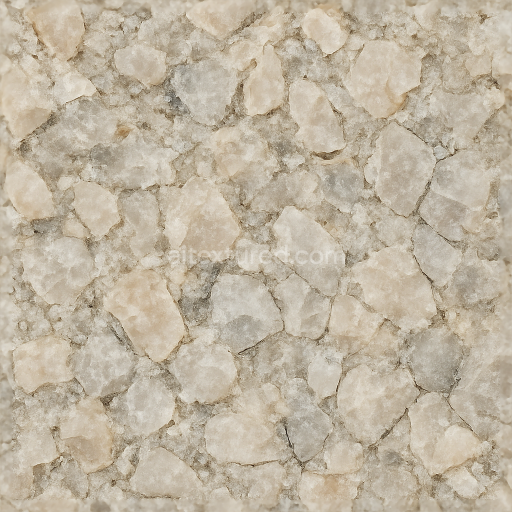
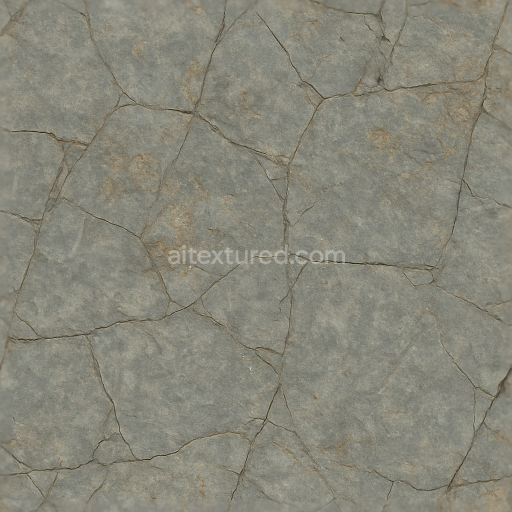
Matte Slate Seamless Texture
Seamless texture (tileable) · PNG, WEBP, PBR ZIP. License: AITextured Free Commercial License (FCL) v1.1. Free personal and commercial use. Raw resale, standalone redistribution, mirroring/scraping, competing asset packs, and AI/ML training are not allowed without written permission. Attribution is not required, but appreciated..

| ID | seamless-3d-texture-pbr-8k-travertine-sedimentary-rock-banded-stone-polished-stone |
|---|---|
| Category | Stone |
| Formats | PNG, WEBP, PBR ZIP |
| Size | 1k (1024x1024px), 2k (2048x2048px), 4k (4096x4096px), 8k (8192x8192px) |
| Color | sRGB |
| Tileable | Yes |
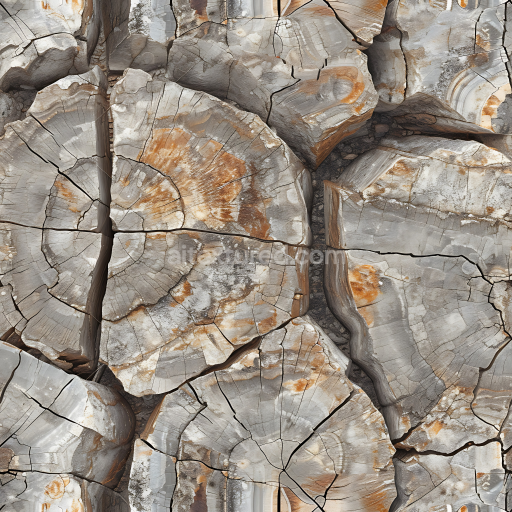
This seamless 3D texture represents a high-resolution 8K photorealistic rendering of travertine a classic sedimentary rock known for its distinctive banded stone appearance. Travertine forms through the precipitation of calcium carbonate in mineral springs resulting in layered sediment bands that create subtle linear patterns and natural veining. The texture captures the stone’s inherent geological stratification showcasing alternating dense and porous layers that reflect the rock’s fibrous and crystalline composition. Its polished stone finish emphasizes a smooth reflective surface that enhances the natural color variations ranging from warm beige to soft cream tones typical of travertine while maintaining subtle imperfections characteristic of weathered stone.
The material composition is predominantly calcium carbonate acting as the main substrate with natural mineral binders that fuse the sediment layers into a cohesive banded formation. The texture reveals fine grain aggregates and occasional micro-porosity which contribute to the stone’s slightly variegated surface roughness and diffuse light scattering. This polished stone texture exhibits minimal metallic properties consistent with natural stone while the roughness channel accurately conveys the balance between smooth reflective patches and areas of matte diffusion caused by micro-erosion. The ambient occlusion map enhances the perception of depth within the banded layers and subtle crevices complementing the normal and height maps that simulate the gentle undulations and chiseled edges of stone tiles or rock faces.
Designed for physically based rendering workflows this PBR texture set includes detailed BaseColor (Albedo) maps that portray the authentic color palette alongside high precision Normal and Height maps that provide fine geometric displacement and surface detail. The Roughness map is calibrated to reflect the polished yet naturally weathered surface without introducing artificial glossiness while the absence of metallic channels aligns with travertine’s non-metallic composition. Ambient Occlusion enhances shadowing effects in crevices and along band transitions delivering a realistic depth impression under various lighting conditions. Its seamless tiling capability ensures flawless repetition across large surfaces ideal for architectural visualizations or digital environments.
Fully compatible with Blender Unreal Engine and Unity this texture supports advanced rendering techniques allowing artists to leverage displacement and parallax mapping for enhanced three-dimensionality. When applying this texture it is advisable to carefully adjust the UV scale to maintain the natural proportion of the sediment bands preventing distortion of the stone’s characteristic linear patterns. Additionally fine-tuning the roughness parameter can help balance the polished shine and matte weathered areas ensuring the material integrates seamlessly within both interior stone tile layouts and rugged exterior rock face simulations.
Import the texture maps into Blender with sRGB color space for albedo/base color and Non-Color for normal, roughness, metallic, AO, height, and ORM maps. Connect normal maps through a Normal Map node, then adjust UV scale with a Mapping node so the material repeats naturally on your model.
For the full step-by-step setup, see How to Use Seamless Textures in Blender. Browse related material examples in wood, concrete, and metal.
Yes. This texture is designed as a seamless tileable PBR material, so it can repeat across large surfaces without visible borders.
You can download PNG/WEBP versions and use 1K, 2K, 4K and 8K download options when available on the page.
Yes. The download options and engine-mapped ZIP workflow are designed for Blender, Unreal Engine, Unity Standard, URP and HDRP material pipelines.
Yes. The texture is available under the AITextured free commercial license. Review the license page for redistribution and AI-training restrictions.
Build, preview, and export seamless PBR materials. Generate full map sets from a single image, inspect them in a real-time WebGL viewer, and re-package maps for Unreal, Unity, and Blender—directly in your browser.
AI text-to-texture: type a prompt and get a seamless, tileable base image ready for PBR workflows (great starting point for materials).
Create a full PBR set (Normal, Roughness, AO, Metallic, etc.) from a single image. Seamless and tiling-friendly.
Instant WebGL viewer: inspect materials on a sphere, plane, and cube. Check tiling and lighting in real time.
Re-packages maps per engine: Unreal (BaseColor + ORM), Unity (Mask/MetallicSmoothness), Blender (separate channels).
PNG ↔ JPG ↔ SVG: fast convert, SVG rasterize, embed/trace options, quality & background controls.