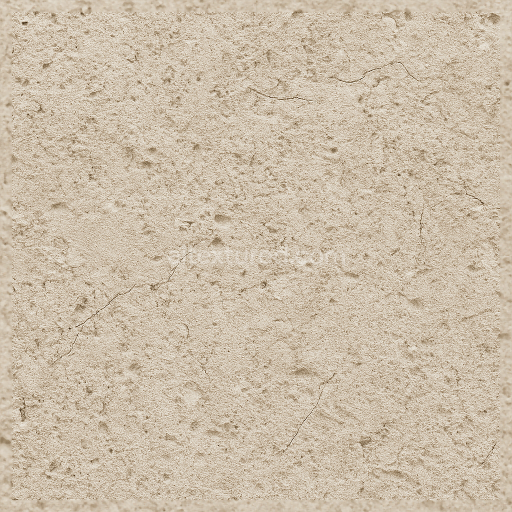
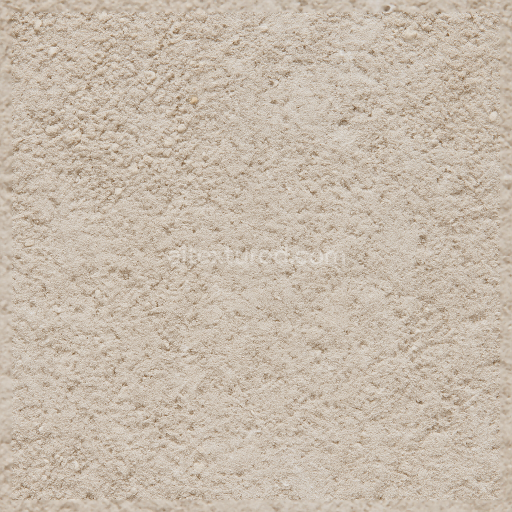
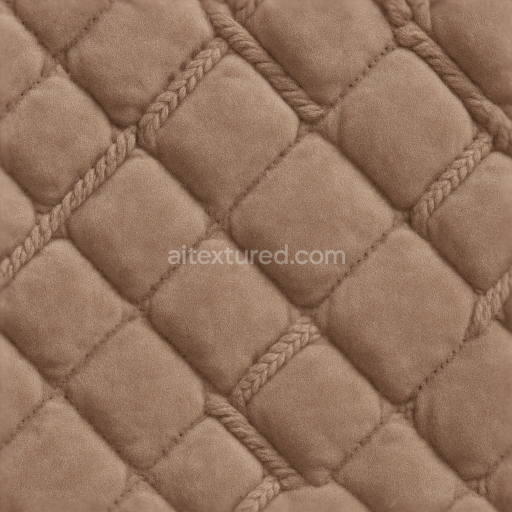
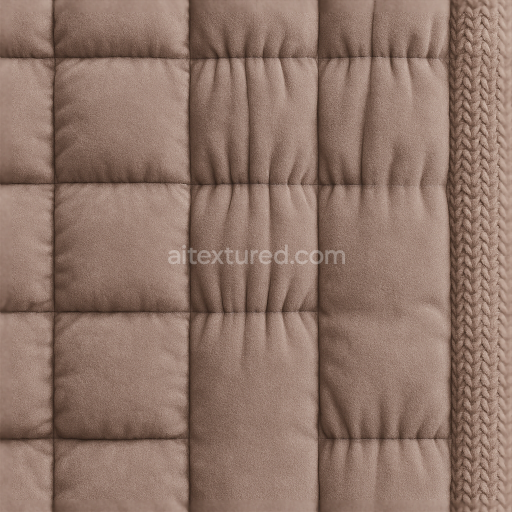
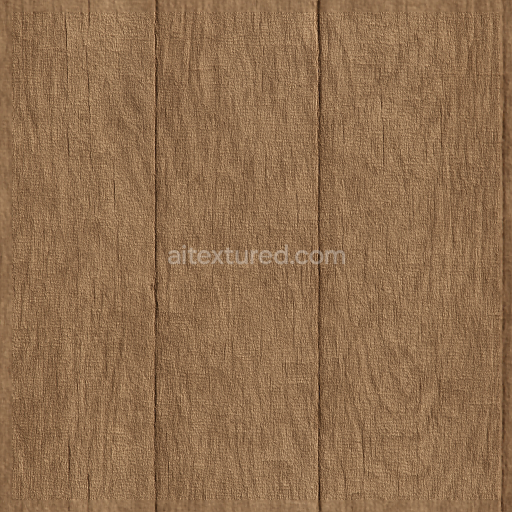
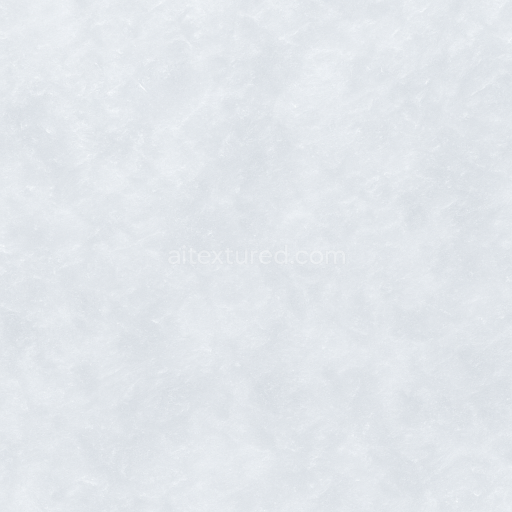
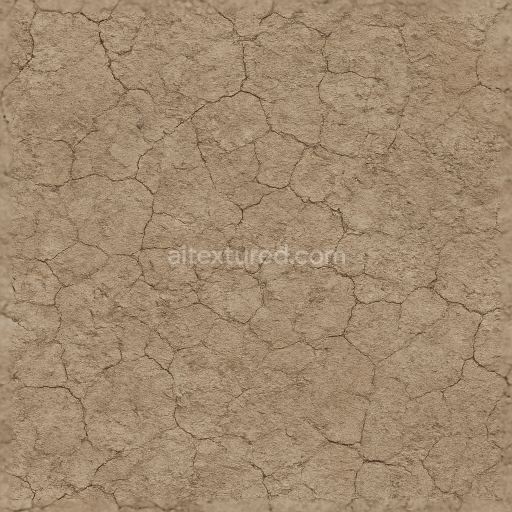
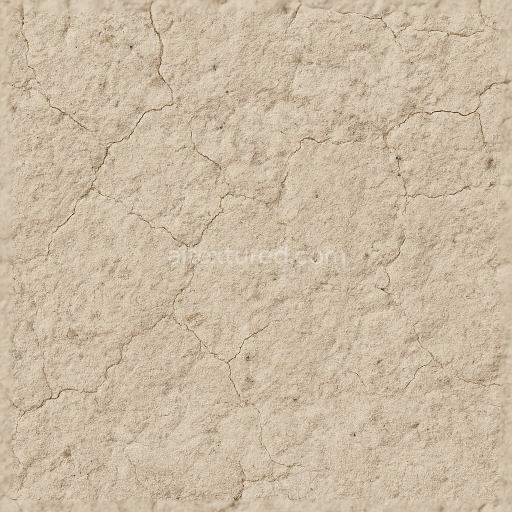
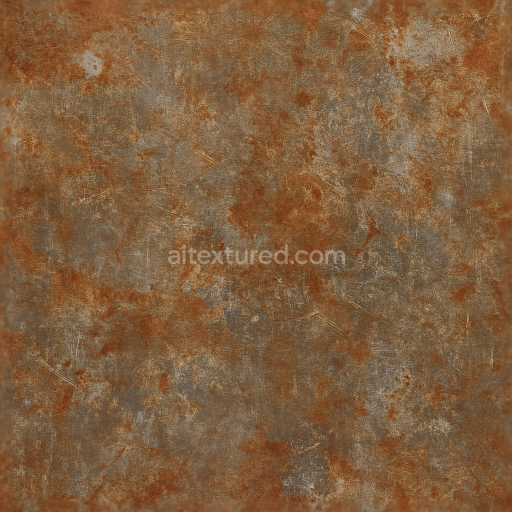
Chalky Powdery Granular Sandy Limestone Surface
Seamless texture (tileable) · PNG, WEBP, PBR ZIP. License: AITextured Free Commercial License (FCL) v1.1. Free personal and commercial use. Raw resale, standalone redistribution, mirroring/scraping, competing asset packs, and AI/ML training are not allowed without written permission. Attribution is not required, but appreciated..

| ID | seamless-3d-texture-pbr-8k-chipped-flaked-rust-flaky-weathered-metal-surface |
|---|---|
| Category | Tactile |
| Formats | PNG, WEBP, PBR ZIP |
| Size | 1k (1024x1024px), 2k (2048x2048px), 4k (4096x4096px), 8k (8192x8192px) |
| Color | sRGB |
| Tileable | Yes |
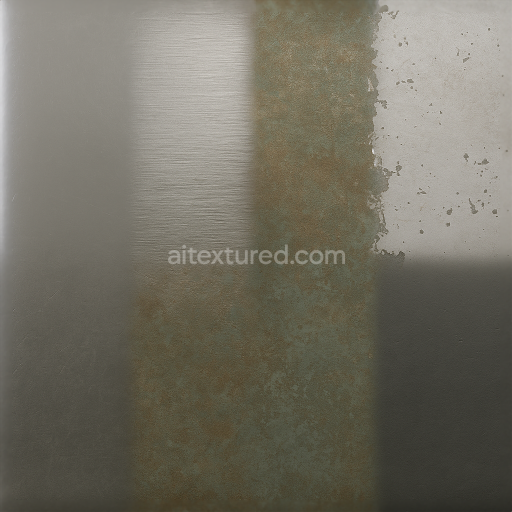
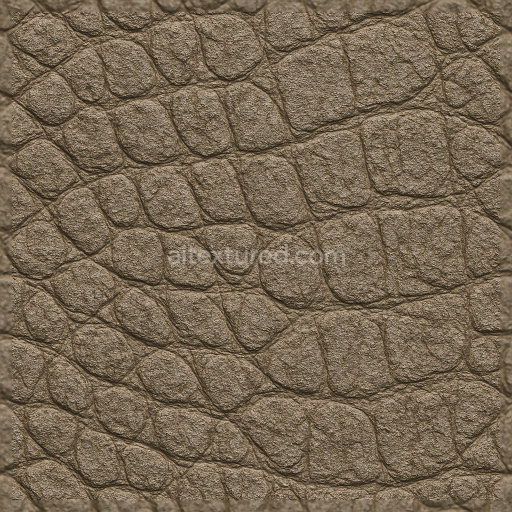
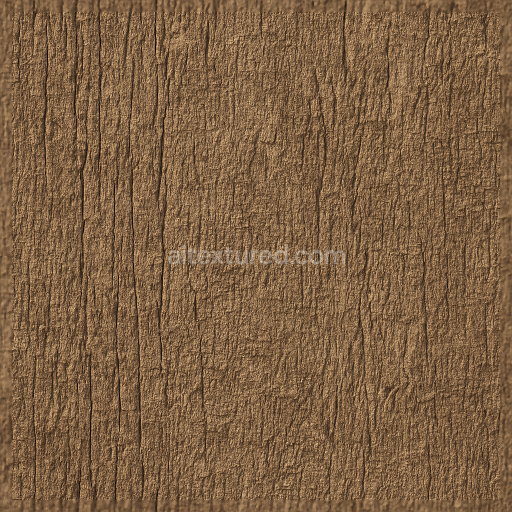
This seamless 3D texture showcases an 8K resolution photorealistic PBR material of a chipped flaked rust flaky metal surface expertly crafted to replicate the complex characteristics of aged and weathered industrial metal. The base substrate is a robust metallic alloy featuring a brushed finish that reveals subtle directional grain patterns while the surface has undergone extensive oxidation resulting in a richly varied patina. Layers of rust and flaky paint chips expose the underlying metal with a rough grainy texture imparting tactile depth and authenticity. The oxidized oxide layers and embedded dirt mimic natural corrosion processes creating a highly detailed surface that balances metallic reflectivity with matte scuffed and scratched areas enhancing the sense of wear and tear typical of post-apocalyptic or heavy machinery environments.
In terms of PBR channel composition the BaseColor (Albedo) captures the nuanced color palette of rusty reds dark browns and faded paint remnants accurately representing the oxidized and chipped elements. The Normal map conveys fine surface irregularities such as flakes pits and scratches lending dimensionality and realism. Roughness values vary naturally across the texture highlighting the contrast between polished brushed metal patches and rough flaky rust deposits. The Metallic channel differentiates exposed bare metal areas with high metalness from non-metallic rust and paint layers. Ambient Occlusion enhances shadowed crevices beneath flakes and chips while the Height (Displacement) map provides subtle relief that boosts realism when used with parallax or tessellation techniques in engines like Unreal Blender or Unity.
Designed to tile seamlessly without visible seams or repetition this texture ensures continuous surface coverage with natural micro-variations ideal for large-scale industrial or post-apocalyptic scenes. Its ultra-high 8K resolution preserves intricate details even on close-up views making it perfect for photorealistic renders and real-time applications. When applying this material adjusting the UV scale to moderate levels is recommended to maintain the balance between detail and performance while fine-tuning roughness can help simulate varying degrees of weathering and polish. This texture is fully compatible and ready for integration into Blender Unreal Engine and Unity offering artists and developers a versatile authentic weathered metal finish for machinery structural elements or any design requiring a rugged aged aesthetic.
Import the texture maps into Blender with sRGB color space for albedo/base color and Non-Color for normal, roughness, metallic, AO, height, and ORM maps. Connect normal maps through a Normal Map node, then adjust UV scale with a Mapping node so the material repeats naturally on your model.
For the full step-by-step setup, see How to Use Seamless Textures in Blender. Browse related material examples in wood, concrete, and metal.
Yes. This texture is designed as a seamless tileable PBR material, so it can repeat across large surfaces without visible borders.
You can download PNG/WEBP versions and use 1K, 2K, 4K and 8K download options when available on the page.
Yes. The download options and engine-mapped ZIP workflow are designed for Blender, Unreal Engine, Unity Standard, URP and HDRP material pipelines.
Yes. The texture is available under the AITextured free commercial license. Review the license page for redistribution and AI-training restrictions.

Build, preview, and export seamless PBR materials. Generate full map sets from a single image, inspect them in a real-time WebGL viewer, and re-package maps for Unreal, Unity, and Blender—directly in your browser.
AI text-to-texture: type a prompt and get a seamless, tileable base image ready for PBR workflows (great starting point for materials).
Create a full PBR set (Normal, Roughness, AO, Metallic, etc.) from a single image. Seamless and tiling-friendly.
Instant WebGL viewer: inspect materials on a sphere, plane, and cube. Check tiling and lighting in real time.
Re-packages maps per engine: Unreal (BaseColor + ORM), Unity (Mask/MetallicSmoothness), Blender (separate channels).
PNG ↔ JPG ↔ SVG: fast convert, SVG rasterize, embed/trace options, quality & background controls.