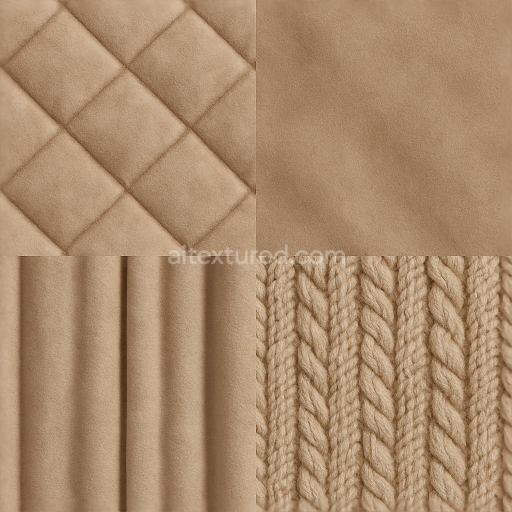
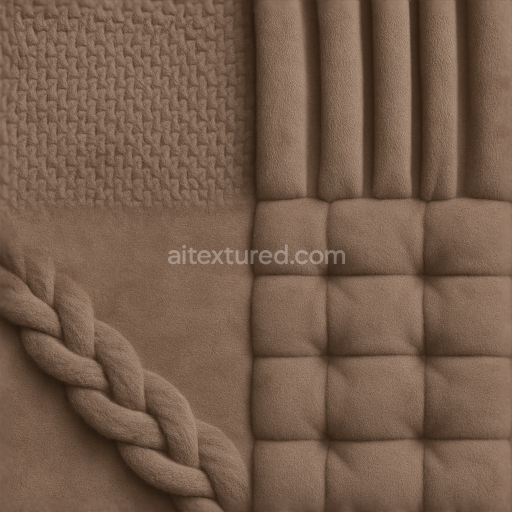
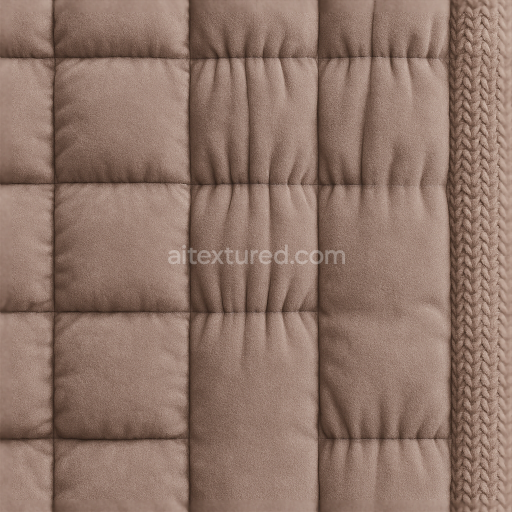
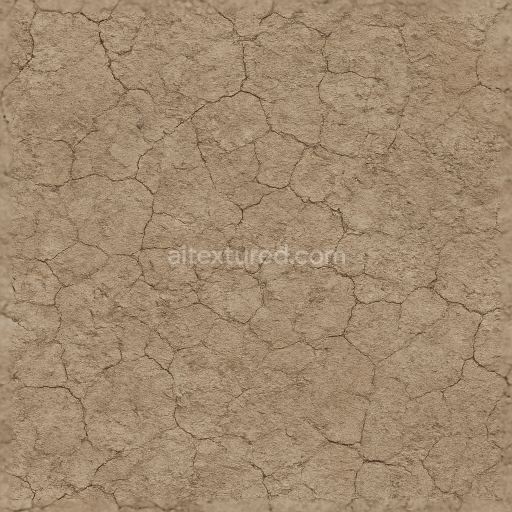
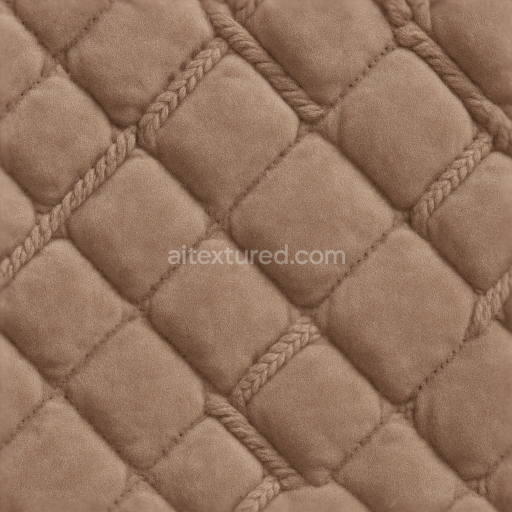
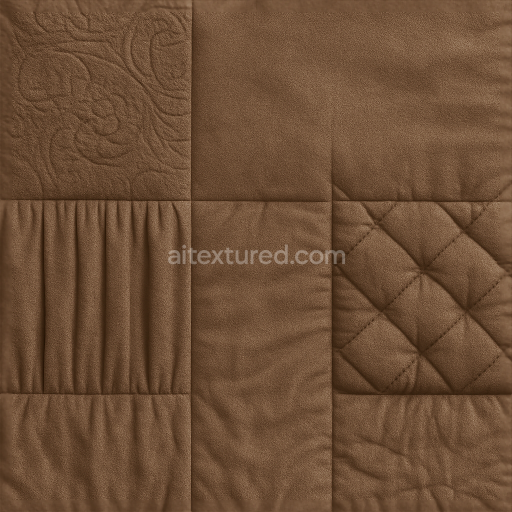
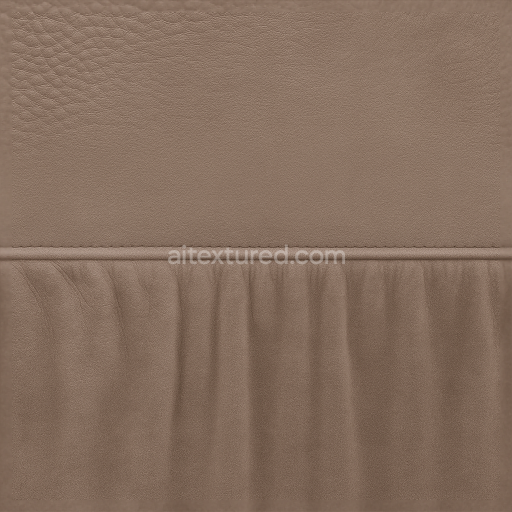
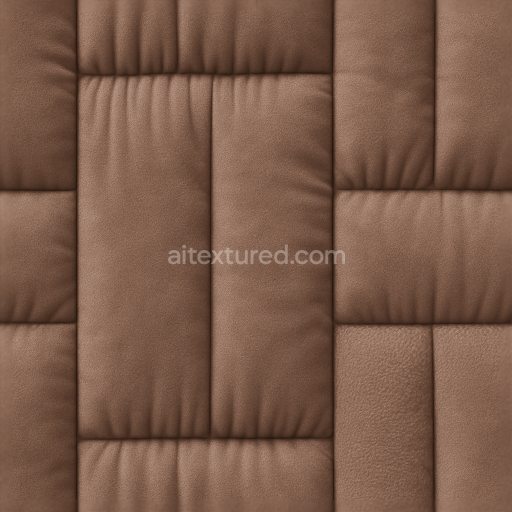
Quilted Padded Velvet Plush Fabric Surface
Seamless texture (tileable) · PNG, WEBP, PBR ZIP. License: AITextured Free Commercial License (FCL) v1.1. Free personal and commercial use. Raw resale, standalone redistribution, mirroring/scraping, competing asset packs, and AI/ML training are not allowed without written permission. Attribution is not required, but appreciated..

| ID | seamless-3d-texture-pbr-8k-scuffed-scratched-rusted-oxidized-metal-surface |
|---|---|
| Category | Tactile |
| Formats | PNG, WEBP, PBR ZIP |
| Size | 1k (1024x1024px), 2k (2048x2048px), 4k (4096x4096px), 8k (8192x8192px) |
| Color | sRGB |
| Tileable | Yes |
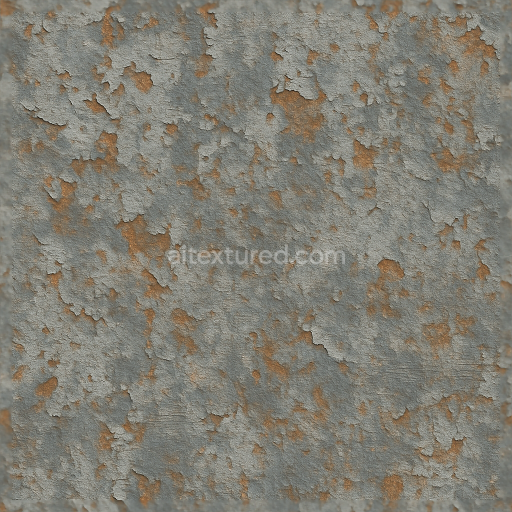
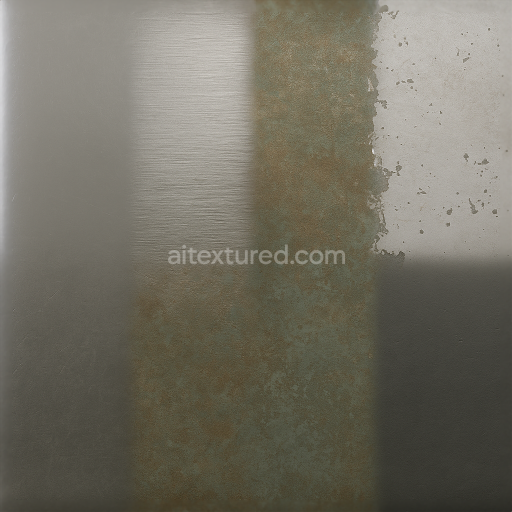
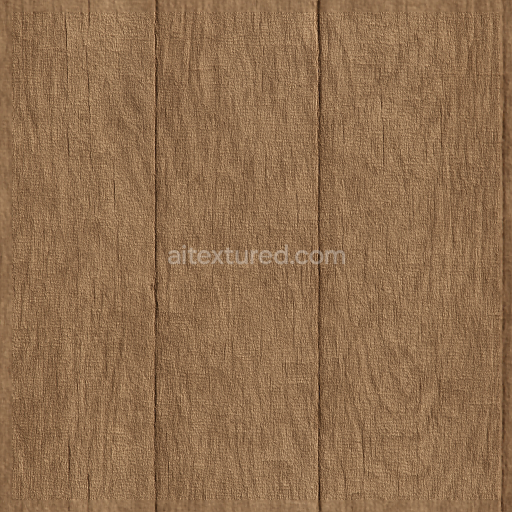
This seamless 3D PBR texture in ultra-high 8K resolution captures the intricate details of a rusted oxidized metal surface blending both natural and industrial aesthetics. The base material is a robust metal substrate exhibiting extensive weathering through oxidation and corrosion processes that produce characteristic rust and patina layers. These layers result from long-term exposure to moisture and oxygen creating a rough grainy surface with chipped paint and scuffed scratched imperfections. The metal’s brushed finish remains visible beneath the oxidized deposits providing subtle directional grain and a tactile feel that enhances realism. Coloration arises from a combination of iron oxide pigments faded paint residues and darkened patina contributing to a dynamic range of reddish-brown gray and muted metallic tones.
Within the PBR workflow this texture’s BaseColor/Albedo channel reveals the complex interplay of rusted oxidized hues and weathered paint chips while the Normal map encodes the micro-variations of scuffed and scratched surfaces emphasizing dents and grain orientation. The Roughness channel varies naturally across the surface reflecting rough matte oxidation areas contrasted by occasional glossy shiny highlights where the metal finish is still exposed. Metallic values remain high in exposed metal zones but drop where rust and patina layers dominate. Ambient Occlusion subtly enhances crevices and chipped edges adding depth and authenticity. The Height/Displacement map captures the surface’s unevenness including raised rust patches and eroded sections facilitating realistic parallax effects in real-time rendering.
Designed for seamless tiling this texture ensures continuous surface appearance without visible seams or repetition making it ideal for large-scale industrial design machinery or post-apocalyptic themed projects. It is fully optimized and ready for integration into popular 3D software such as Blender Unreal Engine and Unity supporting physically accurate shading and lighting. For best results adjusting the UV scale to balance detail density and tuning roughness levels can help tailor the visual impact to specific environments while using height/parallax displacement enhances the tactile feel of the oxidized metal surface.
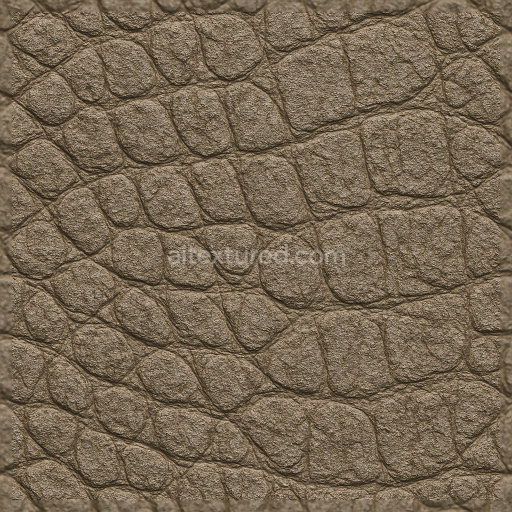
The 3D texture features a scuffed scratched surface meticulously crafted for a realistic PBR appearance making it fully unreal blender ready for seamless integration.
Import the texture maps into Blender with sRGB color space for albedo/base color and Non-Color for normal, roughness, metallic, AO, height, and ORM maps. Connect normal maps through a Normal Map node, then adjust UV scale with a Mapping node so the material repeats naturally on your model.
For the full step-by-step setup, see How to Use Seamless Textures in Blender. Browse related material examples in wood, concrete, and metal.
Yes. This texture is designed as a seamless tileable PBR material, so it can repeat across large surfaces without visible borders.
You can download PNG/WEBP versions and use 1K, 2K, 4K and 8K download options when available on the page.
Yes. The download options and engine-mapped ZIP workflow are designed for Blender, Unreal Engine, Unity Standard, URP and HDRP material pipelines.
Yes. The texture is available under the AITextured free commercial license. Review the license page for redistribution and AI-training restrictions.

Build, preview, and export seamless PBR materials. Generate full map sets from a single image, inspect them in a real-time WebGL viewer, and re-package maps for Unreal, Unity, and Blender—directly in your browser.
AI text-to-texture: type a prompt and get a seamless, tileable base image ready for PBR workflows (great starting point for materials).
Create a full PBR set (Normal, Roughness, AO, Metallic, etc.) from a single image. Seamless and tiling-friendly.
Instant WebGL viewer: inspect materials on a sphere, plane, and cube. Check tiling and lighting in real time.
Re-packages maps per engine: Unreal (BaseColor + ORM), Unity (Mask/MetallicSmoothness), Blender (separate channels).
PNG ↔ JPG ↔ SVG: fast convert, SVG rasterize, embed/trace options, quality & background controls.