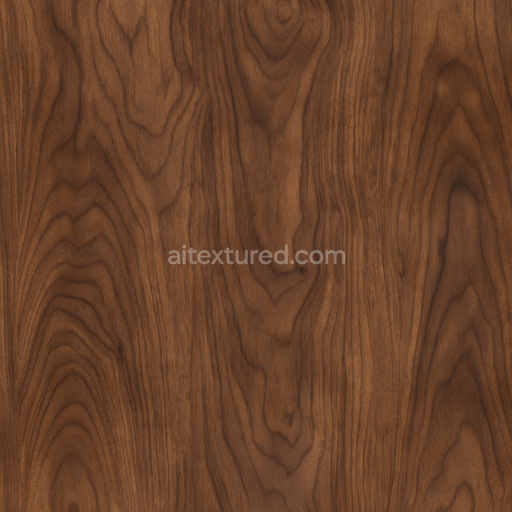
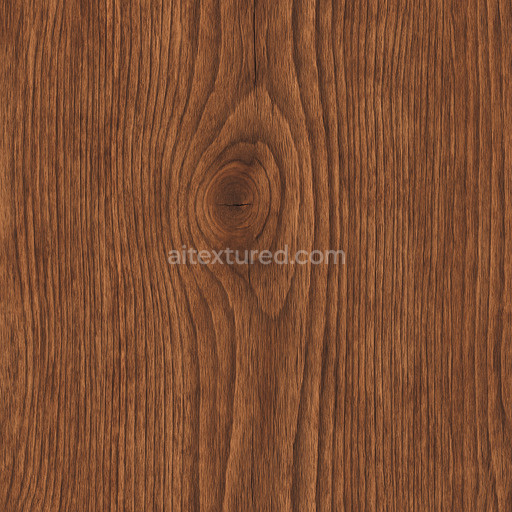
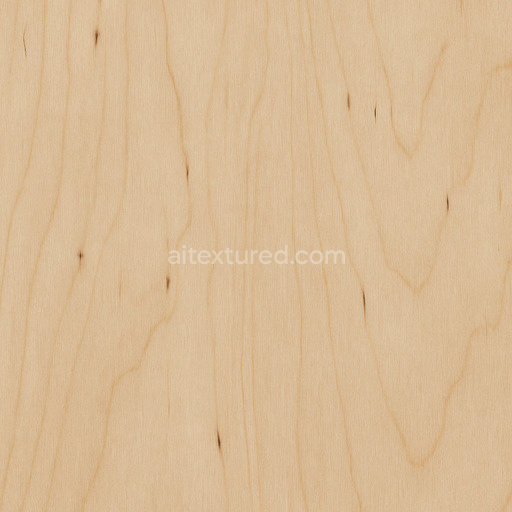
Seamless Walnut Seamless Texture
Seamless texture (tileable) · PNG, WEBP, PBR ZIP. License: AITextured Free Commercial License (FCL) v1.1. Free personal and commercial use. Raw resale, standalone redistribution, mirroring/scraping, competing asset packs, and AI/ML training are not allowed without written permission. Attribution is not required, but appreciated..

| ID | animal-archviz-fabric-leather-organic-substance-designer |
|---|---|
| Category | Wood |
| Formats | PNG, WEBP, PBR ZIP |
| Size | 1k (1024x1024px), 2k (2048x2048px), 4k (4096x4096px), 8k (8192x8192px) |
| Color | sRGB |
| Tileable | Yes |
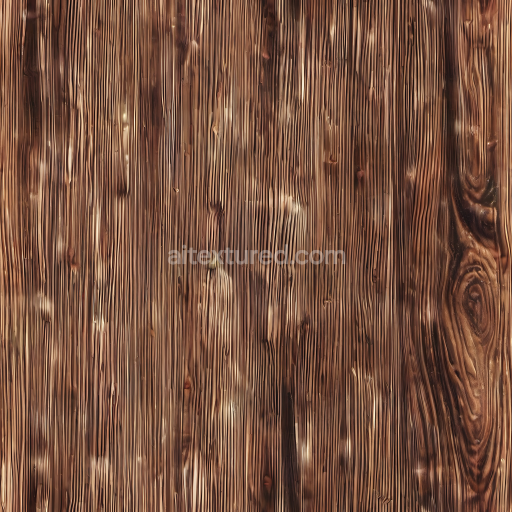
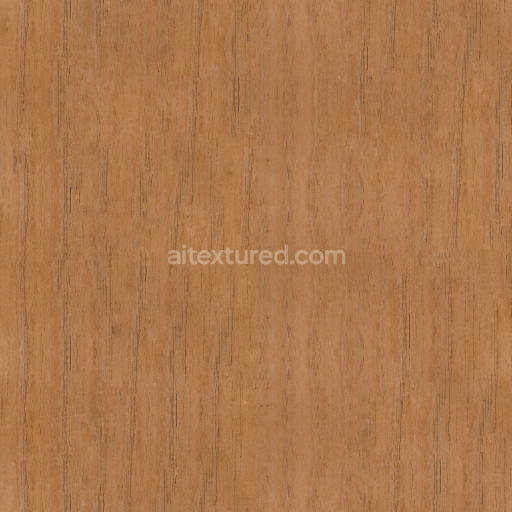
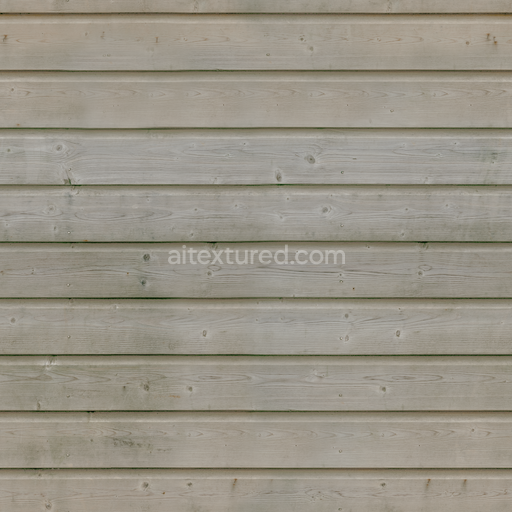
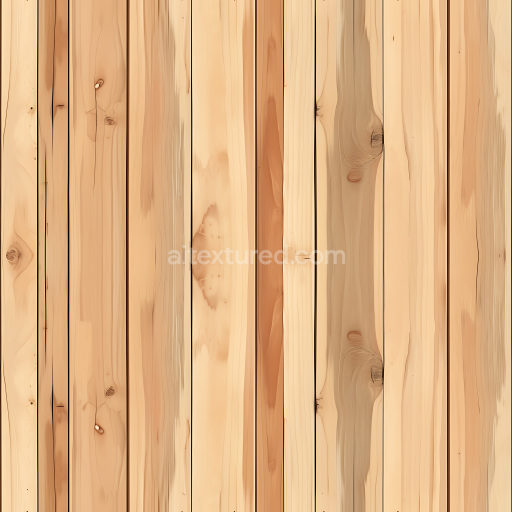
This seamless PBR texture is meticulously crafted to embody the rich organic complexity of animal-inspired fabric and leather materials tailored specifically for architectural visualization (archviz) and digital rendering projects. The base substrate combines genuine leather grain and natural textile weaves creating an intricate interplay of organic fibers and binders that shape a tactile lifelike surface. Subtle variations in fiber orientation and porosity contribute to a dynamic yet consistent color response blending earthy brown and tan pigments reminiscent of natural dyes and traditional tanning processes. The surface finish is softly polished with gentle roughness simulating the natural wear and weathering found in aged leather and handwoven textiles while maintaining a balanced reflectivity ideal for realistic rendering workflows.
Each PBR channel is carefully calibrated to reflect the material’s physical properties with precision. The BaseColor (Albedo) map showcases warm nuanced hues capturing the essence of natural leather and woven fabric tones. The Normal map enhances depth by emphasizing the weave pattern and fine grain details bringing out the subtle relief of fibers and leather embossing. Roughness values are moderate to low creating a semi-matte finish with delicate variations that replicate soft creases and worn areas. The Metallic channel remains near zero underscoring the organic non-metallic nature of the material. Ambient Occlusion is finely tuned to deepen shadows within the textile weave and leather grain enhancing perceived depth and realism. The Height/Displacement map adds gentle relief that accentuates the raised fibers and embossed textures further enriching the surface detail.
Rendered at up to 8K resolution this texture is optimized for physically based rendering pipelines and fully compatible with major engines such as Blender Unreal Engine and Unity. Its seamless design supports large-scale tiling without visible repetition making it perfect for use in architectural visualization game environments and real-time applications. For optimal results it is recommended to adjust the UV scale carefully within your 3D software to preserve the natural proportions of the fabric weave and leather grain. Additionally fine-tuning the roughness parameter can help balance between polished and matte areas enhancing the material’s organic authenticity and its integration into the scene’s lighting.
Import the texture maps into Blender with sRGB color space for albedo/base color and Non-Color for normal, roughness, metallic, AO, height, and ORM maps. Connect normal maps through a Normal Map node, then adjust UV scale with a Mapping node so the material repeats naturally on your model.
For the full step-by-step setup, see How to Use Seamless Textures in Blender. Browse related material examples in wood, concrete, and metal.
Yes. This texture is designed as a seamless tileable PBR material, so it can repeat across large surfaces without visible borders.
You can download PNG/WEBP versions and use 1K, 2K, 4K and 8K download options when available on the page.
Yes. The download options and engine-mapped ZIP workflow are designed for Blender, Unreal Engine, Unity Standard, URP and HDRP material pipelines.
Yes. The texture is available under the AITextured free commercial license. Review the license page for redistribution and AI-training restrictions.


Build, preview, and export seamless PBR materials. Generate full map sets from a single image, inspect them in a real-time WebGL viewer, and re-package maps for Unreal, Unity, and Blender—directly in your browser.
AI text-to-texture: type a prompt and get a seamless, tileable base image ready for PBR workflows (great starting point for materials).
Create a full PBR set (Normal, Roughness, AO, Metallic, etc.) from a single image. Seamless and tiling-friendly.
Instant WebGL viewer: inspect materials on a sphere, plane, and cube. Check tiling and lighting in real time.
Re-packages maps per engine: Unreal (BaseColor + ORM), Unity (Mask/MetallicSmoothness), Blender (separate channels).
PNG ↔ JPG ↔ SVG: fast convert, SVG rasterize, embed/trace options, quality & background controls.