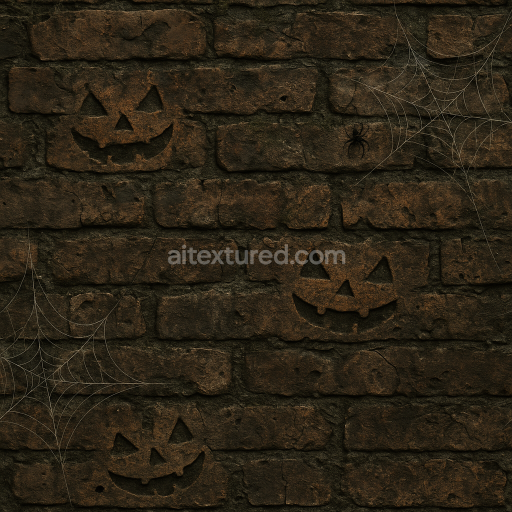
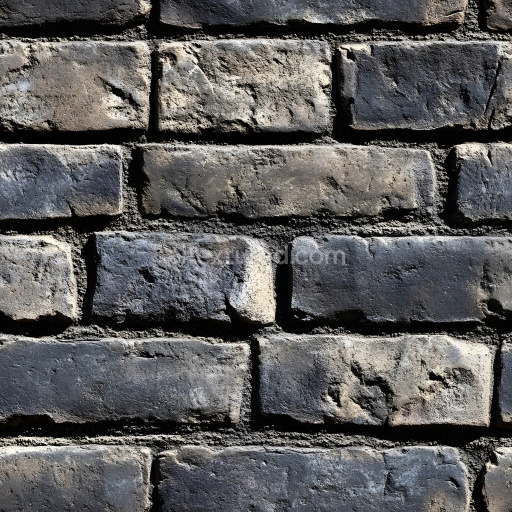
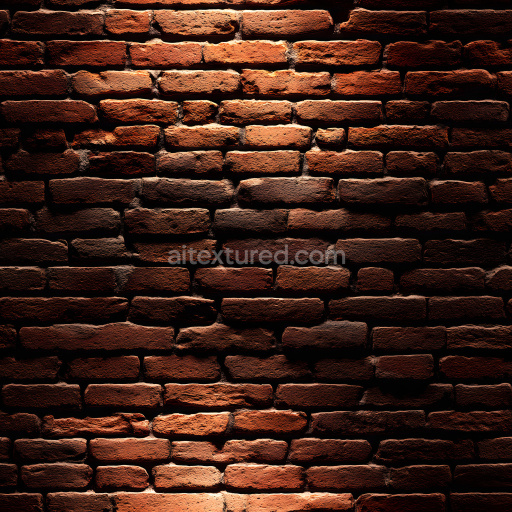
Seamless Brick PBR Texture - Halloween Old Grimy Brick Wall Surface
Seamless texture (tileable) · PNG, WEBP, PBR ZIP. License: AITextured Free Commercial License (FCL) v1.1. Free personal and commercial use. Raw resale, standalone redistribution, mirroring/scraping, competing asset packs, and AI/ML training are not allowed without written permission. Attribution is not required, but appreciated..

| ID | brick-wall-005-by-texture-haven-pbr-seamless-8k |
|---|---|
| Category | Brick |
| Formats | PNG, WEBP, PBR ZIP |
| Size | 1k (1024x1024px), 2k (2048x2048px), 4k (4096x4096px), 8k (8192x8192px) |
| Color | sRGB |
| Tileable | Yes |
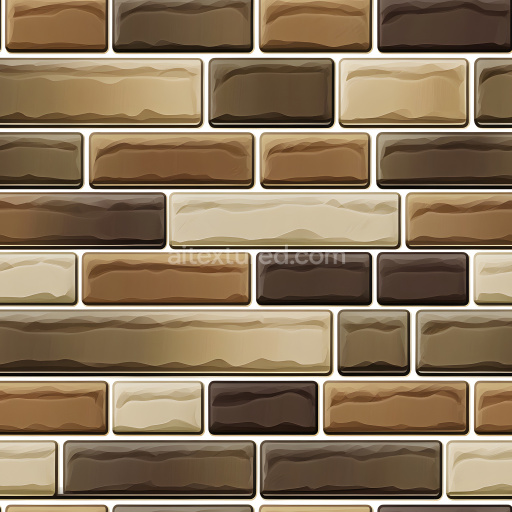
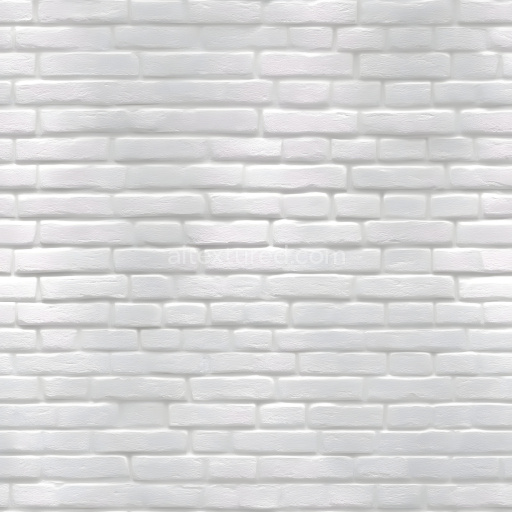
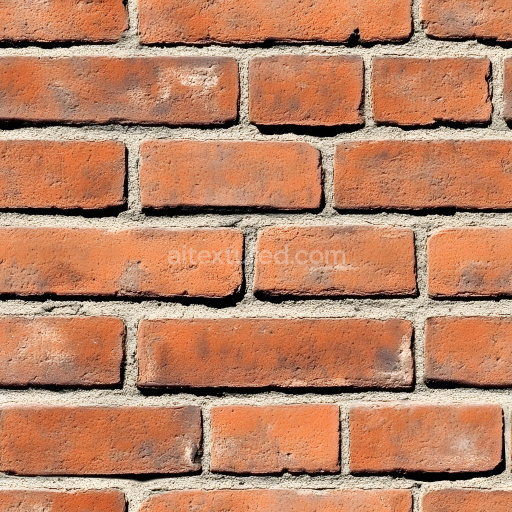
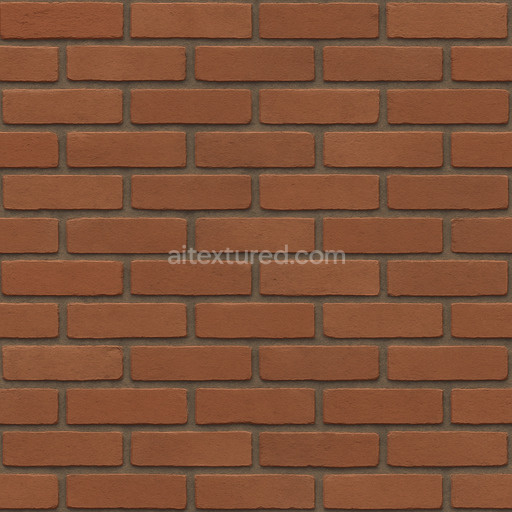
The Seamless Brick Wall 005 texture is a meticulously crafted PBR 3D material designed to authentically replicate the physical and visual qualities of traditional fired clay brick masonry. The base substrate consists of a mineral-rich ceramic composition with a coarse grain structure typical of well-aged bricks providing a tactile and natural foundation. Each brick showcases subtle surface irregularities including minor chipping and rough edges reflecting natural wear from prolonged exposure to environmental conditions. The mortar joints slightly lighter in tone emulate the cementitious binders that firmly hold the bricks together featuring a granular texture that contrasts with the brick faces. This texture captures inherent porosity micro-cracks and surface weathering contributing to a realistic slightly dusty and weathered appearance. The finish is matte to semi-rough avoiding any glossy or polished reflections to maintain a rugged natural look with warm color variations spanning deep reds burnt oranges and muted browns derived from oxide pigments embedded during the firing process.
In a physically based rendering workflow these material characteristics are precisely conveyed across multiple texture channels. The Base Color (Albedo) map delivers nuanced color variation and subtle staining on both bricks and mortar enhancing realism. The Normal map provides detailed relief accentuating chipped bricks and recessed mortar joints to create convincing depth and shadow interplay under diverse lighting conditions. Roughness maps differentiate the tactile qualities by assigning higher roughness to weathered brick surfaces and smoother values to mortar areas ensuring consistent light diffusion and reflection. Metallic maps are omitted as both bricks and mortar are inherently non-metallic. Ambient Occlusion maps enhance the perception of depth by emphasizing crevices and joints while Height and Displacement maps add further relief detail supporting advanced parallax and displacement effects to enrich realism in 3D environments.
Optimized for seamless tiling and resolutions up to 8K this texture maintains exceptional detail even in close-up renders making it ideally suited for architectural visualization game environments and any project requiring a natural weathered brick wall appearance. It integrates seamlessly with popular rendering engines such as Blender’s Principled BSDF Unreal Engine and Unity (URP and HDRP) where the Base Color textures should be imported as sRGB and other maps as Non-Color for physically accurate shading. To maximize visual fidelity it is recommended to keep UV scaling consistent to preserve texel density and to blend the Normal map with Height or Parallax Occlusion mapping techniques. This approach enhances perceived surface depth without increasing geometric complexity delivering a highly realistic brick wall texture that performs consistently across varied lighting environments and usage scenarios.
Import the texture maps into Blender with sRGB color space for albedo/base color and Non-Color for normal, roughness, metallic, AO, height, and ORM maps. Connect normal maps through a Normal Map node, then adjust UV scale with a Mapping node so the material repeats naturally on your model.
For the full step-by-step setup, see How to Use Seamless Textures in Blender. Browse related material examples in wood, concrete, and metal.
Yes. This texture is designed as a seamless tileable PBR material, so it can repeat across large surfaces without visible borders.
You can download PNG/WEBP versions and use 1K, 2K, 4K and 8K download options when available on the page.
Yes. The download options and engine-mapped ZIP workflow are designed for Blender, Unreal Engine, Unity Standard, URP and HDRP material pipelines.
Yes. The texture is available under the AITextured free commercial license. Review the license page for redistribution and AI-training restrictions.


Build, preview, and export seamless PBR materials. Generate full map sets from a single image, inspect them in a real-time WebGL viewer, and re-package maps for Unreal, Unity, and Blender—directly in your browser.
AI text-to-texture: type a prompt and get a seamless, tileable base image ready for PBR workflows (great starting point for materials).
Create a full PBR set (Normal, Roughness, AO, Metallic, etc.) from a single image. Seamless and tiling-friendly.
Instant WebGL viewer: inspect materials on a sphere, plane, and cube. Check tiling and lighting in real time.
Re-packages maps per engine: Unreal (BaseColor + ORM), Unity (Mask/MetallicSmoothness), Blender (separate channels).
PNG ↔ JPG ↔ SVG: fast convert, SVG rasterize, embed/trace options, quality & background controls.