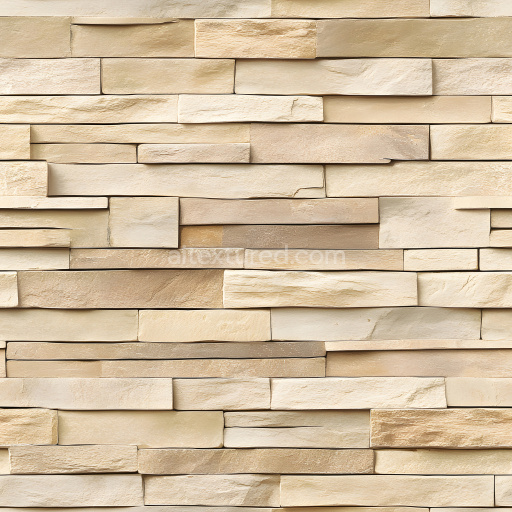
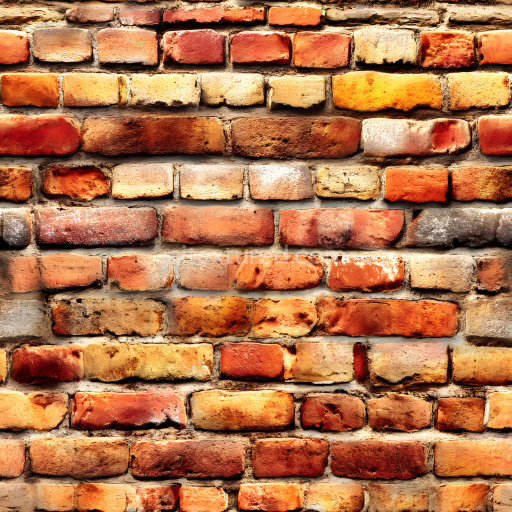
Cracked Beige Brick Wall Texture with Natural Stone Variations
Seamless texture (tileable) · PNG, WEBP, PBR ZIP. License: AITextured Free Commercial License (FCL) v1.1. Free personal and commercial use. Raw resale, standalone redistribution, mirroring/scraping, competing asset packs, and AI/ML training are not allowed without written permission. Attribution is not required, but appreciated..

| ID | detailed-clay-brick-texture-seamless |
|---|---|
| Category | Brick |
| Formats | PNG, WEBP, PBR ZIP |
| Size | 1k (1024x1024px), 2k (2048x2048px), 4k (4096x4096px), 8k (8192x8192px) |
| Color | sRGB |
| Tileable | Yes |
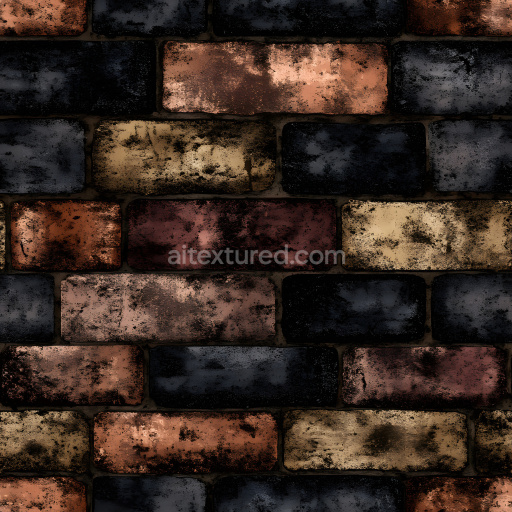
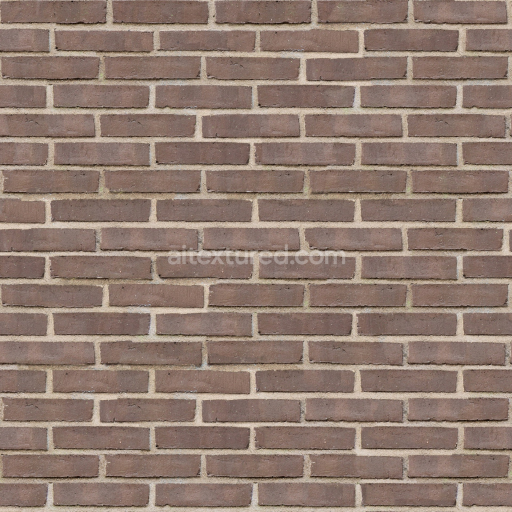
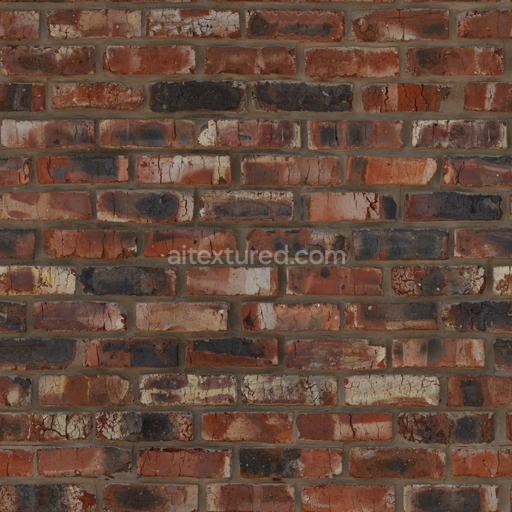
The detailed clay brick texture seamless high resolution up to 8K is an expertly crafted digital material designed to replicate the authentic composition and appearance of traditional fired clay bricks. At its core this texture simulates a fine-grained ceramic substrate composed primarily of mineral-rich silicate materials bound together with natural adhesives that emulate the compact dense structure of clay bricks. The texture captures the subtle integration of iron oxide pigments responsible for the characteristic warm reddish-brown hues lending a natural and earthy color palette. Surface attributes such as slight porosity micro-cracks and subtle weathering are faithfully represented mimicking the rough weathered finish typical of outdoor masonry surfaces exposed to environmental elements over time. This careful attention to the material’s mineralogical and physical traits results in a highly realistic brick surface that balances natural irregularities with structural consistency.
In terms of PBR workflow this seamless detailed clay brick texture seamless high resolution up to 8K excels at delivering an authentic visual experience across multiple channels. The BaseColor (Albedo) channel reflects the nuanced earthy tones and fine color variations that arise from the natural clay and iron oxide mixture avoiding flat or overly uniform coloration. The Normal map enhances the perception of depth by accentuating brick edges mortar joints and surface imperfections while the Roughness channel highlights the matte slightly uneven surface finish that prevents unrealistic glossiness. The Metallic channel remains neutral accurately reflecting the non-metallic nature of fired clay bricks. Ambient Occlusion deepens the shadows within crevices and recessed mortar lines elevating depth perception and the Height map provides gentle displacement cues that emphasize surface relief and weathering without exaggeration ideal for close-up 3D previews and realistic renders.
Rendered at an impressive resolution of up to 8k this tileable detailed clay brick texture seamless high resolution up to 8K maintains exceptional clarity ensuring every grain and surface detail remains crisp and visible even when applied to large architectural models or environment scenes. Its seamless tiling capability allows for flawless repetition with no visible seams or pattern breaks making it an ideal asset for architectural visualization environment art concept prototyping and quick look development workflows in Blender Unreal Engine and Unity. For optimal results it is recommended to slightly adjust the UV scale to align the texture naturally with your architectural context and to fine-tune the Roughness map to achieve balanced reflectivity under various lighting conditions. This approach preserves the realistic surface breakup and subtle weathering effects that define the character of authentic clay bricks while maintaining efficient shader performance.
Import the texture maps into Blender with sRGB color space for albedo/base color and Non-Color for normal, roughness, metallic, AO, height, and ORM maps. Connect normal maps through a Normal Map node, then adjust UV scale with a Mapping node so the material repeats naturally on your model.
For the full step-by-step setup, see How to Use Seamless Textures in Blender. Browse related material examples in wood, concrete, and metal.
Yes. This texture is designed as a seamless tileable PBR material, so it can repeat across large surfaces without visible borders.
You can download PNG/WEBP versions and use 1K, 2K, 4K and 8K download options when available on the page.
Yes. The download options and engine-mapped ZIP workflow are designed for Blender, Unreal Engine, Unity Standard, URP and HDRP material pipelines.
Yes. The texture is available under the AITextured free commercial license. Review the license page for redistribution and AI-training restrictions.

Generate, preview, and export seamless PBR materials for Blender, Unity, and Unreal Engine—directly in your browser.
AI text-to-texture: type a prompt and get a seamless, tileable base image ready for PBR workflows (great starting point for materials).
Create a full PBR set (Normal, Roughness, AO, Metallic, etc.) from a single image. Seamless and tiling-friendly.
Instant WebGL viewer: inspect materials on a sphere, plane, and cube. Check tiling and lighting in real time.
Re-packages maps per engine: Unreal (BaseColor + ORM), Unity (Mask/MetallicSmoothness), Blender (separate channels).
PNG ↔ JPG ↔ SVG: fast convert, SVG rasterize, embed/trace options, quality & background controls.