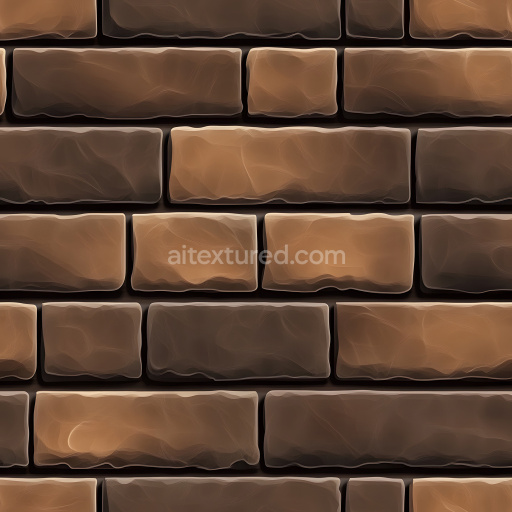
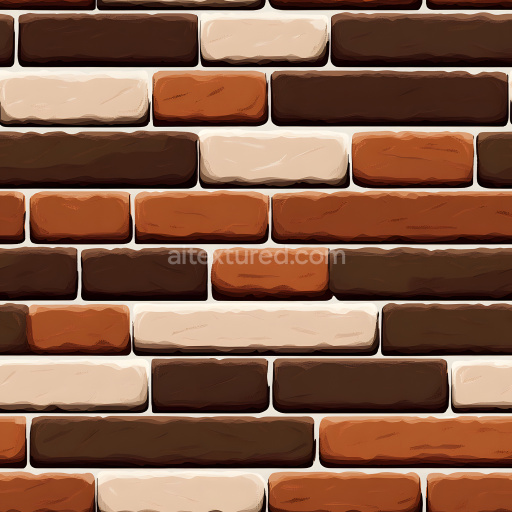
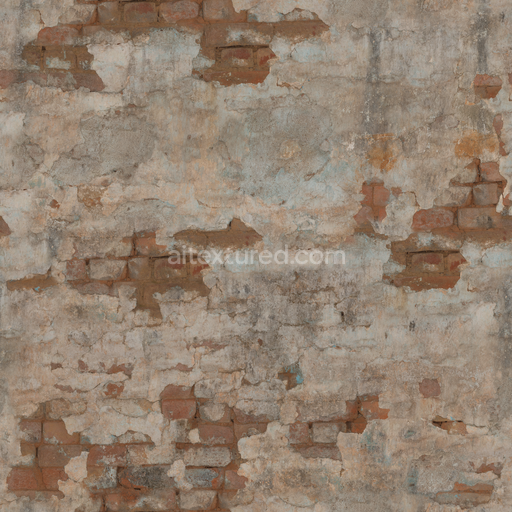
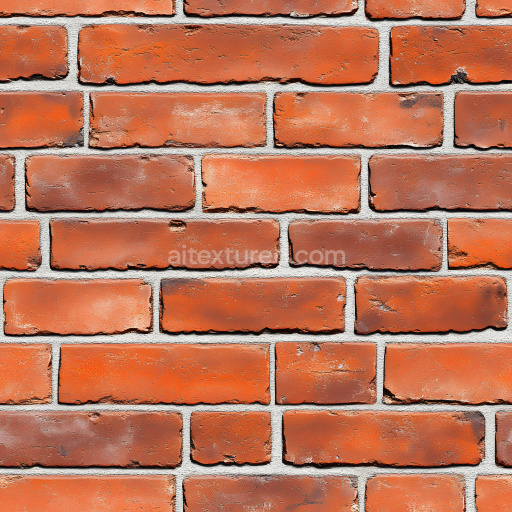
Cracked Brick Wall PBR Texture with Rich Brown and Dark Shadows
Seamless texture (tileable) · PNG, WEBP, PBR ZIP. License: AITextured Free Commercial License (FCL) v1.1. Free personal and commercial use. Raw resale, standalone redistribution, mirroring/scraping, competing asset packs, and AI/ML training are not allowed without written permission. Attribution is not required, but appreciated..

| ID | seamless-painted-brick-texture-seamless |
|---|---|
| Category | Brick |
| Formats | PNG, WEBP, PBR ZIP |
| Size | 1k (1024x1024px), 2k (2048x2048px), 4k (4096x4096px), 8k (8192x8192px) |
| Color | sRGB |
| Tileable | Yes |
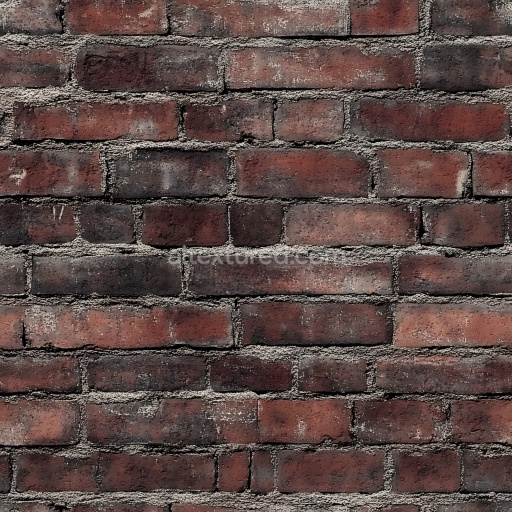
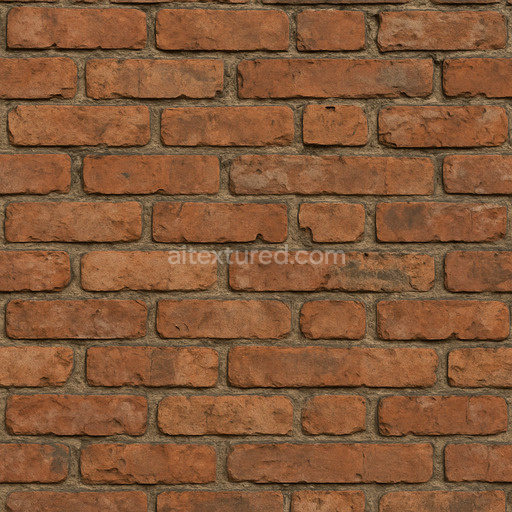
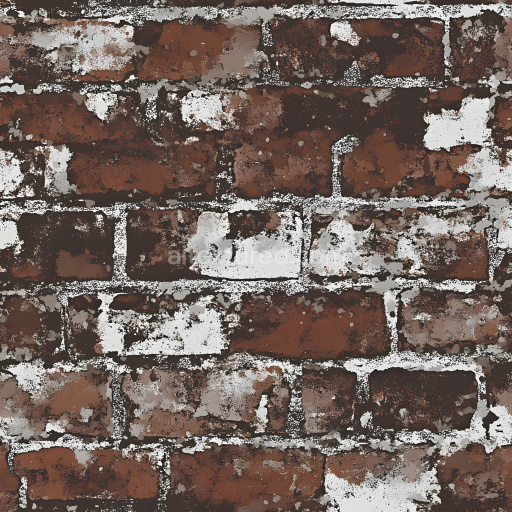
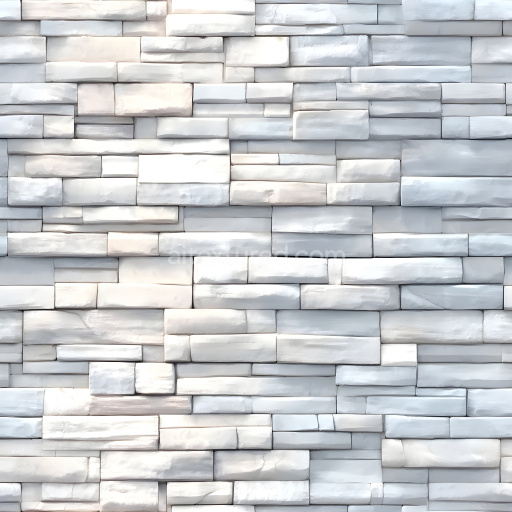
This seamless painted brick texture seamless high resolution up to 8K is expertly designed to replicate the authentic composition and appearance of painted brick masonry with outstanding detail and realism. Each brick in this material is based on a sturdy mineral-based ceramic substrate providing a solid and durable foundation characteristic of traditional masonry. The bricks are bonded together using a cementitious mortar that functions as a strong adhesive matrix ensuring structural coherence. The painted surface finish incorporates a resilient layer of colorant made up of weather-resistant pigments and oxide layers which not only protect the brick surface from environmental wear but also contribute subtle variations in albedo and reflectivity. Natural porosity and slight weathering effects are evident throughout the texture with delicate roughness shifts and fine grain orientation capturing the nuanced surface imperfections and aging processes typical of painted brick exteriors.
In terms of PBR channels this tileable seamless painted brick texture seamless high resolution up to 8K delivers exceptional accuracy for photorealistic rendering. The BaseColor (Albedo) channel reveals subtle color transitions and gentle paint wear that enhance visual depth. The Normal map precisely encodes the fine relief of brick edges and the recessed mortar joints providing a tactile sense of dimension. The Roughness channel balances matte weathered paint areas with occasional smoother glossier patches reflecting the natural variation in surface finish. The Metallic channel remains close to zero consistent with the non-metallic nature of brick materials. Ambient Occlusion enriches the perception of depth in crevices and joints while the Height/Displacement map supports realistic parallax effects and accurate surface depth in close-up views further enhancing immersion in 3D environments.
Optimized for seamless integration into Blender Unreal Engine and Unity workflows this high resolution up to 8K ensures that large UV islands maintain sharpness and cohesion without visible tiling or pixelation. For best results it is recommended to scale UV coordinates to the real-world dimensions of brickwork and subtly adjust the roughness values to mimic varying degrees of paint wear and weathering. Combining the texture with a low-intensity Ambient Occlusion pass and carefully blended normal maps can significantly improve surface breakup and visual interest without introducing harsh artifacts. This makes the seamless painted brick texture seamless high resolution up to 8K a versatile and reliable material choice for architectural visualization environment art and concept prototyping providing a realistic 3D preview that brings authentic painted brick surfaces to life in your digital projects.
The generated seamless painted brick texture offers a seamless high resolution up to 8K providing detailed brick textures with realistic PBR appearance for advanced material composition.
Import the texture maps into Blender with sRGB color space for albedo/base color and Non-Color for normal, roughness, metallic, AO, height, and ORM maps. Connect normal maps through a Normal Map node, then adjust UV scale with a Mapping node so the material repeats naturally on your model.
For the full step-by-step setup, see How to Use Seamless Textures in Blender. Browse related material examples in wood, concrete, and metal.
Yes. This texture is designed as a seamless tileable PBR material, so it can repeat across large surfaces without visible borders.
You can download PNG/WEBP versions and use 1K, 2K, 4K and 8K download options when available on the page.
Yes. The download options and engine-mapped ZIP workflow are designed for Blender, Unreal Engine, Unity Standard, URP and HDRP material pipelines.
Yes. The texture is available under the AITextured free commercial license. Review the license page for redistribution and AI-training restrictions.

Generate, preview, and export seamless PBR materials for Blender, Unity, and Unreal Engine—directly in your browser.
AI text-to-texture: type a prompt and get a seamless, tileable base image ready for PBR workflows (great starting point for materials).
Create a full PBR set (Normal, Roughness, AO, Metallic, etc.) from a single image. Seamless and tiling-friendly.
Instant WebGL viewer: inspect materials on a sphere, plane, and cube. Check tiling and lighting in real time.
Re-packages maps per engine: Unreal (BaseColor + ORM), Unity (Mask/MetallicSmoothness), Blender (separate channels).
PNG ↔ JPG ↔ SVG: fast convert, SVG rasterize, embed/trace options, quality & background controls.