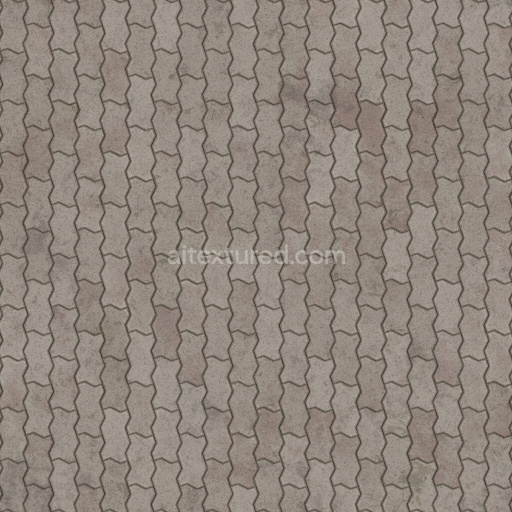
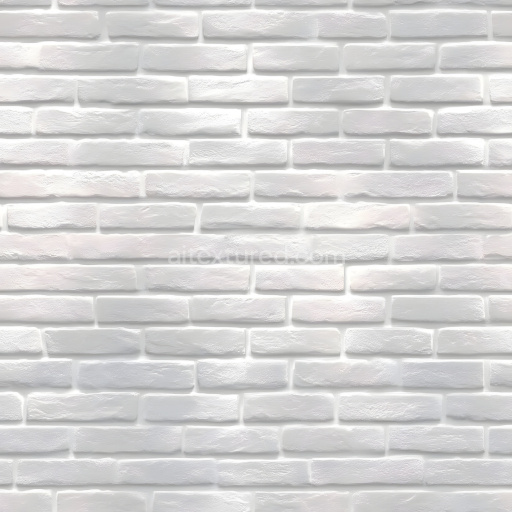
Zig Zag Unipaver Block Bricks | Free PBR
Seamless texture (tileable) · PNG, WEBP, PBR ZIP. License: AITextured Free Commercial License (FCL) v1.1. Free personal and commercial use. Raw resale, standalone redistribution, mirroring/scraping, competing asset packs, and AI/ML training are not allowed without written permission. Attribution is not required, but appreciated..

| ID | seamless-rustic-brick-3d-texture-pbr-8k-rough-textured-aged-surface |
|---|---|
| Category | Brick |
| Formats | PNG, WEBP, PBR ZIP |
| Size | 1k (1024x1024px), 2k (2048x2048px), 4k (4096x4096px), 8k (8192x8192px) |
| Color | sRGB |
| Tileable | Yes |
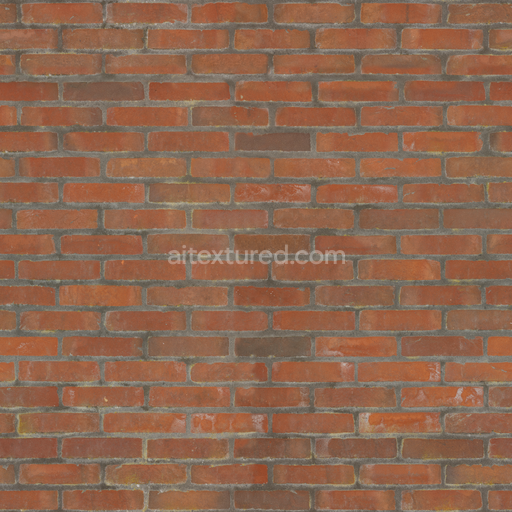
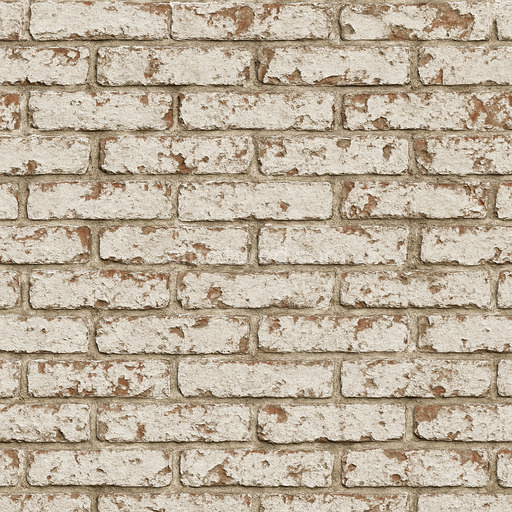
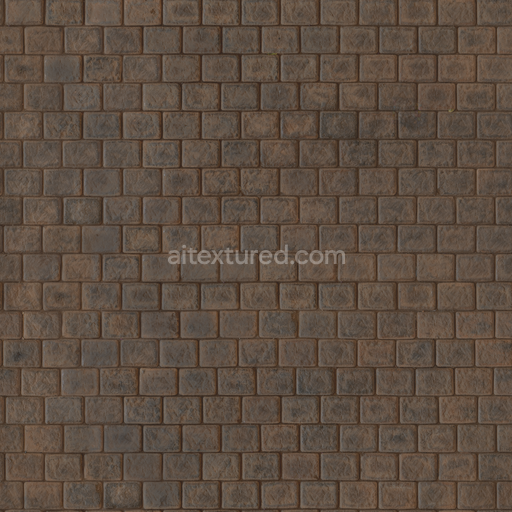
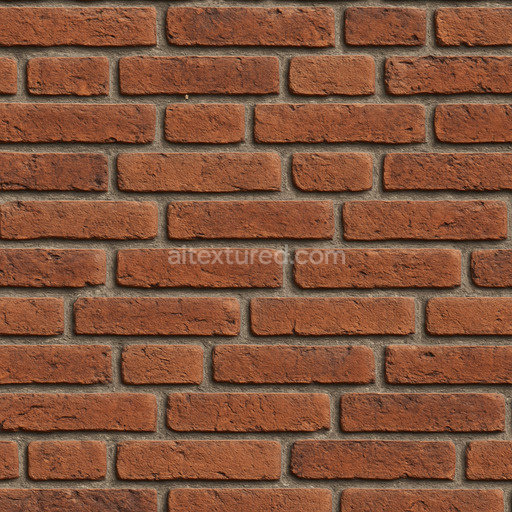
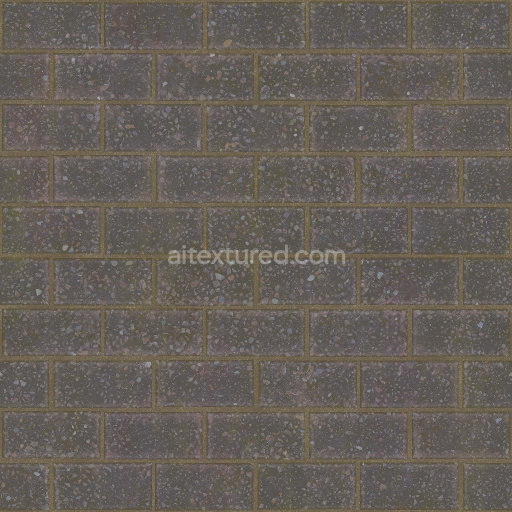
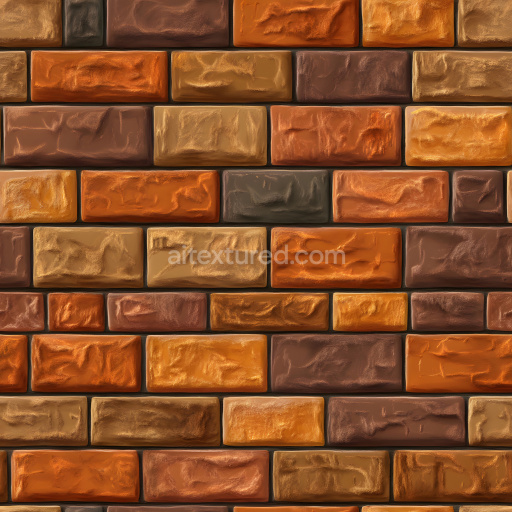
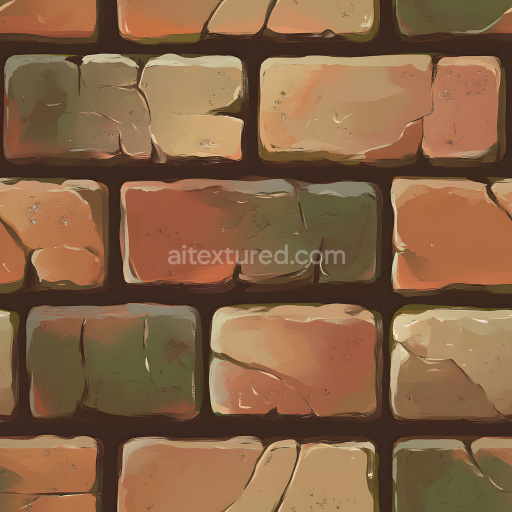
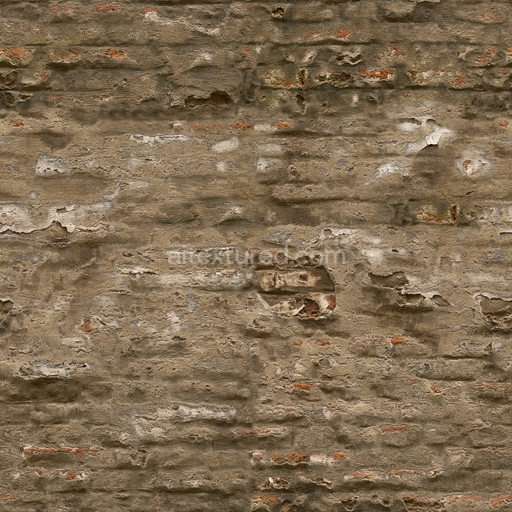
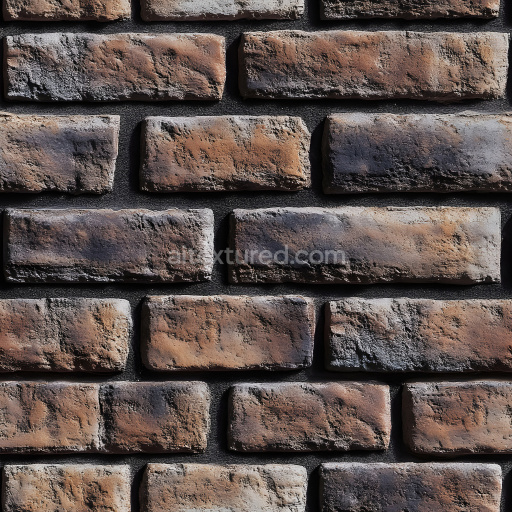
This seamless rustic brick 3D texture represents a weathered brick wall constructed from traditional clay bricks bonded in a random bond pattern showcasing the natural irregularities and aged charm of rustic masonry. The bricks themselves are composed primarily of fired clay with a coarse granular structure visible as porous grainy surfaces that have developed subtle pits and crevices over time. The binder between bricks a weathered mortar exhibits rough uneven edges highlighting the material’s exposure to environmental elements. This combination of rough brick faces and irregular mortar joints creates a tactile multi-dimensional form characterized by slight variations in brick height and surface relief contributing to a realistic aged appearance.
The material composition reflects the inherent qualities of fired clay bricks including embedded mineral aggregates that provide texture and color variation. The mortar is a lime-based cementitious mix now eroded and porous which amplifies the roughness and depth of the surface. The surface finish is matte and unpolished emphasizing a natural weather-beaten look rather than any glossy or sealed effect. The color palette spans warm reds burnt oranges and earth tones interspersed with grayish-white mortar hues effectively captured in the BaseColor (Albedo) channel. The Normal and Height maps accurately represent the brick relief and mortar recesses enabling realistic light interaction and shadowing on the uneven surface. High roughness values correspond to the matte grainy texture of both brick and mortar ensuring diffuse reflections typical of aged masonry while the Metallic channel remains minimal or null reflecting the non-metallic nature of the materials. Ambient Occlusion enhances crevices and joint depth further grounding the texture in realism.
Rendered at an 8K resolution this texture delivers exceptional detail that preserves the intricate granular qualities and subtle surface imperfections of rustic bricks. Its photorealistic PBR workflow compatibility makes it suitable for physically accurate render engines such as Blender’s Cycles and Eevee Unreal Engine and Unity. The high-resolution maps ensure that close-up views retain crispness without pixelation which is essential for architectural visualizations film production and realistic game environments requiring genuine rustic brick aesthetics.
For optimal use it is recommended to adjust the UV scale carefully to maintain the natural size of bricks relative to the scene context avoiding unnaturally large or small patterns. Additionally fine-tuning the roughness map can help replicate varying degrees of weathering from fresher bricks to more eroded surfaces. When combining with height or parallax maps blending normals subtly can improve the perception of depth without causing excessive distortion particularly on angled surfaces or when viewed in motion.
Import the texture maps into Blender with sRGB color space for albedo/base color and Non-Color for normal, roughness, metallic, AO, height, and ORM maps. Connect normal maps through a Normal Map node, then adjust UV scale with a Mapping node so the material repeats naturally on your model.
For the full step-by-step setup, see How to Use Seamless Textures in Blender. Browse related material examples in wood, concrete, and metal.
Yes. This texture is designed as a seamless tileable PBR material, so it can repeat across large surfaces without visible borders.
You can download PNG/WEBP versions and use 1K, 2K, 4K and 8K download options when available on the page.
Yes. The download options and engine-mapped ZIP workflow are designed for Blender, Unreal Engine, Unity Standard, URP and HDRP material pipelines.
Yes. The texture is available under the AITextured free commercial license. Review the license page for redistribution and AI-training restrictions.
Generate, preview, and export seamless PBR materials for Blender, Unity, and Unreal Engine—directly in your browser.
AI text-to-texture: type a prompt and get a seamless, tileable base image ready for PBR workflows (great starting point for materials).
Create a full PBR set (Normal, Roughness, AO, Metallic, etc.) from a single image. Seamless and tiling-friendly.
Instant WebGL viewer: inspect materials on a sphere, plane, and cube. Check tiling and lighting in real time.
Re-packages maps per engine: Unreal (BaseColor + ORM), Unity (Mask/MetallicSmoothness), Blender (separate channels).
PNG ↔ JPG ↔ SVG: fast convert, SVG rasterize, embed/trace options, quality & background controls.