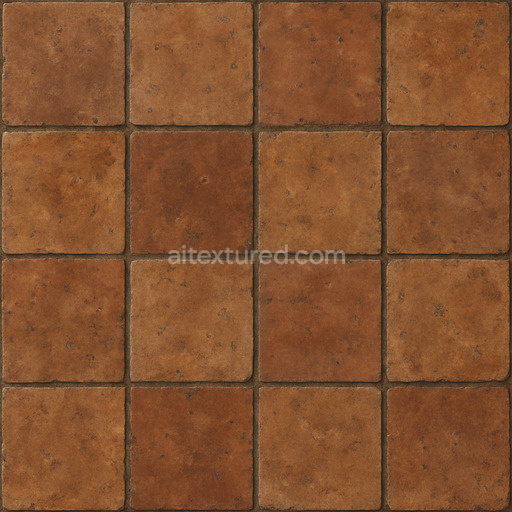
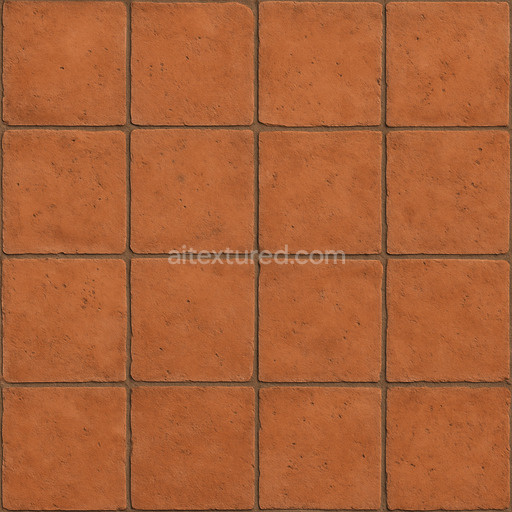
Aged Terracotta Tile Seamless Texture
Seamless texture (tileable) · PNG, WEBP, PBR ZIP. License: AITextured Free Commercial License (FCL) v1.1. Free personal and commercial use. Raw resale, standalone redistribution, mirroring/scraping, competing asset packs, and AI/ML training are not allowed without written permission. Attribution is not required, but appreciated..

| ID | vintage-ceramic-tile-texture |
|---|---|
| Category | Ceramic-tile |
| Formats | PNG, WEBP, PBR ZIP |
| Size | 1k (1024x1024px), 2k (2048x2048px), 4k (4096x4096px), 8k (8192x8192px) |
| Color | sRGB |
| Tileable | Yes |
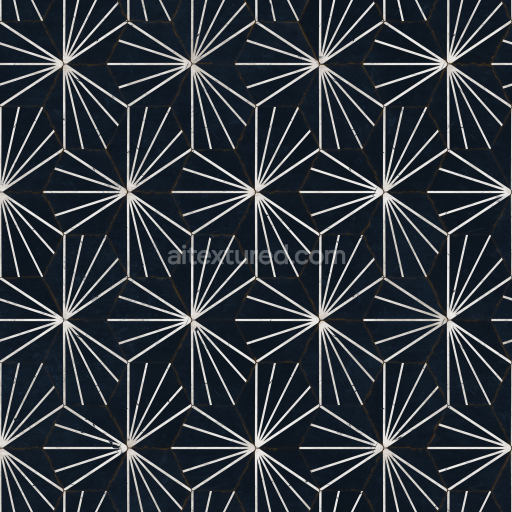
The Vintage Ceramic Tile Texture collection offers a meticulously crafted series of seamless digital materials that authentically replicate the composition and aesthetic of classic ceramic tiles perfect for enhancing kitchen backsplashes and bathroom surfaces with a nostalgic vintage appeal. Traditionally these tiles are composed of a mineral ceramic base formed from refined clays which are shaped and fired at high temperatures to ensure long-lasting durability and a slightly porous structure that contributes to their characteristic texture. Within the tile matrix adhesives and binders work to maintain cohesion and structural stability while subtle grain orientation and natural weathering effects introduce depth and a sense of aged realism. The surface finish typically features a glassy glaze infused with metal oxide pigments creating the distinctive muted yet richly colored patterns synonymous with vintage ceramic design. This glaze can range from softly polished to gently matte capturing the tactile qualities and natural imperfections of retro tile surfaces and enhancing the overall charm and authenticity of rustic and classic interior designs.
These PBR textures are crafted at an ultra-high resolution of up to 8K allowing for exceptional detail and material accuracy across all relevant texture channels. The BaseColor/Albedo maps vividly convey the intricate pigment distribution and subtle color variations that define vintage ceramic patterns while Normal maps reproduce delicate surface relief such as glaze cracks embossments and the fine grain of the ceramic body. Roughness maps differentiate between the smooth reflective glaze and the more textured weathered grout lines providing realistic glossiness variations. The Metallic channel is intentionally minimal to reflect the non-metallic nature of ceramic tiles while Ambient Occlusion maps add depth by emphasizing shadowed grout and crevice areas. Height/Displacement maps enable realistic parallax effects by accurately representing the raised edges and surface undulations of the tiles. This comprehensive channel setup ensures seamless integration into architectural visualization projects within Blender Unreal Engine and Unity where physically based rendering and realistic lighting are essential for immersive kitchen and bathroom environments.
For best results when applying these vintage ceramic tile textures it is recommended to carefully adjust the UV scale to match the tile dimensions realistically within your 3D scene preventing overly repetitive or unnatural patterning. Additionally fine-tuning the roughness values allows you to simulate various glaze finishes—from high-gloss reflective backsplashes typical of kitchen settings to the softly diffused worn surfaces often found in vintage bathroom tiles. The seamless nature of this collection ensures that these textures tile flawlessly without visible seams or edges making them ideal for extensive virtual surfaces that demand both visual appeal and material authenticity. Whether used to elevate retro-style kitchen cabinetry or classic bathroom walls these ceramic tile textures provide a timeless design element with professional-grade detail versatility and a true-to-life representation of vintage tile materials.
Import the texture maps into Blender with sRGB color space for albedo/base color and Non-Color for normal, roughness, metallic, AO, height, and ORM maps. Connect normal maps through a Normal Map node, then adjust UV scale with a Mapping node so the material repeats naturally on your model.
For the full step-by-step setup, see How to Use Seamless Textures in Blender. Browse related material examples in wood, concrete, and metal.
Yes. This texture is designed as a seamless tileable PBR material, so it can repeat across large surfaces without visible borders.
You can download PNG/WEBP versions and use 1K, 2K, 4K and 8K download options when available on the page.
Yes. The download options and engine-mapped ZIP workflow are designed for Blender, Unreal Engine, Unity Standard, URP and HDRP material pipelines.
Yes. The texture is available under the AITextured free commercial license. Review the license page for redistribution and AI-training restrictions.


Generate, preview, and export seamless PBR materials for Blender, Unity, and Unreal Engine—directly in your browser.
AI text-to-texture: type a prompt and get a seamless, tileable base image ready for PBR workflows (great starting point for materials).
Create a full PBR set (Normal, Roughness, AO, Metallic, etc.) from a single image. Seamless and tiling-friendly.
Instant WebGL viewer: inspect materials on a sphere, plane, and cube. Check tiling and lighting in real time.
Re-packages maps per engine: Unreal (BaseColor + ORM), Unity (Mask/MetallicSmoothness), Blender (separate channels).
PNG ↔ JPG ↔ SVG: fast convert, SVG rasterize, embed/trace options, quality & background controls.