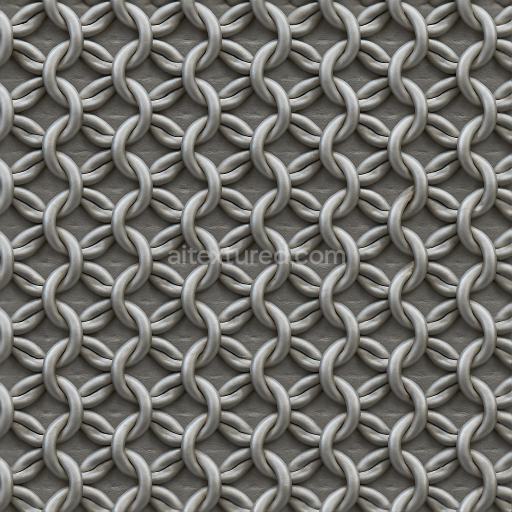
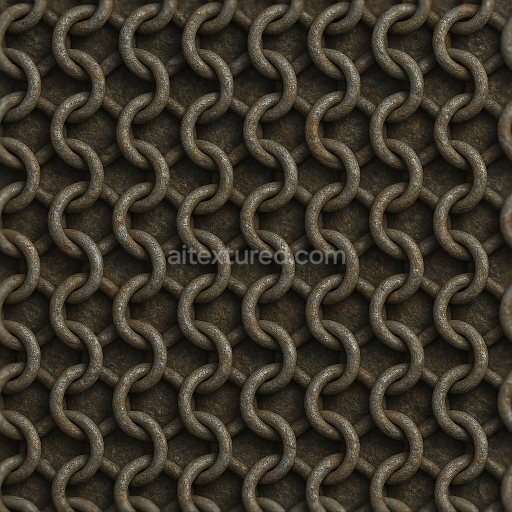
8K PBR Chainmail With Butted Rings And Matte Finish Surface
Seamless texture (tileable) · PNG, WEBP, PBR ZIP. License: AITextured Free Commercial License (FCL) v1.1. Free personal and commercial use. Raw resale, standalone redistribution, mirroring/scraping, competing asset packs, and AI/ML training are not allowed without written permission. Attribution is not required, but appreciated..

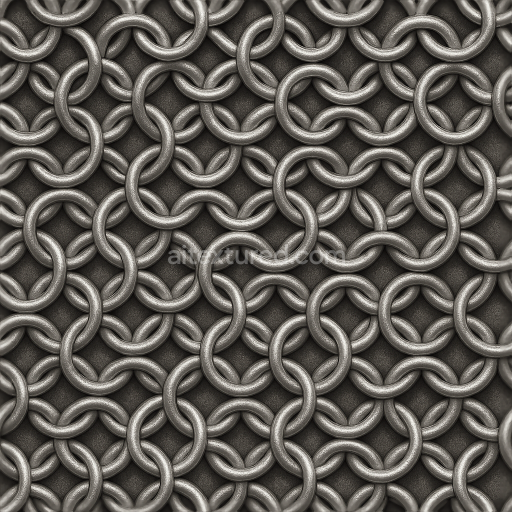
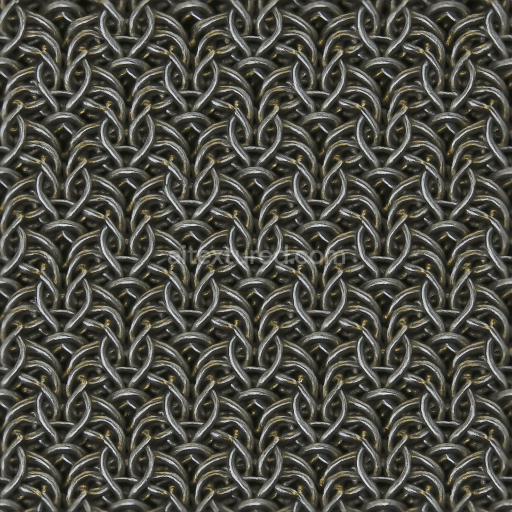
| ID | seamless-3d-texture-8k-pbr-chainmail-with-riveted-rings-and-metallic-luster |
|---|---|
| Category | Chainmail |
| Formats | PNG, WEBP, PBR ZIP |
| Size | 1k (1024x1024px), 2k (2048x2048px), 4k (4096x4096px), 8k (8192x8192px) |
| Color | sRGB |
| Tileable | Yes |
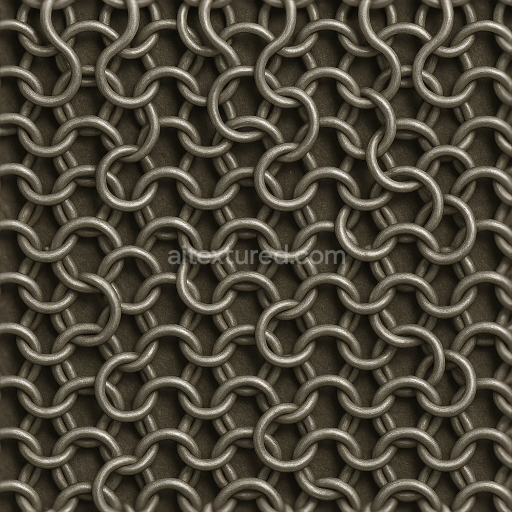
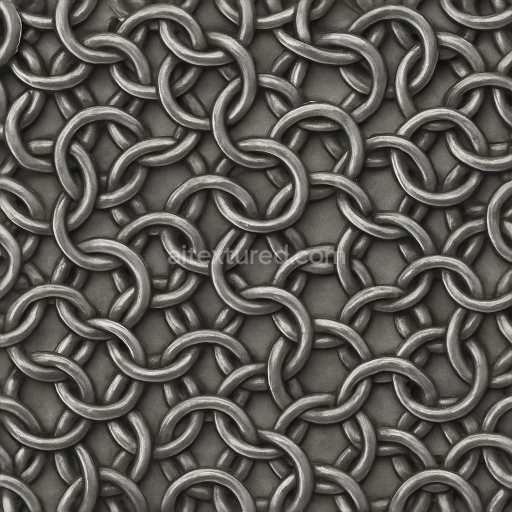
This seamless 3D texture showcases an 8K resolution photorealistic PBR chainmail surface expertly composed of riveted metal rings arranged in a classic interlocking weave pattern. The base material is a high-grade metal alloy carefully rendered to capture the subtle variations in metallic luster typical of authentic chainmail armor. Each riveted ring is modeled with precision reflecting the structural strength provided by the rivets that bind the rings together. The texture’s surface finish features a slightly aged polished metal appearance with faint oxidation and wear marks including subtle scratches and soft discolorations which add depth and realism. These details are vividly represented across the PBR channels: the BaseColor/Albedo map carries the nuanced coloration of oxidized steel with muted silver tones while the Normal map defines the intricate ring contours and rivet embossing. Roughness values vary to reflect the polished yet slightly weathered surface enhancing realistic reflections. The Metallic channel emphasizes the metal’s conductive properties and Ambient Occlusion subtly enhances the depth around ring intersections. Height and Displacement maps provide fine surface relief contributing to the texture’s tactile authenticity.
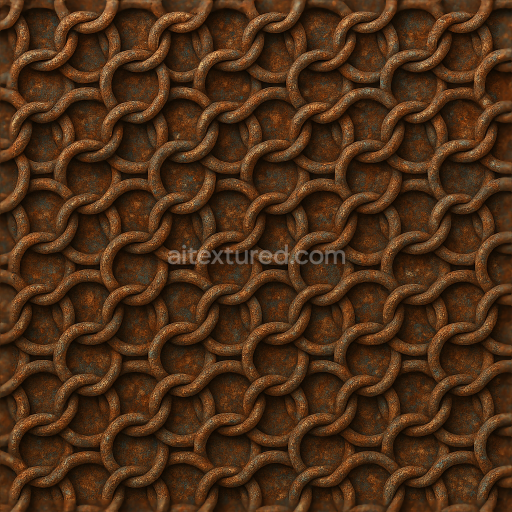
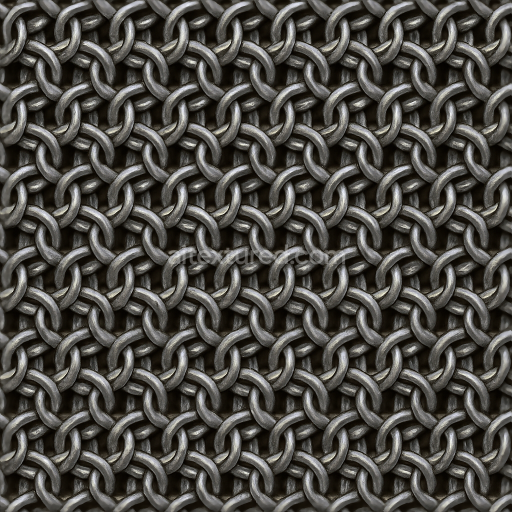
Designed for seamless tiling this texture is ideal for use in historical 3D models video game character armor and high-fidelity digital visual effects where detailed durable chainmail surfaces with convincing metallic luster are essential. Its compatibility and optimization make it unreal Blender and Unity ready supporting diverse workflows in game development and digital art. The texture’s high resolution ensures that even close-up renders maintain crisp detail without visible pixelation or blurring. The slight surface weathering and realistic metal wear patterns allow for versatile applications from pristine armor to battle-worn gear providing artists with a rich base for customization.
When integrating this texture into projects adjusting the UV scale to maintain the natural size of the chainmail rings is recommended to avoid distortion and preserve pattern authenticity. Additionally fine-tuning the roughness map can help achieve the desired balance between shiny metallic highlights and matte worn areas enhancing the material’s overall realism. The height map can be leveraged for parallax occlusion effects adding convincing depth to the chainmail surface without excessive polygon counts. This detailed and robust seamless 3D PBR chainmail texture with riveted rings and metallic luster is a reliable material choice for creating immersive and visually compelling metal armor in any 3D modeling or game engine environment.
Import the texture maps into Blender with sRGB color space for albedo/base color and Non-Color for normal, roughness, metallic, AO, height, and ORM maps. Connect normal maps through a Normal Map node, then adjust UV scale with a Mapping node so the material repeats naturally on your model.
For the full step-by-step setup, see How to Use Seamless Textures in Blender. Browse related material examples in wood, concrete, and metal.
Yes. This texture is designed as a seamless tileable PBR material, so it can repeat across large surfaces without visible borders.
You can download PNG/WEBP versions and use 1K, 2K, 4K and 8K download options when available on the page.
Yes. The download options and engine-mapped ZIP workflow are designed for Blender, Unreal Engine, Unity Standard, URP and HDRP material pipelines.
Yes. The texture is available under the AITextured free commercial license. Review the license page for redistribution and AI-training restrictions.
Build, preview, and export seamless PBR materials. Generate full map sets from a single image, inspect them in a real-time WebGL viewer, and re-package maps for Unreal, Unity, and Blender—directly in your browser.
AI text-to-texture: type a prompt and get a seamless, tileable base image ready for PBR workflows (great starting point for materials).
Create a full PBR set (Normal, Roughness, AO, Metallic, etc.) from a single image. Seamless and tiling-friendly.
Instant WebGL viewer: inspect materials on a sphere, plane, and cube. Check tiling and lighting in real time.
Re-packages maps per engine: Unreal (BaseColor + ORM), Unity (Mask/MetallicSmoothness), Blender (separate channels).
PNG ↔ JPG ↔ SVG: fast convert, SVG rasterize, embed/trace options, quality & background controls.