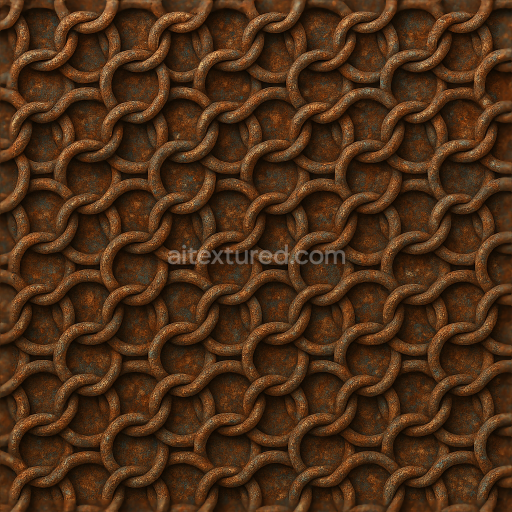
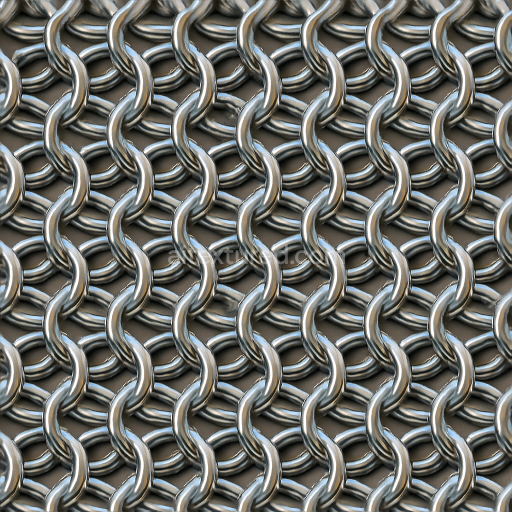
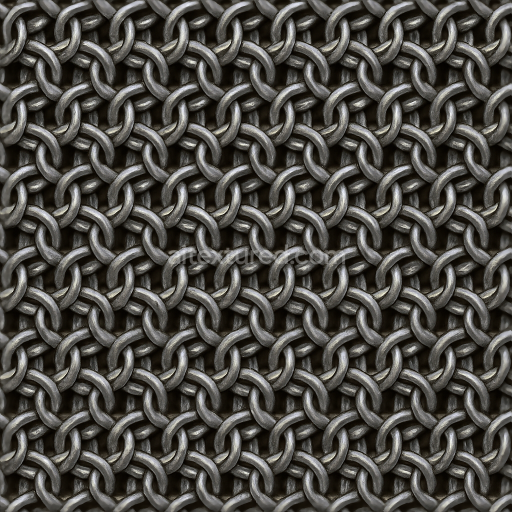
8K PBR Chainmail With Rusted Rings And Oxidation Spots Detail
Seamless texture (tileable) · PNG, WEBP, PBR ZIP. License: AITextured Free Commercial License (FCL) v1.1. Free personal and commercial use. Raw resale, standalone redistribution, mirroring/scraping, competing asset packs, and AI/ML training are not allowed without written permission. Attribution is not required, but appreciated..

| ID | seamless-3d-texture-pbr-8k-of-matte-finish-chainmail-shirt-with-small-rings |
|---|---|
| Category | Chainmail |
| Formats | PNG, WEBP, PBR ZIP |
| Size | 1k (1024x1024px), 2k (2048x2048px), 4k (4096x4096px), 8k (8192x8192px) |
| Color | sRGB |
| Tileable | Yes |
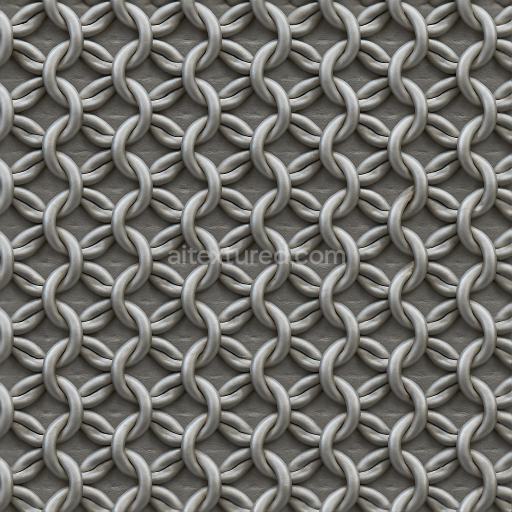
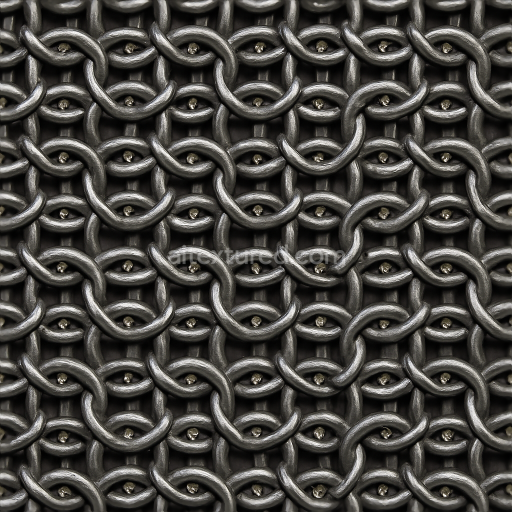
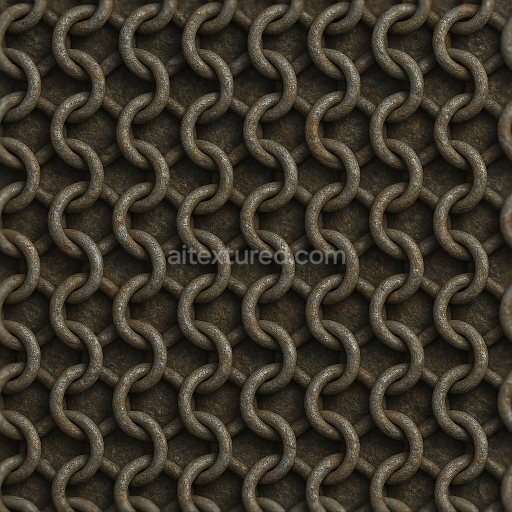
This seamless 8K resolution PBR texture showcases a highly detailed chainmail shirt surface composed of numerous small interlocking metal rings finished with a matte non-reflective coating. The base material is a durable metal alloy substrate carefully modeled to represent the subtle irregularities and slight oxidation typical of practical armor rather than polished or glossy finishes. The intricate weave pattern of the small rings is emphasized by the precise normal and height maps which convey the three-dimensional depth and tactile feel of the interlaced metal links. The roughness channel is tuned to produce a subdued matte finish minimizing specular highlights and reflections while the metallic map reinforces the authentic metal surface appearance. Ambient occlusion enhances the fine shadows within the weave accentuating the complexity and realism of the fabric-like armor surface without appearing overly shiny or artificial.
Designed to replicate the look and feel of a functional chainmail shirt this texture balances durability and realism by simulating the subtle wear and natural patina that metal armor acquires through use. The surface details including slight surface grain and faint micro-abrasions are captured through the high-resolution maps allowing for realistic lighting responses in physically based rendering workflows. The base color channel reflects a muted metal tone avoiding bright or reflective pigments which contributes to the overall matte finish and enhances the practical battle-ready aesthetic. The texture’s seamless nature ensures that it tiles flawlessly on 3D models making it suitable for wrapping chainmail shirts or similar armor components without visible seams or distortions.
Optimized for high-end 3D applications this PBR texture is fully compatible and Unreal Engine Blender and Unity-ready providing artists and developers with a versatile asset for realistic chainmail modeling. The 8K resolution guarantees exceptional detail even at close camera distances capturing the fine ring details and subtle surface nuances essential for convincing historical reenactment props or game-ready armor assets. For optimal results it is recommended to adjust the UV scale to maintain proper ring proportions and to fine-tune the roughness parameter slightly depending on environmental lighting conditions ensuring the matte metal finish behaves realistically under different light intensities. Additionally leveraging the height or parallax maps can enhance depth perception particularly in first-person or close-up views reinforcing the texture’s intricate weave and tactile metal quality.
Import the texture maps into Blender with sRGB color space for albedo/base color and Non-Color for normal, roughness, metallic, AO, height, and ORM maps. Connect normal maps through a Normal Map node, then adjust UV scale with a Mapping node so the material repeats naturally on your model.
For the full step-by-step setup, see How to Use Seamless Textures in Blender. Browse related material examples in wood, concrete, and metal.
Yes. This texture is designed as a seamless tileable PBR material, so it can repeat across large surfaces without visible borders.
You can download PNG/WEBP versions and use 1K, 2K, 4K and 8K download options when available on the page.
Yes. The download options and engine-mapped ZIP workflow are designed for Blender, Unreal Engine, Unity Standard, URP and HDRP material pipelines.
Yes. The texture is available under the AITextured free commercial license. Review the license page for redistribution and AI-training restrictions.
Build, preview, and export seamless PBR materials. Generate full map sets from a single image, inspect them in a real-time WebGL viewer, and re-package maps for Unreal, Unity, and Blender—directly in your browser.
AI text-to-texture: type a prompt and get a seamless, tileable base image ready for PBR workflows (great starting point for materials).
Create a full PBR set (Normal, Roughness, AO, Metallic, etc.) from a single image. Seamless and tiling-friendly.
Instant WebGL viewer: inspect materials on a sphere, plane, and cube. Check tiling and lighting in real time.
Re-packages maps per engine: Unreal (BaseColor + ORM), Unity (Mask/MetallicSmoothness), Blender (separate channels).
PNG ↔ JPG ↔ SVG: fast convert, SVG rasterize, embed/trace options, quality & background controls.