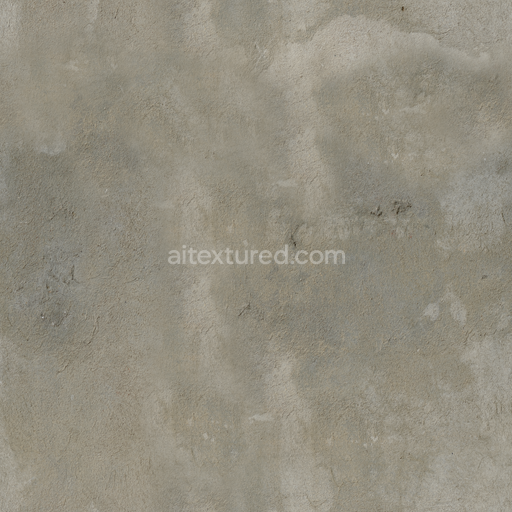
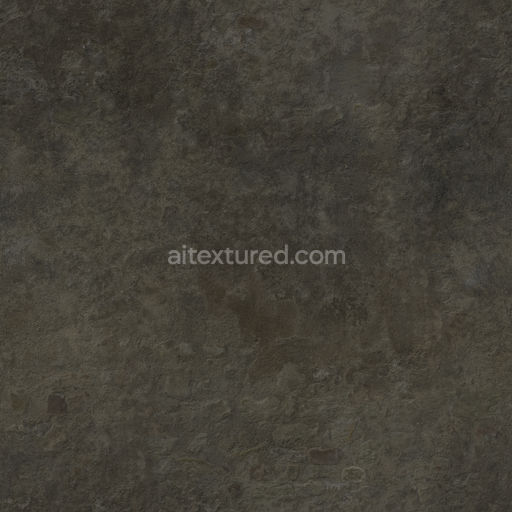
Rough Even Plastered
Seamless texture (tileable) · PNG, WEBP, PBR ZIP. License: AITextured Free Commercial License (FCL) v1.1. Free personal and commercial use. Raw resale, standalone redistribution, mirroring/scraping, competing asset packs, and AI/ML training are not allowed without written permission. Attribution is not required, but appreciated..

| ID | damaged-concrete-texture-exposing-rusty-rebars-or-reinforcing-steels-free-pbr |
|---|---|
| Category | Concrete |
| Formats | PNG, WEBP, PBR ZIP |
| Size | 1k (1024x1024px), 2k (2048x2048px), 4k (4096x4096px), 8k (8192x8192px) |
| Color | sRGB |
| Tileable | Yes |
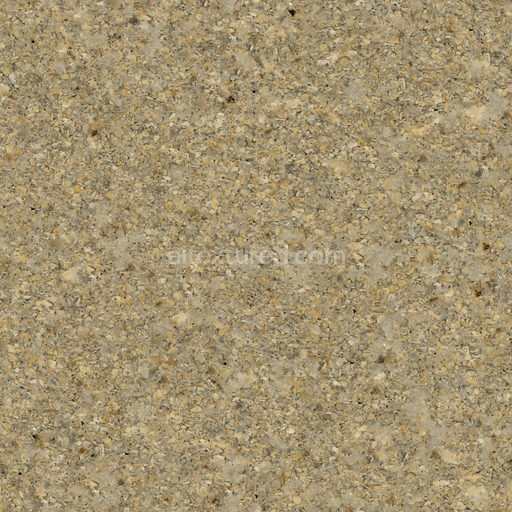
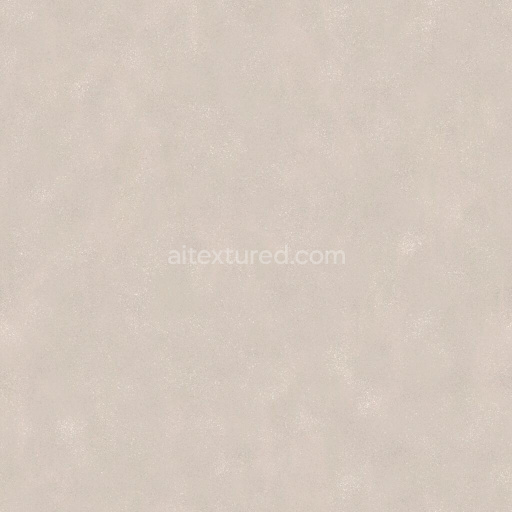
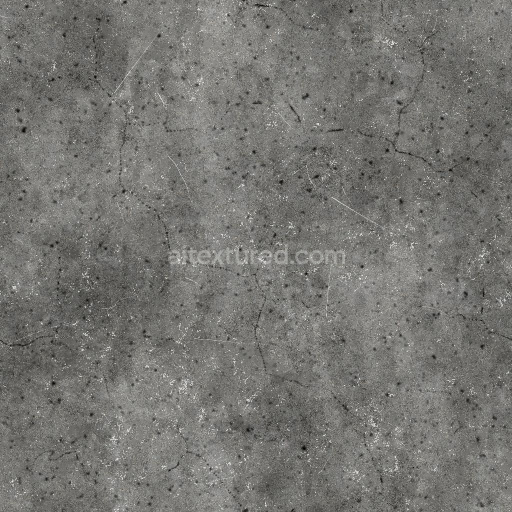
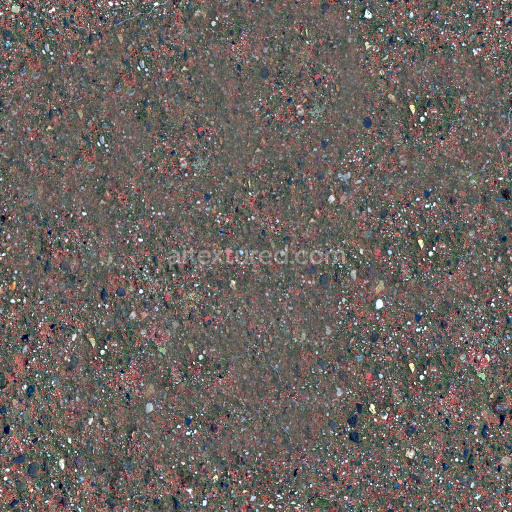
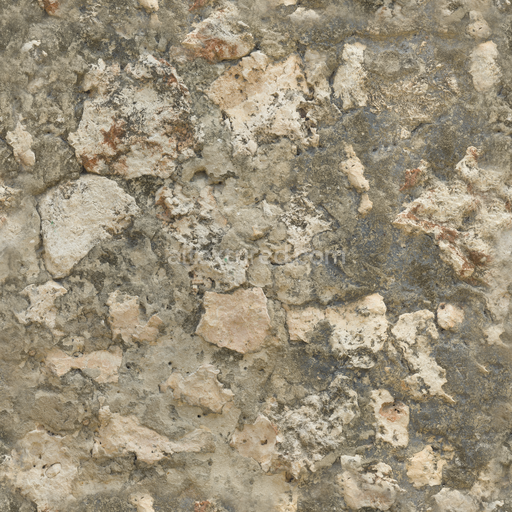
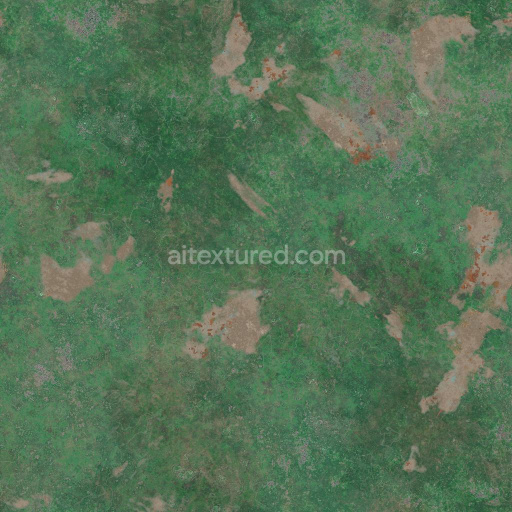
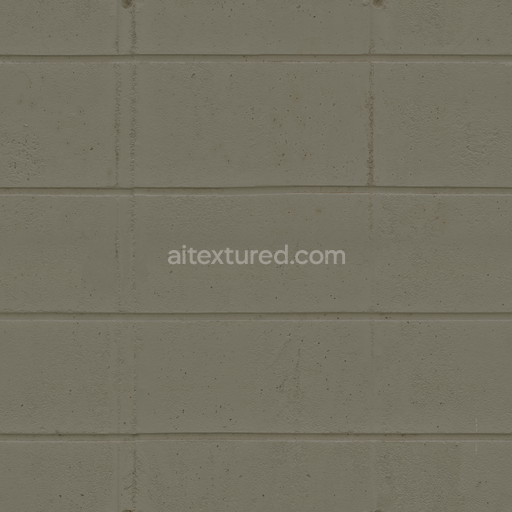
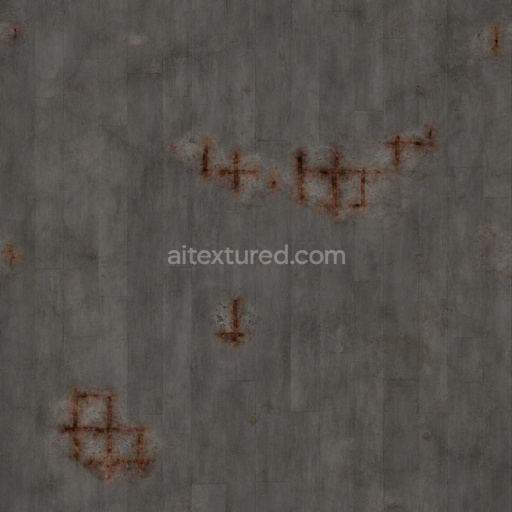
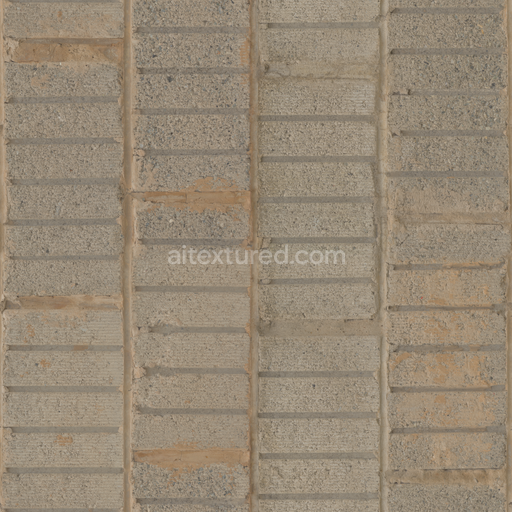
This damaged concrete texture vividly reveals the underlying rusty rebars or reinforcing steels, offering an authentic representation of weathered construction materials. The concrete substrate is primarily mineral-based, composed of cement binders combined with aggregates such as sand and gravel, which create a dense, yet porous matrix. Over time, environmental exposure has caused the surface to deteriorate, exposing corroded steel reinforcements embedded within. These reinforcing steels have developed a characteristic reddish-brown oxidation layer due to prolonged contact with moisture and oxygen, which is clearly visible through the cracked and chipped concrete surface.
The texture’s surface finish captures a rough, uneven appearance with areas of flaking and spalling, highlighting the material’s age and exposure to harsh conditions. The concrete’s color palette ranges from muted grays to subtle beige tones, accentuated by the vivid rust hues of the exposed rebars. In the PBR workflow, the BaseColor/Albedo channel reflects this natural coloration, while the Normal map accurately simulates the intricate surface details including cracks, chips, and rust flakes. The Roughness channel varies across the surface, with smoother patches of worn concrete contrasted by the coarse, textured finish of rusted steel. The Metallic map isolates the reinforcing steel elements, ensuring realistic light reflection, and the Ambient Occlusion channel enhances depth perception in crevices and recessed areas. Height or Displacement maps provide additional dimensionality, emphasizing the relief created by surface damage and corrosion.
This high-quality 8K seamless texture is optimized for use in Blender, Unreal Engine, and Unity, delivering exceptional detail and realism for architectural visualizations, game environments, and cinematic scenes. To maximize realism, it is recommended to carefully adjust UV scale to match the scale of the concrete surface in your project, and to fine-tune roughness values to balance between the polished concrete remnants and the oxidized steel.
Overall, this texture offers a detailed, physically accurate portrayal of damaged concrete with exposed rusty reinforcing steels, making it an excellent resource for creating weathered, industrial, or urban decay materials in 3D applications.
Import the texture maps into Blender with sRGB color space for albedo/base color and Non-Color for normal, roughness, metallic, AO, height, and ORM maps. Connect normal maps through a Normal Map node, then adjust UV scale with a Mapping node so the material repeats naturally on your model.
For the full step-by-step setup, see How to Use Seamless Textures in Blender. Browse related material examples in wood, concrete, and metal.
Yes. This texture is designed as a seamless tileable PBR material, so it can repeat across large surfaces without visible borders.
You can download PNG/WEBP versions and use 1K, 2K, 4K and 8K download options when available on the page.
Yes. The download options and engine-mapped ZIP workflow are designed for Blender, Unreal Engine, Unity Standard, URP and HDRP material pipelines.
Yes. The texture is available under the AITextured free commercial license. Review the license page for redistribution and AI-training restrictions.


Build, preview, and export seamless PBR materials. Generate full map sets from a single image, inspect them in a real-time WebGL viewer, and re-package maps for Unreal, Unity, and Blender—directly in your browser.
AI text-to-texture: type a prompt and get a seamless, tileable base image ready for PBR workflows (great starting point for materials).
Create a full PBR set (Normal, Roughness, AO, Metallic, etc.) from a single image. Seamless and tiling-friendly.
Instant WebGL viewer: inspect materials on a sphere, plane, and cube. Check tiling and lighting in real time.
Re-packages maps per engine: Unreal (BaseColor + ORM), Unity (Mask/MetallicSmoothness), Blender (separate channels).
PNG ↔ JPG ↔ SVG: fast convert, SVG rasterize, embed/trace options, quality & background controls.