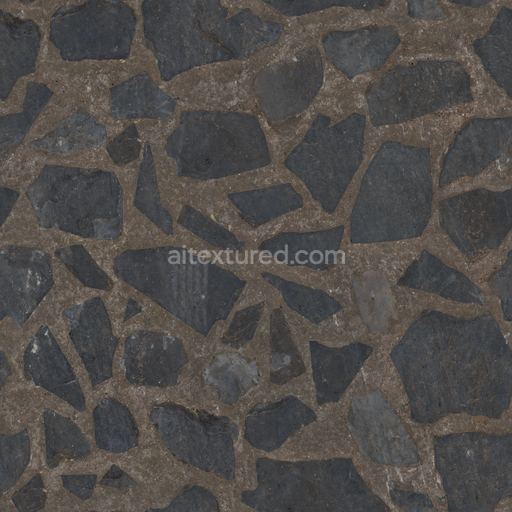
Slate Driveway
Seamless texture (tileable) · PNG, WEBP, PBR ZIP. License: AITextured Free Commercial License (FCL) v1.1. Free personal and commercial use. Raw resale, standalone redistribution, mirroring/scraping, competing asset packs, and AI/ML training are not allowed without written permission. Attribution is not required, but appreciated..

| ID | yellow-stone-wall-wall-damaged-old-cracked-chipped-worn |
|---|---|
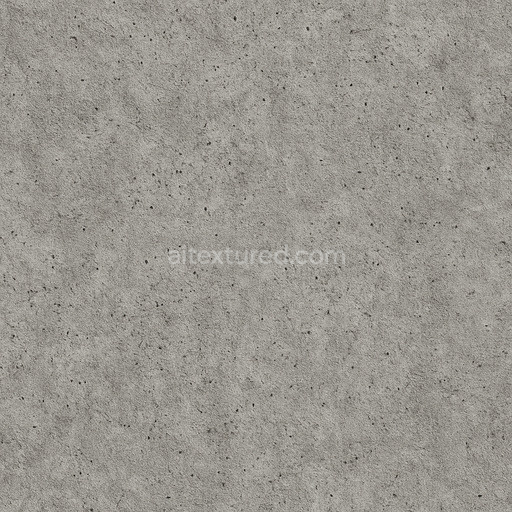
| Category | Concrete |
| Formats | PNG, WEBP, PBR ZIP |
| Size | 1k (1024x1024px), 2k (2048x2048px), 4k (4096x4096px), 8k (8192x8192px) |
| Color | sRGB |
| Tileable | Yes |
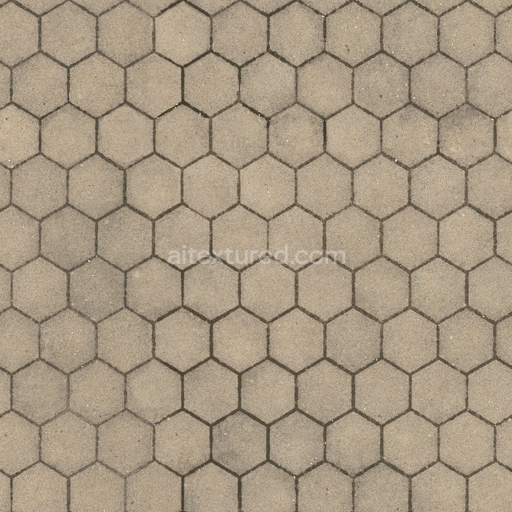
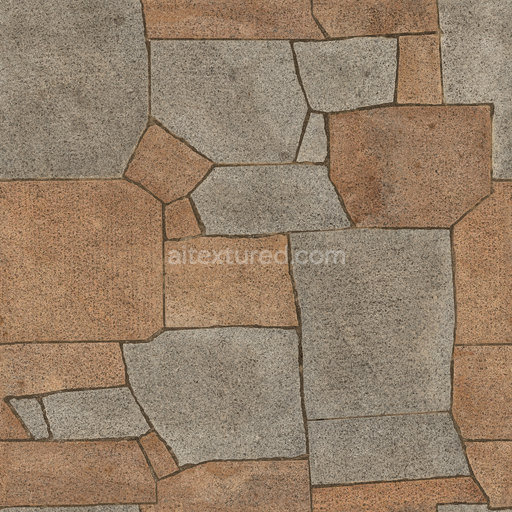
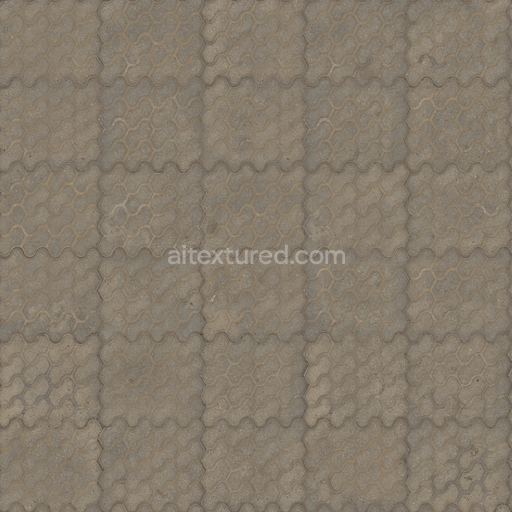
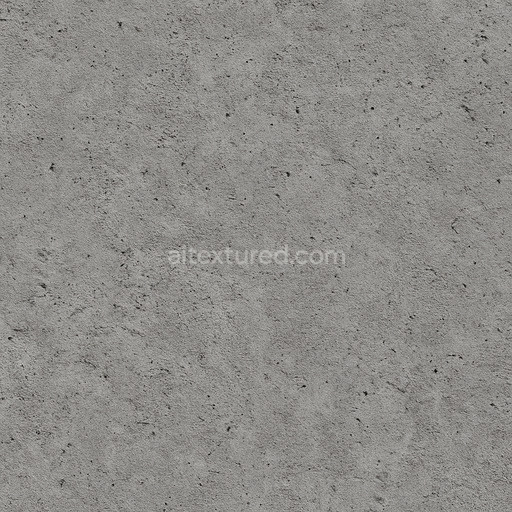
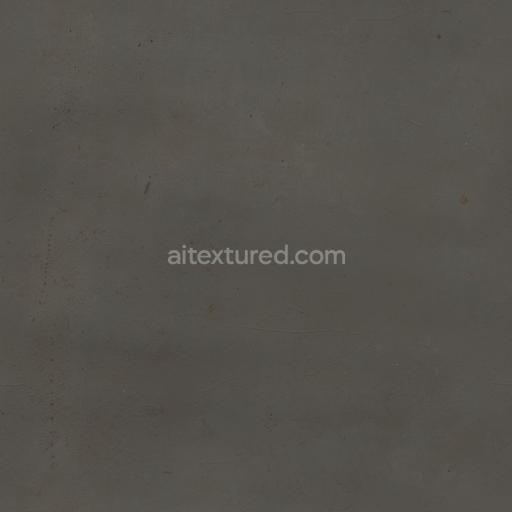
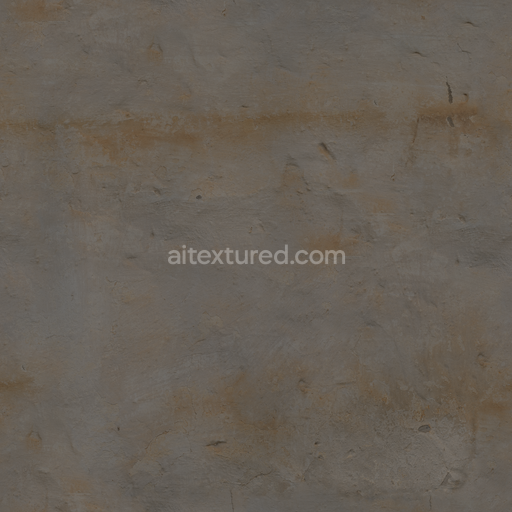
This seamless wall texture offers an exceptionally detailed and realistic depiction of a damaged old yellow stone wall characteristic of outdoor man-made structures exposed to natural weathering over extended periods. The core material is a mineral-rich cementitious composite consisting primarily of coarse rock aggregates firmly bonded by durable cementitious adhesives. These irregular rock fragments form a porous and rough substrate typical of weathered concrete and natural stone surfaces. Over time environmental factors have caused visible deterioration including cracks chips scratches discoloration and erosion. Layers of subtle yellow pigments combine with accumulated dirt and grime creating a rugged and tactile surface that authentically represents the worn and aged look of a yellow-stone wall exposed to outdoor elements.
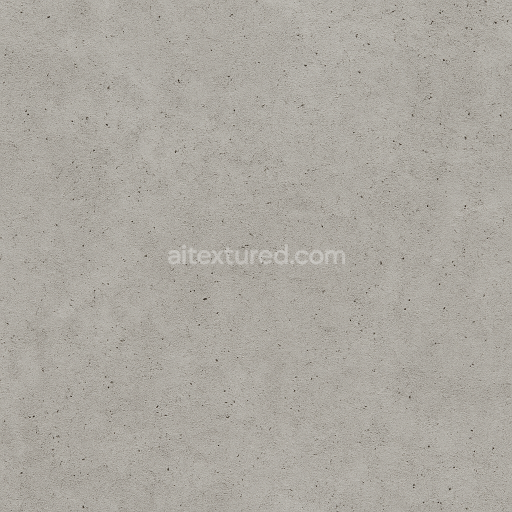
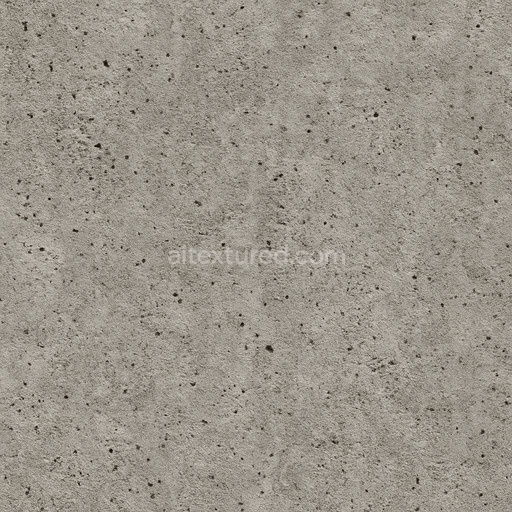
The surface finish expertly captures the textural contrast between the rough grainy nature of the coarse rock particles and the smoother eroded patches shaped by oxidation and weathering processes. Mineral pigments and oxide layers contribute nuanced yellowish tones and discoloration enriching the visual complexity of the wall. This detailed 3D texture is optimized for physically based rendering (PBR) workflows and includes a full set of texture maps to enhance realism and flexibility. The BaseColor (Albedo) map reproduces natural pigment variations weathered coloration and dirt accumulation typical of aged concrete and stone walls. The Normal map encodes fine geometric details such as cracks chips and grain orientation adding depth and tactile authenticity without increasing polygon counts. The Roughness map controls surface reflectivity highlighting worn scratched and porous areas to simulate varied light scattering effects. The Height (Displacement) map introduces subtle relief that emphasizes the rugged and eroded nature of the wall surface while Ambient Occlusion enhances shading in crevices and damaged zones reinforcing dimensionality and realism in the render.
Rendered at ultra-high resolutions up to 8K this seamless 3D texture is fully compatible with major platforms such as Blender Unreal Engine and Unity ensuring smooth tiling and optimal performance. It is especially suited for recreating realistic yellow stone walls weathered concrete and rough stone surfaces in outdoor scenes accurately reflecting the mineral-rich substrates bonded by cementitious materials. For best results adjusting the UV scale is recommended to maintain the natural proportions and intricate details of the coarse rock aggregates preventing distortion and preserving the authenticity of the texture. Additionally fine-tuning the Roughness map allows precise control over the surface’s reflectivity enabling users to emphasize either the matte worn character or the subtle glossiness typical of eroded concrete and stone finishes. This makes the texture ideal for both real-time rendering and high-quality offline projects requiring detailed realistic representations of damaged cracked and weathered walls.
Import the texture maps into Blender with sRGB color space for albedo/base color and Non-Color for normal, roughness, metallic, AO, height, and ORM maps. Connect normal maps through a Normal Map node, then adjust UV scale with a Mapping node so the material repeats naturally on your model.
For the full step-by-step setup, see How to Use Seamless Textures in Blender. Browse related material examples in wood, concrete, and metal.
Yes. This texture is designed as a seamless tileable PBR material, so it can repeat across large surfaces without visible borders.
You can download PNG/WEBP versions and use 1K, 2K, 4K and 8K download options when available on the page.
Yes. The download options and engine-mapped ZIP workflow are designed for Blender, Unreal Engine, Unity Standard, URP and HDRP material pipelines.
Yes. The texture is available under the AITextured free commercial license. Review the license page for redistribution and AI-training restrictions.


Build, preview, and export seamless PBR materials. Generate full map sets from a single image, inspect them in a real-time WebGL viewer, and re-package maps for Unreal, Unity, and Blender—directly in your browser.
AI text-to-texture: type a prompt and get a seamless, tileable base image ready for PBR workflows (great starting point for materials).
Create a full PBR set (Normal, Roughness, AO, Metallic, etc.) from a single image. Seamless and tiling-friendly.
Instant WebGL viewer: inspect materials on a sphere, plane, and cube. Check tiling and lighting in real time.
Re-packages maps per engine: Unreal (BaseColor + ORM), Unity (Mask/MetallicSmoothness), Blender (separate channels).
PNG ↔ JPG ↔ SVG: fast convert, SVG rasterize, embed/trace options, quality & background controls.