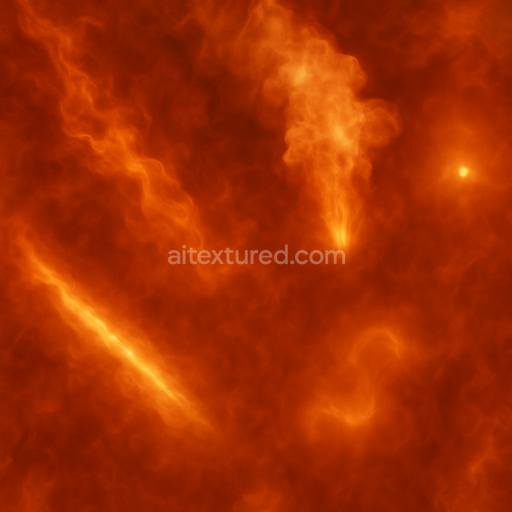
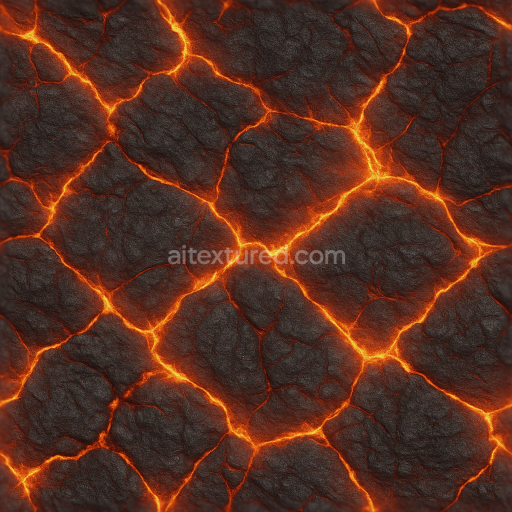
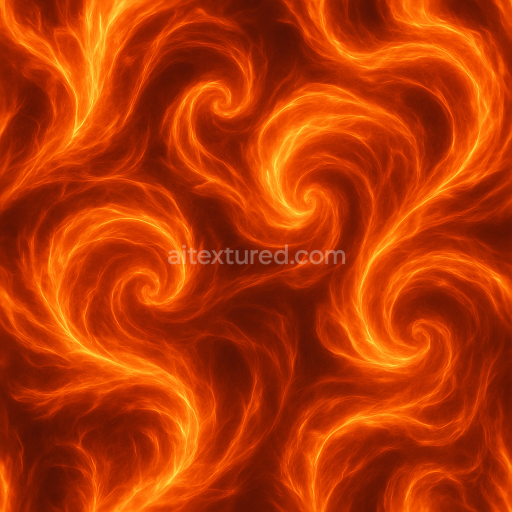
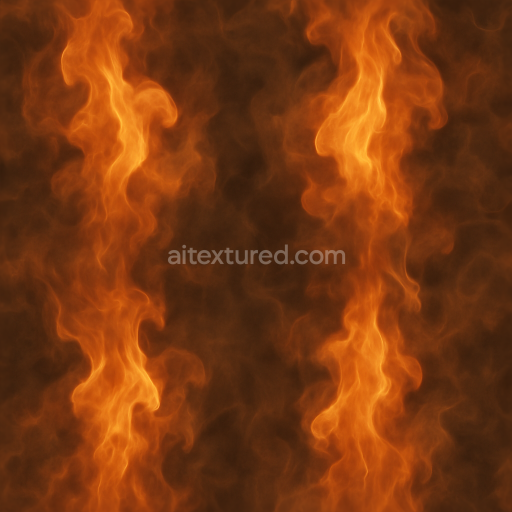
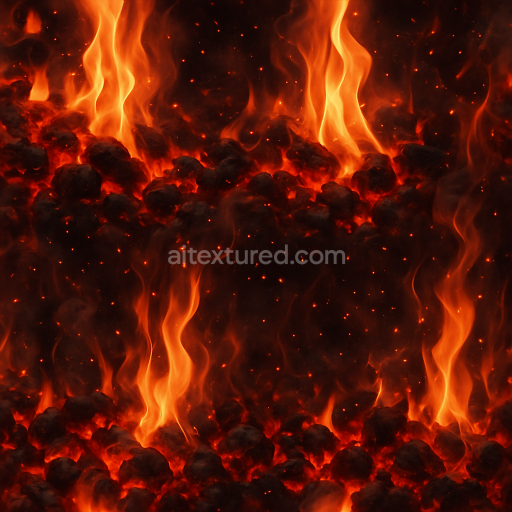
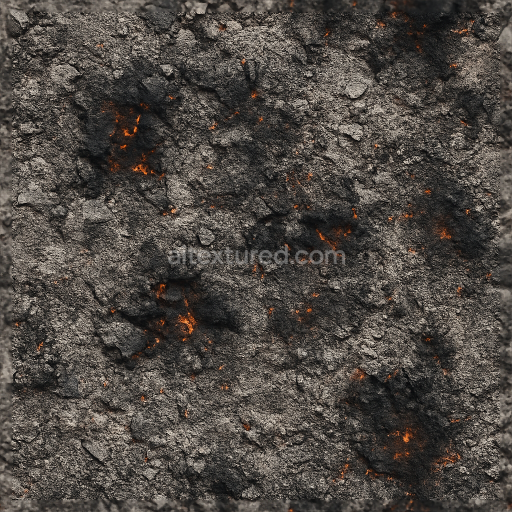
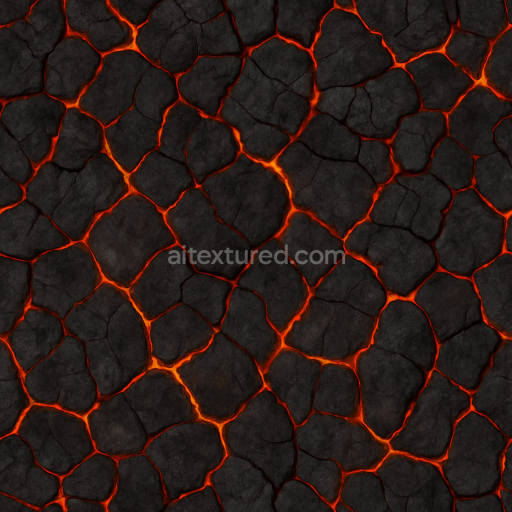
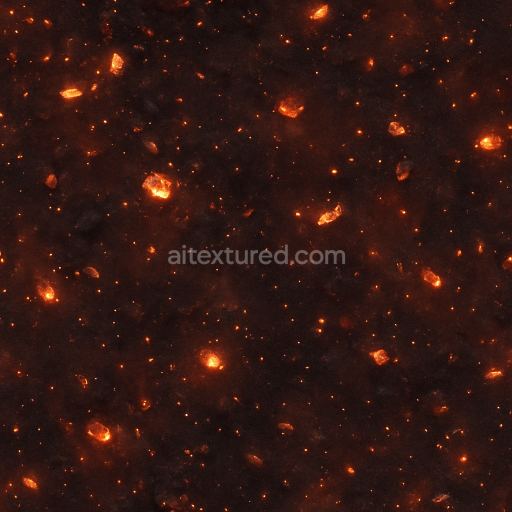
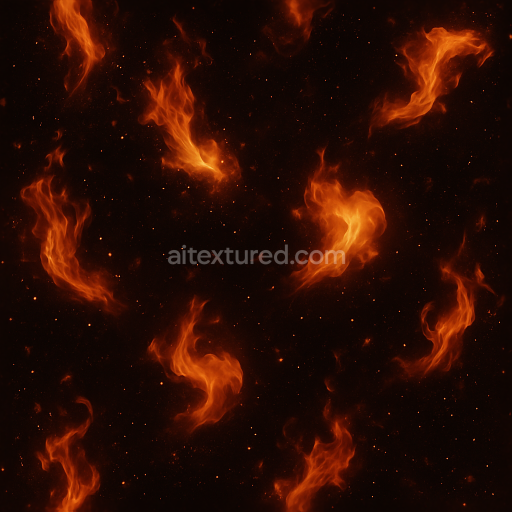
Fire Trail Wave With Fire Smoke Plume And Heat Shimmer
Seamless texture (tileable) · PNG, WEBP, PBR ZIP. License: AITextured Free Commercial License (FCL) v1.1. Free personal and commercial use. Raw resale, standalone redistribution, mirroring/scraping, competing asset packs, and AI/ML training are not allowed without written permission. Attribution is not required, but appreciated..

| ID | seamless-3d-texture-of-fire-smoke-plume-pbr-8k-surface |
|---|---|
| Category | Fire |
| Formats | PNG, WEBP, PBR ZIP |
| Size | 1k (1024x1024px), 2k (2048x2048px), 4k (4096x4096px), 8k (8192x8192px) |
| Color | sRGB |
| Tileable | Yes |
This seamless 3D texture showcases a highly detailed fire smoke plume expertly crafted to replicate the naturalistic appearance of smoke rising from a fire. The base substrate is an organic gaseous medium represented through advanced PBR channels that simulate the intricate interplay of smoke wisps and fire haze effects. The texture’s composition captures subtle flowing patterns and soft gradations of heat distortion which are translated into the BaseColor/Albedo channel with delicate gradients of grayed whites warm amber tints and translucent charcoals. The Normal map enhances the perception of volumetric depth and swirling motion while Roughness and Ambient Occlusion maps work together to convey the semi-transparent diffused surface finish typical of smoke avoiding any metallic reflections and maintaining a purely organic feel.
Rendered at an impressive 8K resolution this texture offers exceptional clarity and fidelity making it ideal for demanding digital media projects. It is fully optimized for seamless tiling without visible breaks ensuring smooth repetition across large surfaces or volumes. The Height/Displacement channel subtly simulates the dynamic thickness and rising movement of the smoke plume adding realism to atmospheric effects in real-time engines. With a neutral lighting setup and albedo-only rendering designed for maximum flexibility this texture integrates effortlessly into workflows in Blender Unreal Engine and Unity supporting a wide range of visual effects games and simulation environments that require authentic fire smoke appearances and atmospheric haze.
From a materials perspective the texture mimics the ephemeral nature of smoke through carefully balanced porosity and translucency in the shaders avoiding any hard or polished surfaces. The absence of metallic content is reflected in the Metallic map which remains fully black reinforcing the organic and non-reflective character of the smoke plume’s surface. Colorants are represented through soft pigment diffusion in the Albedo map creating a lifelike gradient that transitions seamlessly from dense dark smoke near the base to lighter more transparent haze at the edges. For optimal results it is recommended to adjust the UV scale to fine-tune the density of smoke wisps and to modify roughness values slightly to match the desired softness or sharpness of the smoke edges enhancing realism in various lighting conditions.
Import the texture maps into Blender with sRGB color space for albedo/base color and Non-Color for normal, roughness, metallic, AO, height, and ORM maps. Connect normal maps through a Normal Map node, then adjust UV scale with a Mapping node so the material repeats naturally on your model.
For the full step-by-step setup, see How to Use Seamless Textures in Blender. Browse related material examples in wood, concrete, and metal.
Yes. This texture is designed as a seamless tileable PBR material, so it can repeat across large surfaces without visible borders.
You can download PNG/WEBP versions and use 1K, 2K, 4K and 8K download options when available on the page.
Yes. The download options and engine-mapped ZIP workflow are designed for Blender, Unreal Engine, Unity Standard, URP and HDRP material pipelines.
Yes. The texture is available under the AITextured free commercial license. Review the license page for redistribution and AI-training restrictions.

Generate, preview, and export seamless PBR materials for Blender, Unity, and Unreal Engine—directly in your browser.
AI text-to-texture: type a prompt and get a seamless, tileable base image ready for PBR workflows (great starting point for materials).
Create a full PBR set (Normal, Roughness, AO, Metallic, etc.) from a single image. Seamless and tiling-friendly.
Instant WebGL viewer: inspect materials on a sphere, plane, and cube. Check tiling and lighting in real time.
Re-packages maps per engine: Unreal (BaseColor + ORM), Unity (Mask/MetallicSmoothness), Blender (separate channels).
PNG ↔ JPG ↔ SVG: fast convert, SVG rasterize, embed/trace options, quality & background controls.