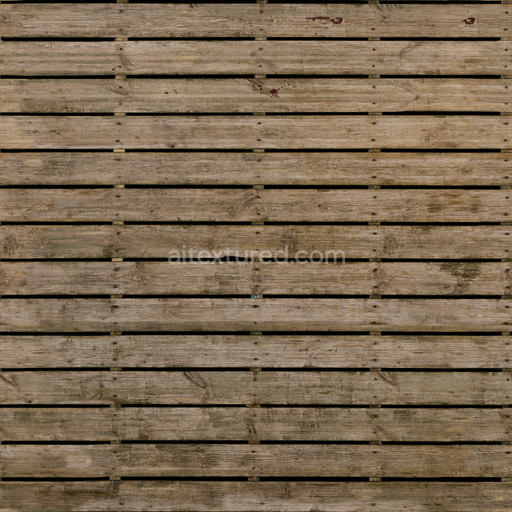
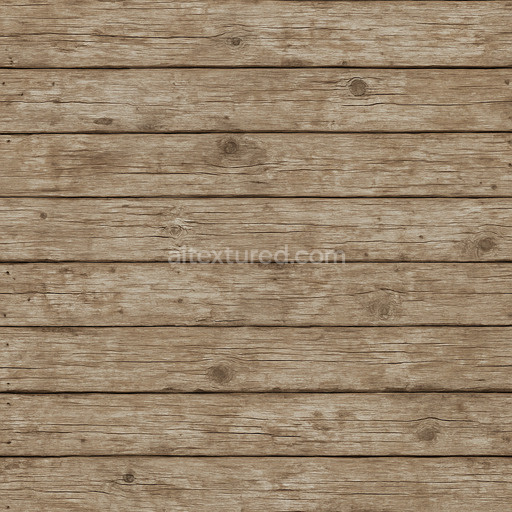
Planks Cabin Exterior - Old Worn Wood Scratched Timber Plank
Seamless texture (tileable) · PNG, WEBP, PBR ZIP. License: AITextured Free Commercial License (FCL) v1.1. Free personal and commercial use. Raw resale, standalone redistribution, mirroring/scraping, competing asset packs, and AI/ML training are not allowed without written permission. Attribution is not required, but appreciated..

| ID | stylized-cartoon-floor-ground-stone |
|---|---|
| Category | Flooring |
| Formats | PNG, WEBP, PBR ZIP |
| Size | 1k (1024x1024px), 2k (2048x2048px), 4k (4096x4096px), 8k (8192x8192px) |
| Color | sRGB |
| Tileable | Yes |
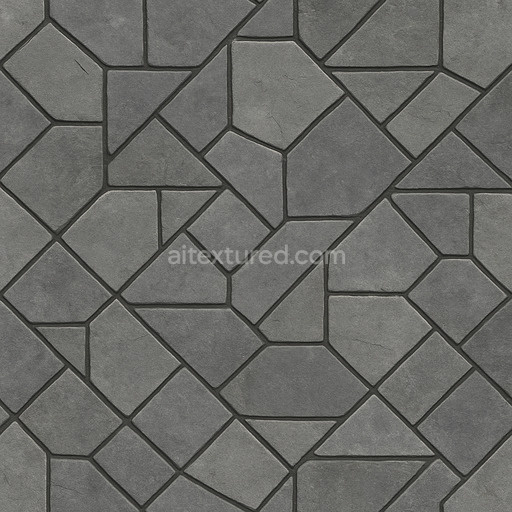
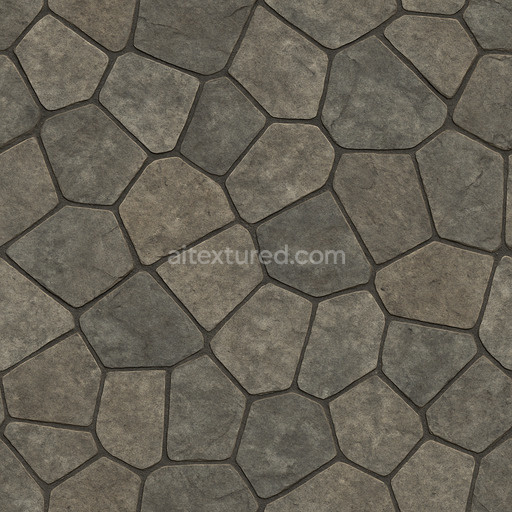
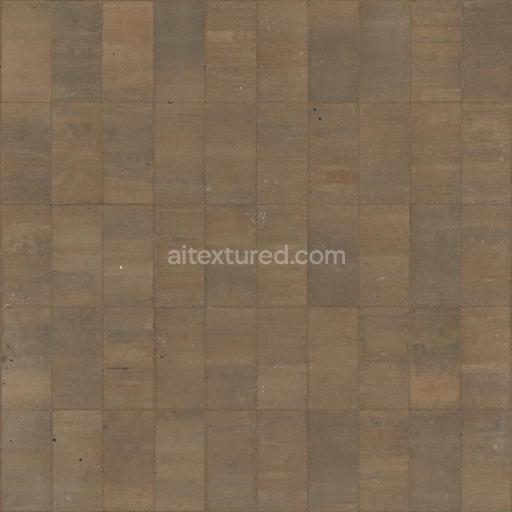
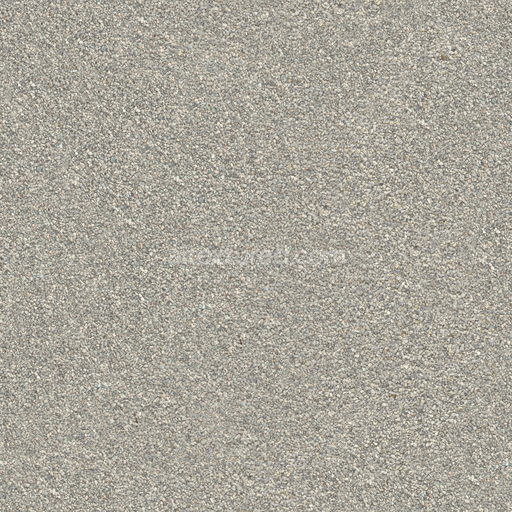
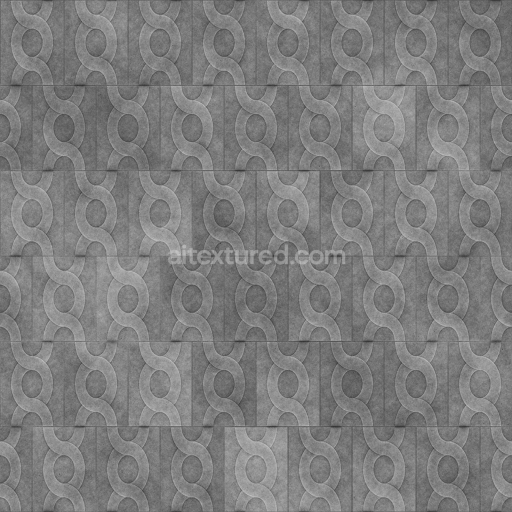
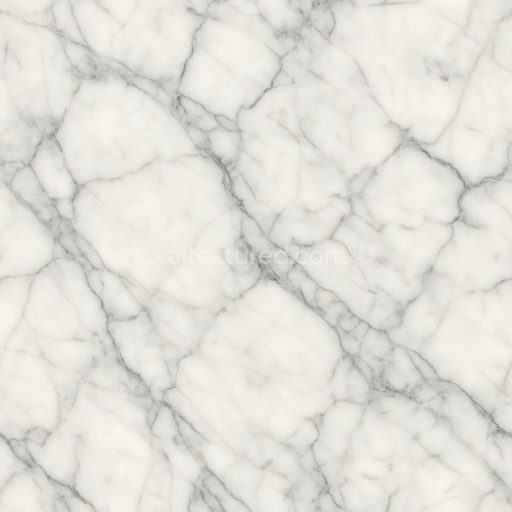
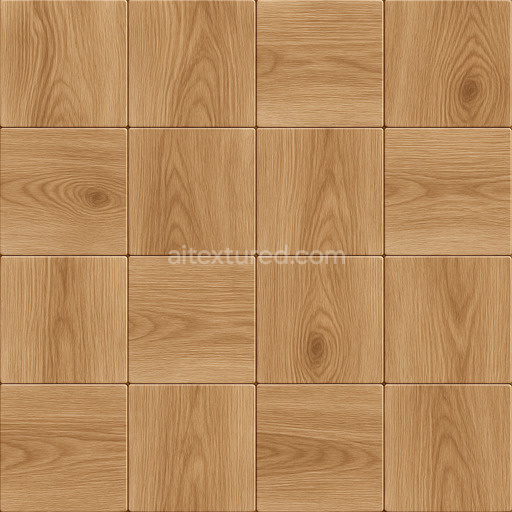
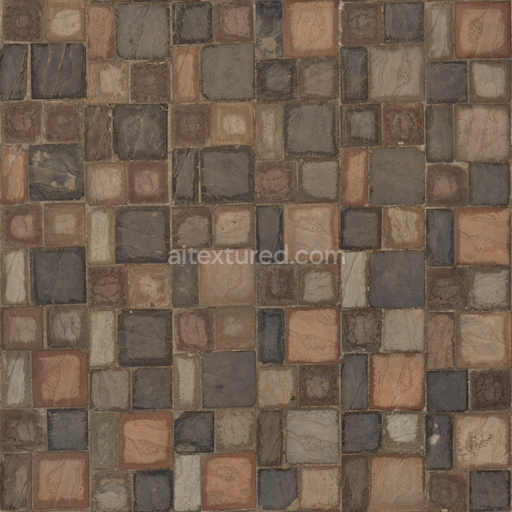
This stylized cartoon floor ground stone texture is expertly crafted to capture the essence of a vibrant hand-painted stone surface designed specifically for physically based rendering workflows. The underlying base substrate mimics a compacted mineral aggregate resembling natural stone with a subtle grain orientation and slight porosity that adds visual depth without overwhelming detail. This carefully balanced porosity suggests a weathered yet well-maintained stone floor lending authenticity while adhering to the clean simplified aesthetics typical of cartoon styles. Pigments and colorants are applied in broad flat layers consistent with the stylized approach emphasizing a smooth and consistent color response across the entire surface. The finish is matte with a faintly rough texture simulating a gently worn stone ground that appears tactile and believable without glossiness or excessive wear.
In terms of materials and composition this texture combines mineral-based aggregates with subtle binding elements that hold the compacted grains together reflecting the natural cohesion seen in stone flooring. The pigments used emulate natural oxide layers and mineral dyes applied uniformly to maintain the stylized cartoon look without sacrificing vibrancy or realism. The PBR texture set includes all essential channels optimized for seamless tiling at resolutions up to 8K ensuring exceptional clarity and detail for large-scale applications. The BaseColor (Albedo) channel showcases the vivid hues and flat color distribution while the Normal map introduces gentle surface irregularities and subtle depth to enhance dynamic lighting effects. Roughness values are calibrated to reflect the matte lightly weathered surface avoiding unwanted gloss and the Metallic channel remains minimal accurately representing the non-metallic nature of stone. Ambient Occlusion maps emphasize crevices and edges boosting spatial definition while Height/Displacement maps enable advanced parallax and displacement effects compatible with real-time engines like Unreal Engine and Unity as well as offline renderers such as Blender.
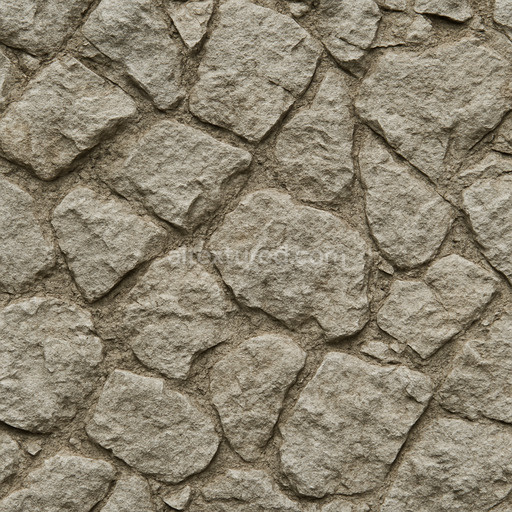
Designed for versatile use in architectural visualization game development and real-time rendering this stylized cartoon floor ground stone texture delivers both aesthetic appeal and technical excellence. To optimize visual results adjusting the UV scale is recommended to preserve the texture’s stylized proportions and prevent noticeable repetition across surfaces. Additionally fine-tuning the roughness values can simulate varying degrees of surface wear or moisture allowing customization to fit specific project needs. The consistent color response and gamma settings ensure seamless integration with different rendering pipelines making this texture a reliable and adaptable choice for creative professionals seeking high-quality stylized stone surfaces with subtle depth and realistic material properties.
Import the texture maps into Blender with sRGB color space for albedo/base color and Non-Color for normal, roughness, metallic, AO, height, and ORM maps. Connect normal maps through a Normal Map node, then adjust UV scale with a Mapping node so the material repeats naturally on your model.
For the full step-by-step setup, see How to Use Seamless Textures in Blender. Browse related material examples in wood, concrete, and metal.
Yes. This texture is designed as a seamless tileable PBR material, so it can repeat across large surfaces without visible borders.
You can download PNG/WEBP versions and use 1K, 2K, 4K and 8K download options when available on the page.
Yes. The download options and engine-mapped ZIP workflow are designed for Blender, Unreal Engine, Unity Standard, URP and HDRP material pipelines.
Yes. The texture is available under the AITextured free commercial license. Review the license page for redistribution and AI-training restrictions.


Build, preview, and export seamless PBR materials. Generate full map sets from a single image, inspect them in a real-time WebGL viewer, and re-package maps for Unreal, Unity, and Blender—directly in your browser.
AI text-to-texture: type a prompt and get a seamless, tileable base image ready for PBR workflows (great starting point for materials).
Create a full PBR set (Normal, Roughness, AO, Metallic, etc.) from a single image. Seamless and tiling-friendly.
Instant WebGL viewer: inspect materials on a sphere, plane, and cube. Check tiling and lighting in real time.
Re-packages maps per engine: Unreal (BaseColor + ORM), Unity (Mask/MetallicSmoothness), Blender (separate channels).
PNG ↔ JPG ↔ SVG: fast convert, SVG rasterize, embed/trace options, quality & background controls.