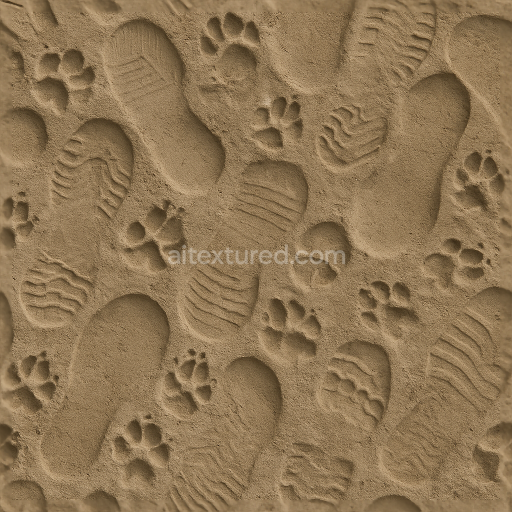
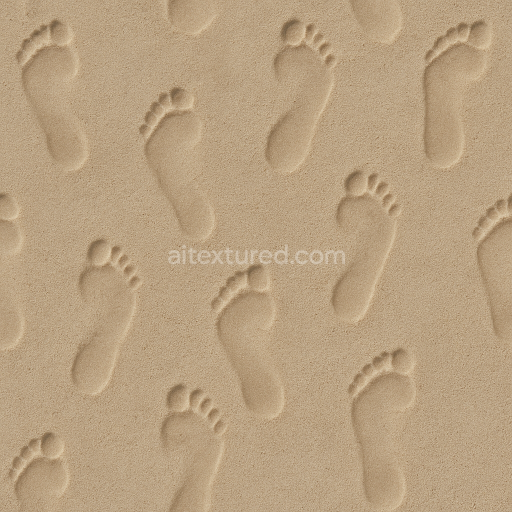
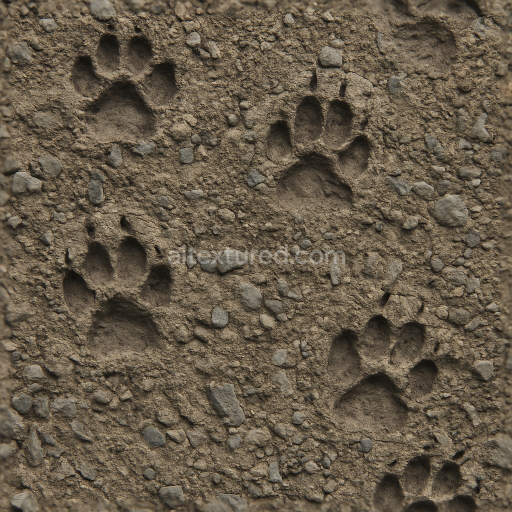
Seamless 8K PBR 3D Texture of Overlapping Animal Paw Prints on Soil
Seamless texture (tileable) · PNG, WEBP, PBR ZIP. License: AITextured Free Commercial License (FCL) v1.1. Free personal and commercial use. Raw resale, standalone redistribution, mirroring/scraping, competing asset packs, and AI/ML training are not allowed without written permission. Attribution is not required, but appreciated..

| ID | seamless-3d-texture-pbr-8k-of-horse-hoofprints-on-dry-cracked-mud-surface |
|---|---|
| Category | Footprints |
| Formats | PNG, WEBP, PBR ZIP |
| Size | 1k (1024x1024px), 2k (2048x2048px), 4k (4096x4096px), 8k (8192x8192px) |
| Color | sRGB |
| Tileable | Yes |
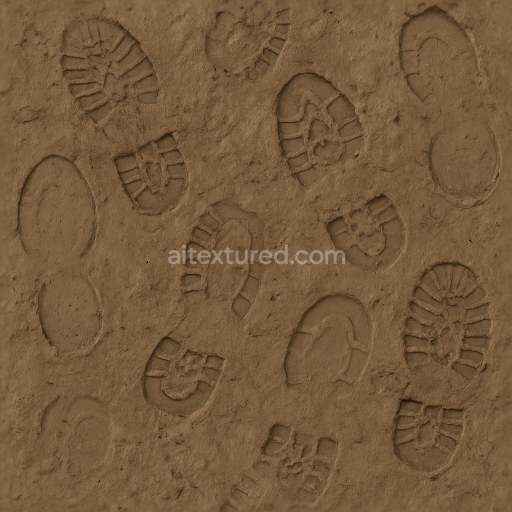
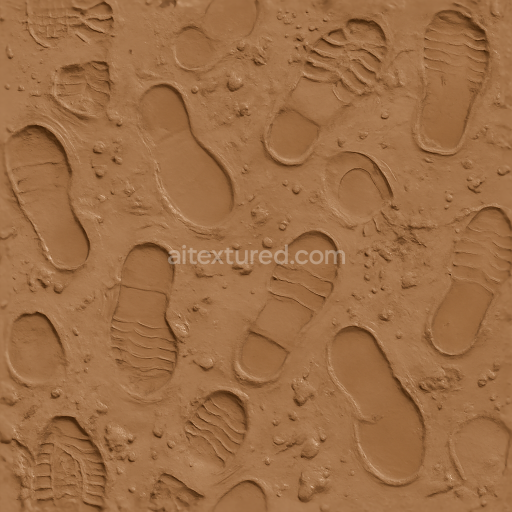
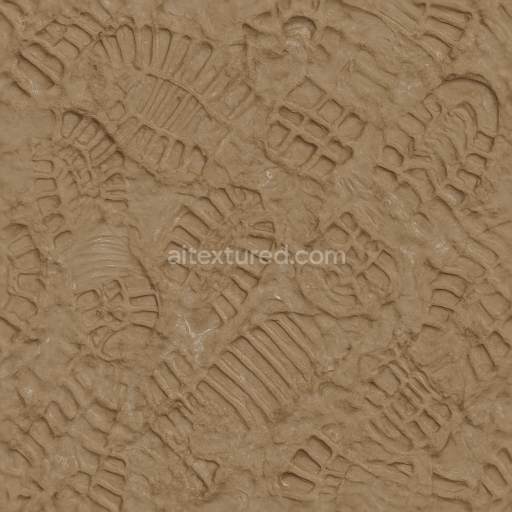
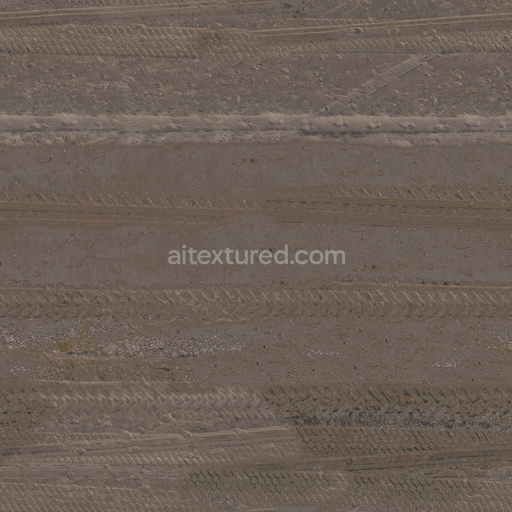
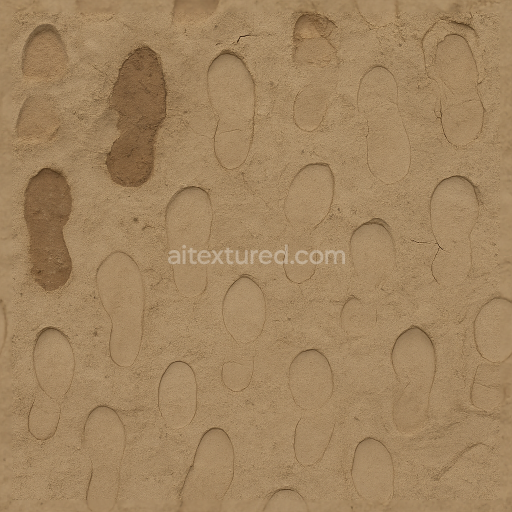
This seamless 3D texture presents highly detailed horse hoofprints embedded into a dry cracked mud surface rendered at an impressive 8K resolution for photorealistic results. The base substrate consists of compacted organic soil rich in fine mineral particles and natural clay binders which contribute to the brittle fissured structure characteristic of arid environments. The cracked mud reveals a complex network of natural fissures and desiccation patterns with subtle dust accumulation filling some crevices. The surface finish is rough and matte displaying various brown hues created by natural pigments and oxide layers which together simulate the weathered sunbaked appearance of a rural terrain. The horse hoofprints themselves impress clear concave footprints into the mud exhibiting realistic edge wear and cracking consistent with repeated drying and pressure emphasizing the organic interaction between animal and earth.
In terms of PBR channels the BaseColor/Albedo map conveys the nuanced brown tones and dust overlays while the Normal map captures the intricate relief of cracked mud and hoofprint depth adding convincing surface irregularities. The Roughness channel highlights the matte uneven texture of dry mud with slightly smoother areas inside the hoof impressions to replicate compressed soil. Metallic values remain negligible reflecting the non-metallic natural composition of the substrate. Ambient Occlusion enhances depth perception within fissures and footprint depressions increasing realism in shaded conditions. The Height/Displacement map defines the micro and macro elevation changes crucial for parallax effects in real-time engines ensuring the texture integrates seamlessly in 3D environments. This texture is fully optimized and ready to use in Blender Unreal Engine and Unity supporting realistic environmental scenes such as equestrian grounds rural landscapes or natural trail simulations.
For practical application adjusting the UV scale to maintain fine detail at close camera distances is recommended especially to preserve the definition of the hoofprint edges and mud cracks. Additionally fine-tuning the roughness map allows for creating variations in soil moisture appearance from drier patches with higher roughness to slightly compacted darker areas with reduced roughness enhancing material fidelity in diverse lighting setups. This texture is an excellent choice for artists and developers seeking a natural seamless photorealistic representation of dry footprints on cracked mud surfaces with realistic aging and wear effects tailored for high-end 3D projects.
Import the texture maps into Blender with sRGB color space for albedo/base color and Non-Color for normal, roughness, metallic, AO, height, and ORM maps. Connect normal maps through a Normal Map node, then adjust UV scale with a Mapping node so the material repeats naturally on your model.
For the full step-by-step setup, see How to Use Seamless Textures in Blender. Browse related material examples in wood, concrete, and metal.
Yes. This texture is designed as a seamless tileable PBR material, so it can repeat across large surfaces without visible borders.
You can download PNG/WEBP versions and use 1K, 2K, 4K and 8K download options when available on the page.
Yes. The download options and engine-mapped ZIP workflow are designed for Blender, Unreal Engine, Unity Standard, URP and HDRP material pipelines.
Yes. The texture is available under the AITextured free commercial license. Review the license page for redistribution and AI-training restrictions.
Generate, preview, and export seamless PBR materials for Blender, Unity, and Unreal Engine—directly in your browser.
AI text-to-texture: type a prompt and get a seamless, tileable base image ready for PBR workflows (great starting point for materials).
Create a full PBR set (Normal, Roughness, AO, Metallic, etc.) from a single image. Seamless and tiling-friendly.
Instant WebGL viewer: inspect materials on a sphere, plane, and cube. Check tiling and lighting in real time.
Re-packages maps per engine: Unreal (BaseColor + ORM), Unity (Mask/MetallicSmoothness), Blender (separate channels).
PNG ↔ JPG ↔ SVG: fast convert, SVG rasterize, embed/trace options, quality & background controls.