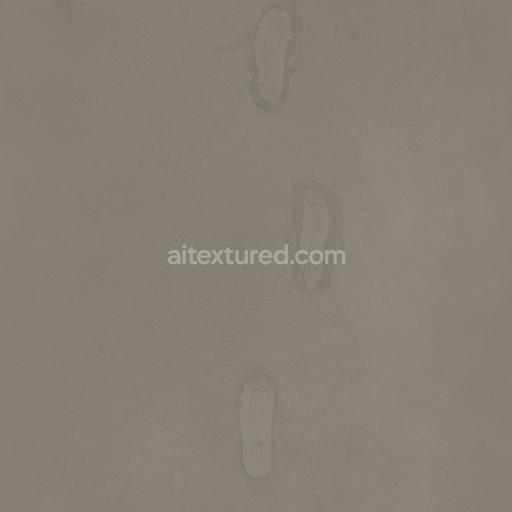
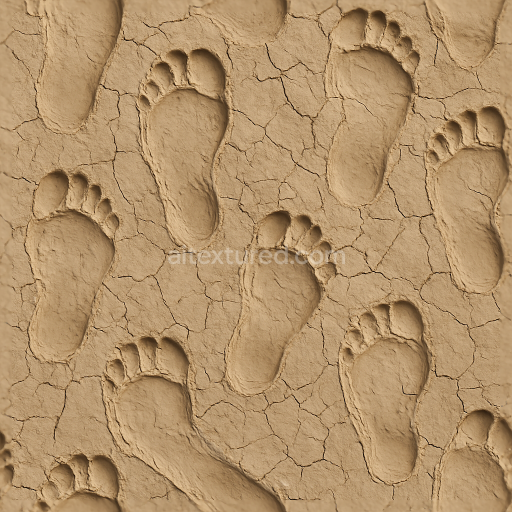
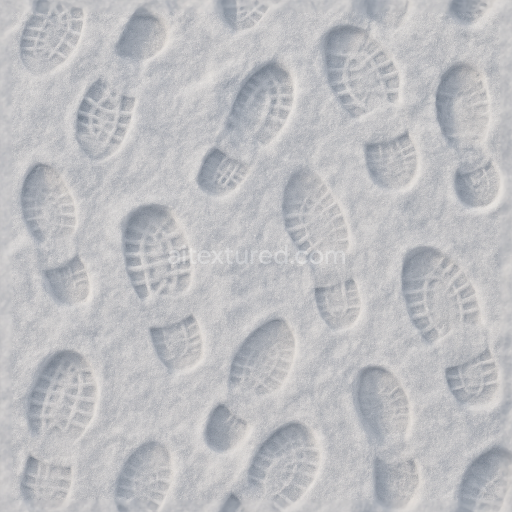
Regolith Dusted Footprints - Outdoor Sand Terrain Rough Dirt Course
Seamless texture (tileable) · PNG, WEBP, PBR ZIP. License: AITextured Free Commercial License (FCL) v1.1. Free personal and commercial use. Raw resale, standalone redistribution, mirroring/scraping, competing asset packs, and AI/ML training are not allowed without written permission. Attribution is not required, but appreciated..

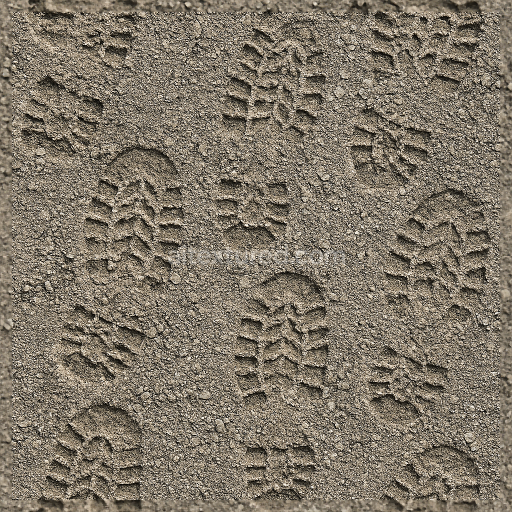
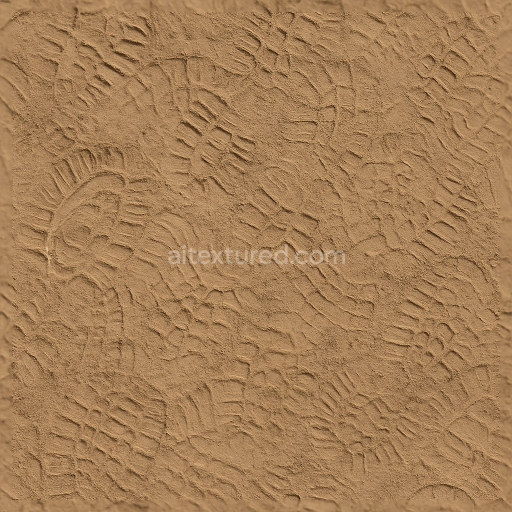
| ID | seamless-8k-pbr-3d-texture-of-overlapping-animal-paw-prints-on-soil |
|---|---|
| Category | Footprints |
| Formats | PNG, WEBP, PBR ZIP |
| Size | 1k (1024x1024px), 2k (2048x2048px), 4k (4096x4096px), 8k (8192x8192px) |
| Color | sRGB |
| Tileable | Yes |
This seamless 8k PBR 3D texture presents a highly detailed surface of compacted soil embedded with overlapping animal paw prints capturing the natural sequence and depth variations of footprints left by wildlife. The base substrate mimics organic earth featuring fine mineral grains and subtle soil compression that create realistic porosity and surface irregularities. Earth tones ranging from medium brown to dark brown pigments define the texture’s rich color palette while slight variations in soil density and moisture content are implied through nuanced color shifts and shading. The footprint impressions are emphasized by visible surface compression and subtle displacement in the soil with realistic outlines and fills that reflect how animal paws press into soft ground creating overlapping layers of prints in a natural pattern.
In terms of PBR material channels the BaseColor/Albedo map delivers authentic earth hues blended with darker shades where paw prints overlap enhancing the natural contrast between soil and footprint impressions. The Normal map captures the fine surface details of compressed soil and paw pad ridges contributing to realistic light interaction. Roughness values vary subtly across the surface to simulate the different granular textures of dry soil and compacted footprints avoiding uniform glossiness. The Metallic channel remains near zero as soil and organic material have no metal content. Ambient Occlusion highlights the depth and overlap of paw prints adding realistic shadowing in crevices and footprints edges. Height and Displacement maps provide precise depth information allowing for convincing relief and parallax effects when implemented in 3D engines.
Rendered at ultra-high 8k resolution this texture is optimized for seamless tiling ensuring expansive ground coverage without visible repetition making it highly suitable for photorealistic forest floor wildlife habitats and natural terrain scenes in Blender Unreal Engine and Unity projects. The texture’s PBR workflow compatibility guarantees accurate material response under diverse lighting conditions enhancing immersion in both real-time and offline renders. For practical usage adjusting the UV scale to match the intended footprint size and fine-tuning the roughness map can help achieve the desired level of soil reflectivity and natural wear while careful application of the height map can enhance parallax and depth perception in close-up views. This makes the texture an excellent resource for game developers visual effects artists and 3D environment designers seeking realistic soil footprints featuring overlapping paw prints in their scenes.
Import the texture maps into Blender with sRGB color space for albedo/base color and Non-Color for normal, roughness, metallic, AO, height, and ORM maps. Connect normal maps through a Normal Map node, then adjust UV scale with a Mapping node so the material repeats naturally on your model.
For the full step-by-step setup, see How to Use Seamless Textures in Blender. Browse related material examples in wood, concrete, and metal.
Yes. This texture is designed as a seamless tileable PBR material, so it can repeat across large surfaces without visible borders.
You can download PNG/WEBP versions and use 1K, 2K, 4K and 8K download options when available on the page.
Yes. The download options and engine-mapped ZIP workflow are designed for Blender, Unreal Engine, Unity Standard, URP and HDRP material pipelines.
Yes. The texture is available under the AITextured free commercial license. Review the license page for redistribution and AI-training restrictions.
Build, preview, and export seamless PBR materials. Generate full map sets from a single image, inspect them in a real-time WebGL viewer, and re-package maps for Unreal, Unity, and Blender—directly in your browser.
AI text-to-texture: type a prompt and get a seamless, tileable base image ready for PBR workflows (great starting point for materials).
Create a full PBR set (Normal, Roughness, AO, Metallic, etc.) from a single image. Seamless and tiling-friendly.
Instant WebGL viewer: inspect materials on a sphere, plane, and cube. Check tiling and lighting in real time.
Re-packages maps per engine: Unreal (BaseColor + ORM), Unity (Mask/MetallicSmoothness), Blender (separate channels).
PNG ↔ JPG ↔ SVG: fast convert, SVG rasterize, embed/trace options, quality & background controls.