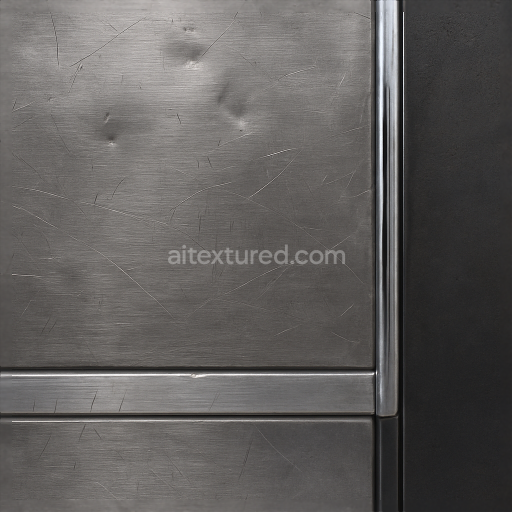
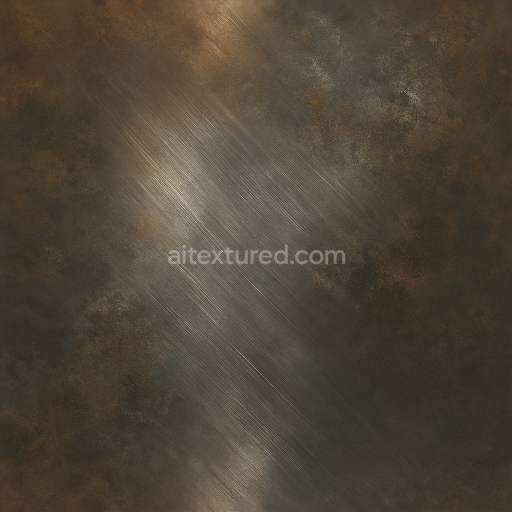
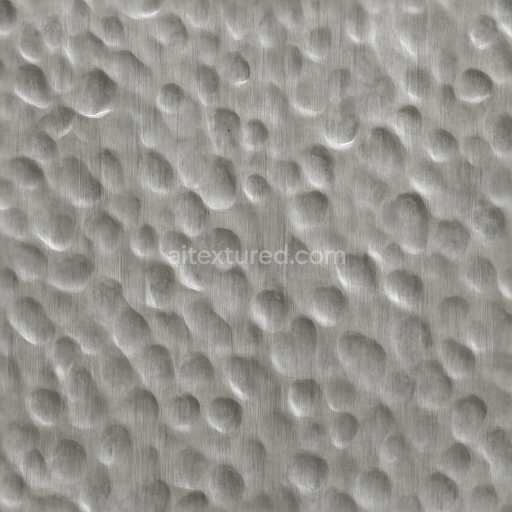
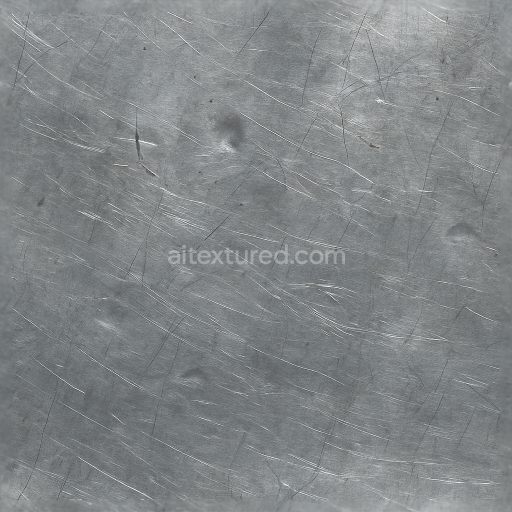
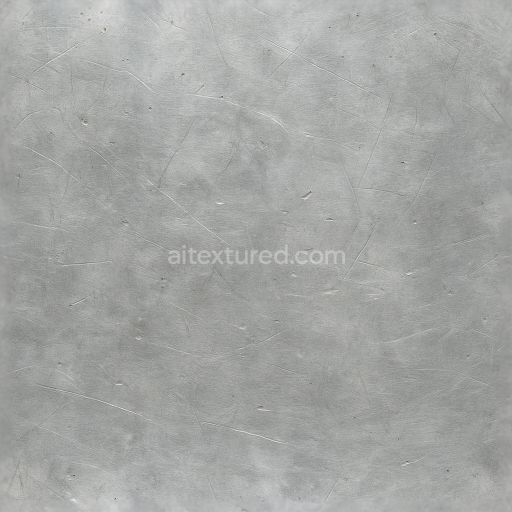
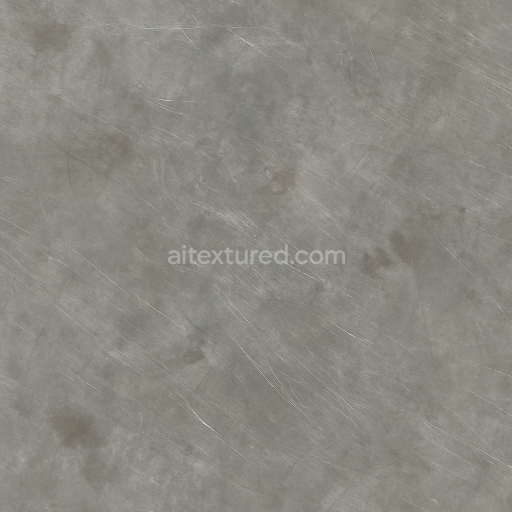
Brushed Steel Furniture Metal Surface
Seamless texture (tileable) · PNG, WEBP, PBR ZIP. License: AITextured Free Commercial License (FCL) v1.1. Free personal and commercial use. Raw resale, standalone redistribution, mirroring/scraping, competing asset packs, and AI/ML training are not allowed without written permission. Attribution is not required, but appreciated..

| ID | seamless-3d-texture-pbr-8k-powder-coated-furniture-metal-surface-finish |
|---|---|
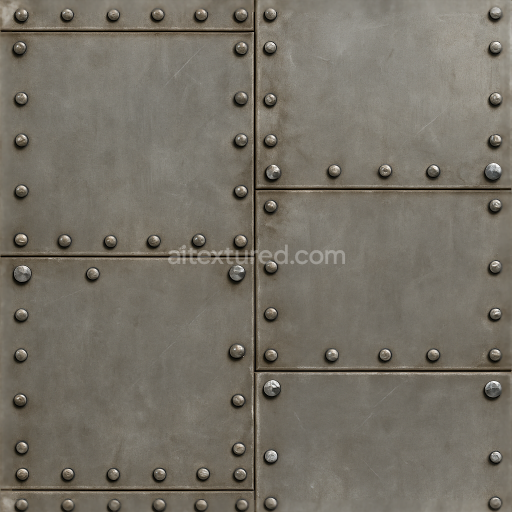
| Category | Furniture metal |
| Formats | PNG, WEBP, PBR ZIP |
| Size | 1k (1024x1024px), 2k (2048x2048px), 4k (4096x4096px), 8k (8192x8192px) |
| Color | sRGB |
| Tileable | Yes |
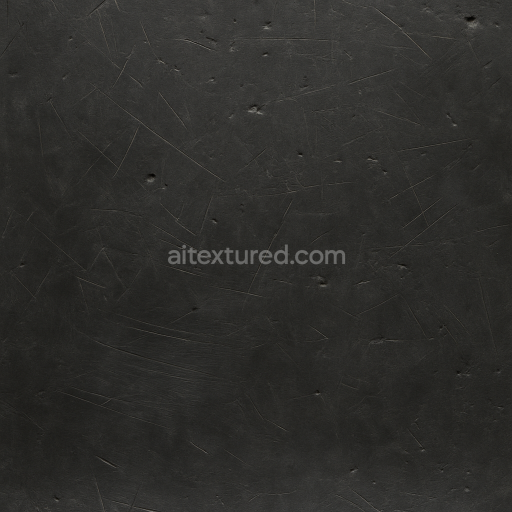
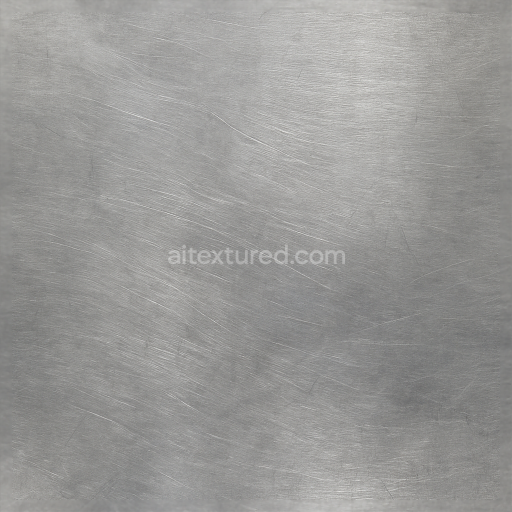
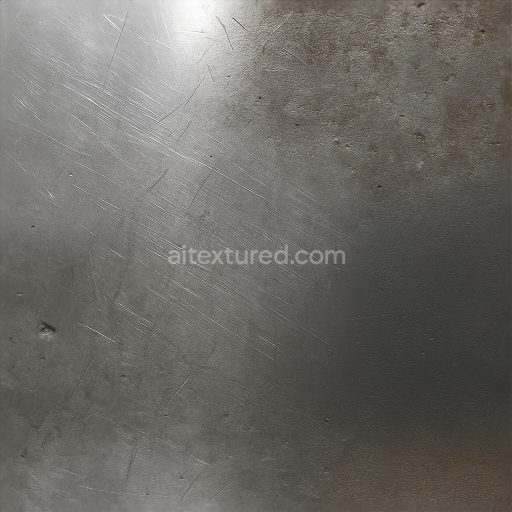
This powder coated seamless 3D texture showcases a meticulously crafted metal surface finish optimized for physically based rendering (PBR) workflows at an impressive 8k resolution. The underlying material is a robust metal substrate typically steel or aluminum treated with a finely milled powder coating consisting of polymeric resins and pigments fused through heat curing. This process creates a durable smooth painted finish that resists corrosion and wear. Subtle metal scratches gentle abrasions and faint surface stains are integrated naturally into the texture reflecting typical mild weathering and handling marks seen on gently used furniture metal parts such as frames and panels. The surface finish exhibits a slightly textured semi-matte appearance with a nuanced grain orientation that captures light realistically making it ideal for modern furniture and architectural elements requiring authentic metal surfaces with a protective powder coat layer.
From a PBR channel perspective the BaseColor or Albedo map conveys the true color of the powder coating showing soft hues and slight discolorations from surface stains. The Normal map defines micro-surface detail including fine scratches and subtle embossing created by the powder particles and cured finish enhancing the tactile feel. Roughness values are carefully balanced to express the semi-gloss finish typical of powder coated metal with variations highlighting worn areas that have become less reflective. The Metallic channel confirms the metal’s conductive properties beneath the coating while Ambient Occlusion adds depth to crevices and surface imperfections. Height or Displacement maps contribute to realistic light interaction by simulating the tiny surface elevation changes caused by powder grain and abrasion patterns. This texture is fully seamless ensuring flawless tiling without visible edges which is essential for creating extended surfaces in 3D scenes.
Rendered at 8k resolution this texture delivers exceptional detail and sharpness making it compatible and ready for use in leading 3D software such as Blender Unreal Engine and Unity. Its high fidelity supports photorealistic rendering and close-up visualization without loss of quality crucial for architectural visualization product design and game asset development. For practical application adjusting the UV scale to slightly larger values can prevent repetitiveness on expansive surfaces while fine-tuning the roughness parameter in shader settings allows control over the perceived glossiness depending on lighting conditions. Additionally subtle height or parallax mapping can enhance the tactile impression of the powder coating’s textured finish bringing further realism to your renders.
Import the texture maps into Blender with sRGB color space for albedo/base color and Non-Color for normal, roughness, metallic, AO, height, and ORM maps. Connect normal maps through a Normal Map node, then adjust UV scale with a Mapping node so the material repeats naturally on your model.
For the full step-by-step setup, see How to Use Seamless Textures in Blender. Browse related material examples in wood, concrete, and metal.
Yes. This texture is designed as a seamless tileable PBR material, so it can repeat across large surfaces without visible borders.
You can download PNG/WEBP versions and use 1K, 2K, 4K and 8K download options when available on the page.
Yes. The download options and engine-mapped ZIP workflow are designed for Blender, Unreal Engine, Unity Standard, URP and HDRP material pipelines.
Yes. The texture is available under the AITextured free commercial license. Review the license page for redistribution and AI-training restrictions.

Generate, preview, and export seamless PBR materials for Blender, Unity, and Unreal Engine—directly in your browser.
AI text-to-texture: type a prompt and get a seamless, tileable base image ready for PBR workflows (great starting point for materials).
Create a full PBR set (Normal, Roughness, AO, Metallic, etc.) from a single image. Seamless and tiling-friendly.
Instant WebGL viewer: inspect materials on a sphere, plane, and cube. Check tiling and lighting in real time.
Re-packages maps per engine: Unreal (BaseColor + ORM), Unity (Mask/MetallicSmoothness), Blender (separate channels).
PNG ↔ JPG ↔ SVG: fast convert, SVG rasterize, embed/trace options, quality & background controls.