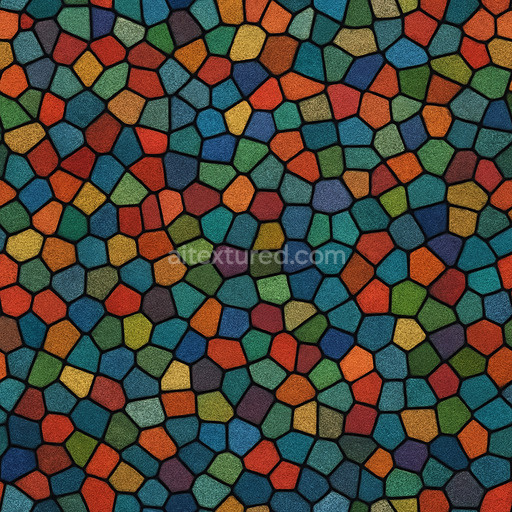
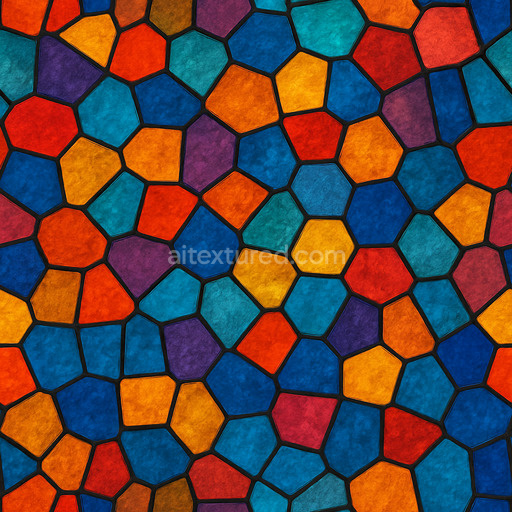
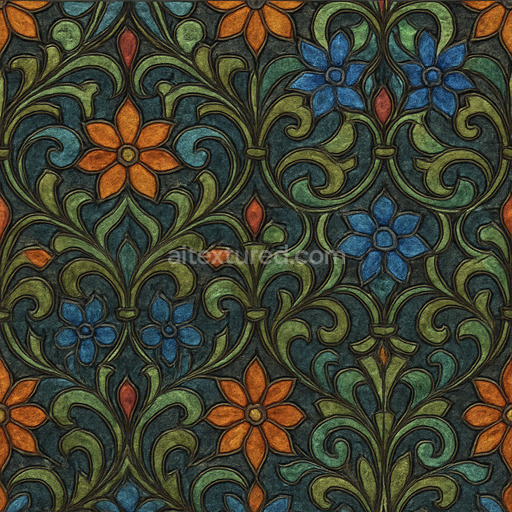
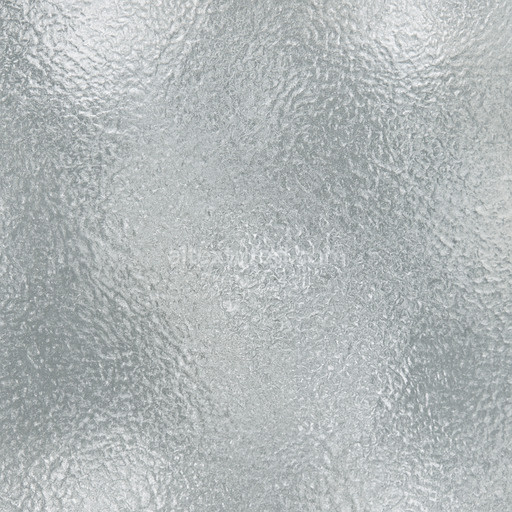
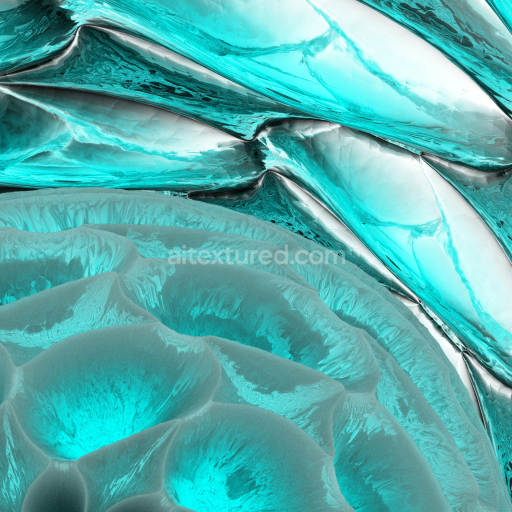
Fine Stained Glass Seamless Texture
Seamless texture (tileable) · PNG, WEBP, PBR ZIP. License: AITextured Free Commercial License (FCL) v1.1. Free personal and commercial use. Raw resale, standalone redistribution, mirroring/scraping, competing asset packs, and AI/ML training are not allowed without written permission. Attribution is not required, but appreciated..

| ID | stained-glass-solder-lines |
|---|---|
| Category | Glass |
| Formats | PNG, WEBP, PBR ZIP |
| Size | 1k (1024x1024px), 2k (2048x2048px), 4k (4096x4096px), 8k (8192x8192px) |
| Color | sRGB |
| Tileable | Yes |
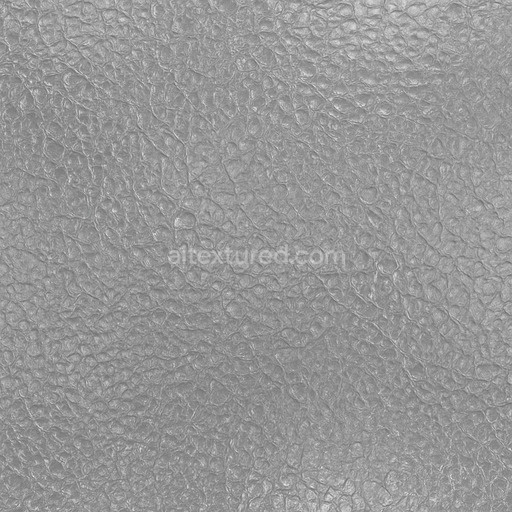
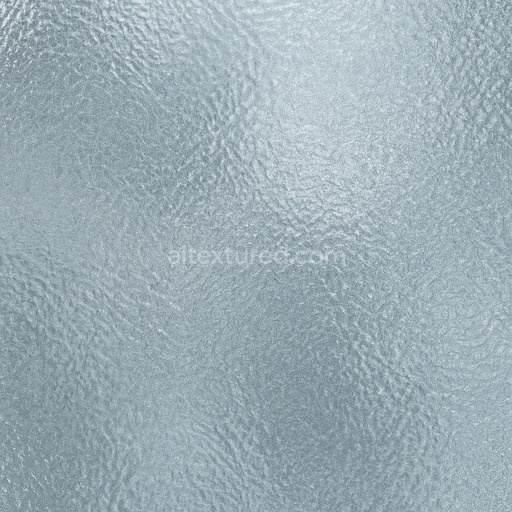
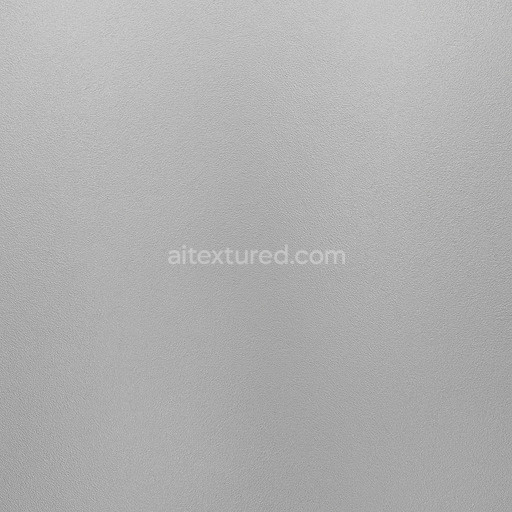
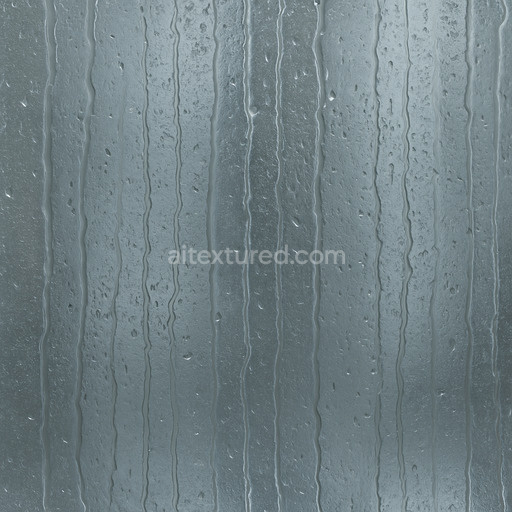
The stained glass solder lines texture intricately captures the metallic framework traditionally used to bind vibrant glass segments in stained glass art. This seamless stained glass solder lines texture faithfully represents the base substrate of solder—typically an alloy of lead or copper enriched with metallic oxides—that forms the visible network of fine slightly irregular lines holding glass pieces together. Its surface finish combines a polished yet subtly oxidized metal look featuring natural micro-roughness and minor porosity caused by aging and weathering. The texture’s grain orientation and subtle variations in metallic sheen highlight the artisanal craftsmanship inherent in stained glass joints reflecting the delicate balance between durability and decorative appeal. Such realistic qualities make this texture stained glass solder lines ideal for simulating authentic glass textures that require a natural handcrafted metal appearance.
Across the full PBR map set this tileable stained glass solder lines texture delivers rich detail and material accuracy. The BaseColor/Albedo channel showcases nuanced dark gray to silver metallic hues with slight pigment variations that mimic oxidation and wear. The Normal map emphasizes the fine ridges and minor surface irregularities of soldered joints adding tactile depth and realism. Its Roughness map balances glossy highlights and matte areas to simulate the polished yet aged finish of solder while the Metallic channel reinforces the conductive metal nature of the solder lines. Ambient Occlusion enhances the perception of recessed joints where the solder meets glass adding shadow depth and the Height/Displacement map imparts convincing three-dimensionality to the solder lines enriching visual complexity without visible seams during tiling. Designed for seamless repetition this texture supports expansive coverage and preserves detail across large surfaces ideal for architectural visualizations environment art and concept prototypes.
With ultra-high resolution support up to 8K this seamless stained glass solder lines texture guarantees crisp detail retention even under close camera scrutiny ensuring your renders maintain realism in both real-time and offline workflows. It integrates smoothly with popular 3D software such as Blender Unreal Engine and Unity complete with a real-time 3D preview that allows you to assess material behavior under diverse lighting conditions. For optimal results maintaining uniform UV scaling is essential to prevent distortion of the solder pattern and preserve the natural flow and proportion of the metallic lines. Additionally fine-tuning the Roughness map can enhance or soften the reflective qualities of the solder finish adapting the texture perfectly to your scene’s lighting environment. Leveraging the Height/Displacement maps further heightens the three-dimensional feel by creating dynamic shadows and highlights maximizing realism and material authenticity across glass-related projects demanding high-quality detailed surfaces.
Import the texture maps into Blender with sRGB color space for albedo/base color and Non-Color for normal, roughness, metallic, AO, height, and ORM maps. Connect normal maps through a Normal Map node, then adjust UV scale with a Mapping node so the material repeats naturally on your model.
For the full step-by-step setup, see How to Use Seamless Textures in Blender. Browse related material examples in wood, concrete, and metal.
Yes. This texture is designed as a seamless tileable PBR material, so it can repeat across large surfaces without visible borders.
You can download PNG/WEBP versions and use 1K, 2K, 4K and 8K download options when available on the page.
Yes. The download options and engine-mapped ZIP workflow are designed for Blender, Unreal Engine, Unity Standard, URP and HDRP material pipelines.
Yes. The texture is available under the AITextured free commercial license. Review the license page for redistribution and AI-training restrictions.

Build, preview, and export seamless PBR materials. Generate full map sets from a single image, inspect them in a real-time WebGL viewer, and re-package maps for Unreal, Unity, and Blender—directly in your browser.
AI text-to-texture: type a prompt and get a seamless, tileable base image ready for PBR workflows (great starting point for materials).
Create a full PBR set (Normal, Roughness, AO, Metallic, etc.) from a single image. Seamless and tiling-friendly.
Instant WebGL viewer: inspect materials on a sphere, plane, and cube. Check tiling and lighting in real time.
Re-packages maps per engine: Unreal (BaseColor + ORM), Unity (Mask/MetallicSmoothness), Blender (separate channels).
PNG ↔ JPG ↔ SVG: fast convert, SVG rasterize, embed/trace options, quality & background controls.