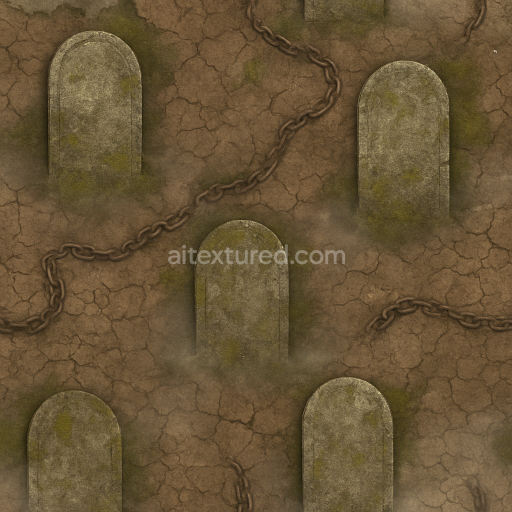
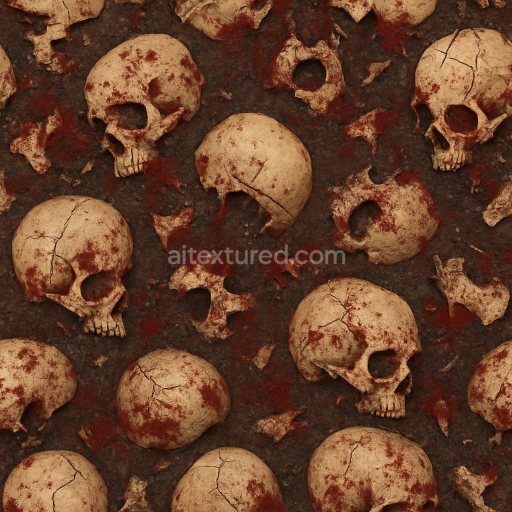
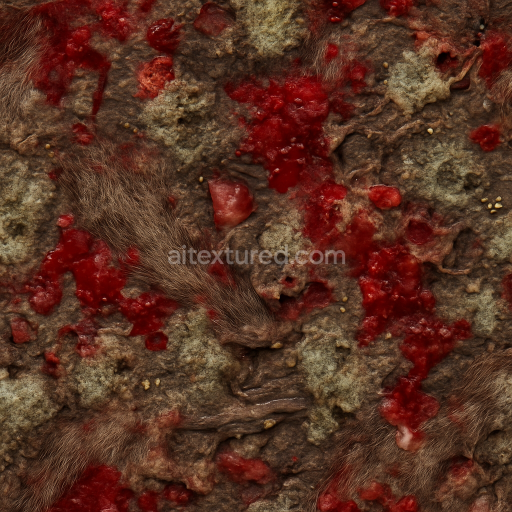
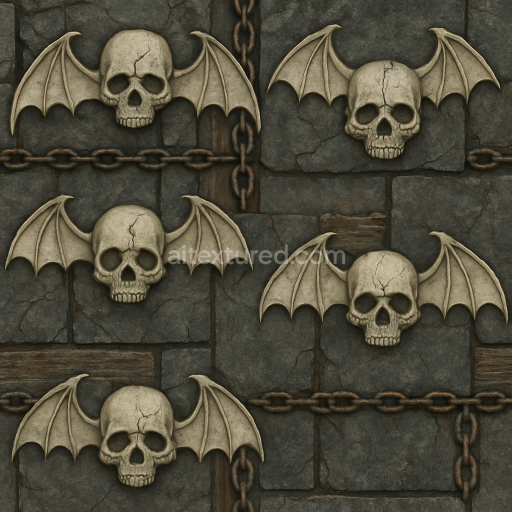
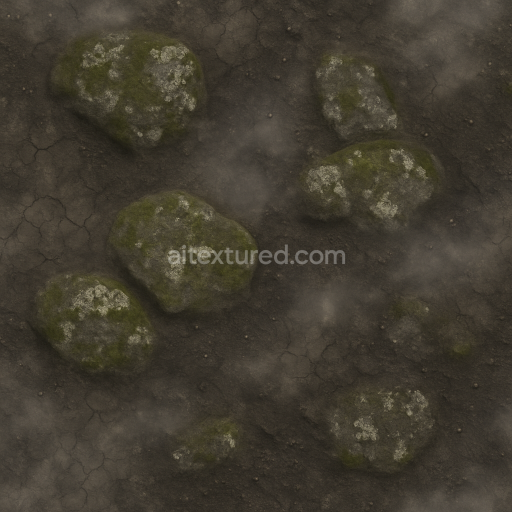
Weathered Tombstone And Graveyard Dirt Halloween
Seamless texture (tileable) · PNG, WEBP, PBR ZIP. License: AITextured Free Commercial License (FCL) v1.1. Free personal and commercial use. Raw resale, standalone redistribution, mirroring/scraping, competing asset packs, and AI/ML training are not allowed without written permission. Attribution is not required, but appreciated..

| ID | seamless-3d-texture-pbr-8k-black-cat-fur-with-moonlight-silver-highlights |
|---|---|
| Category | Halloween |
| Formats | PNG, WEBP, PBR ZIP |
| Size | 1k (1024x1024px), 2k (2048x2048px), 4k (4096x4096px), 8k (8192x8192px) |
| Color | sRGB |
| Tileable | Yes |
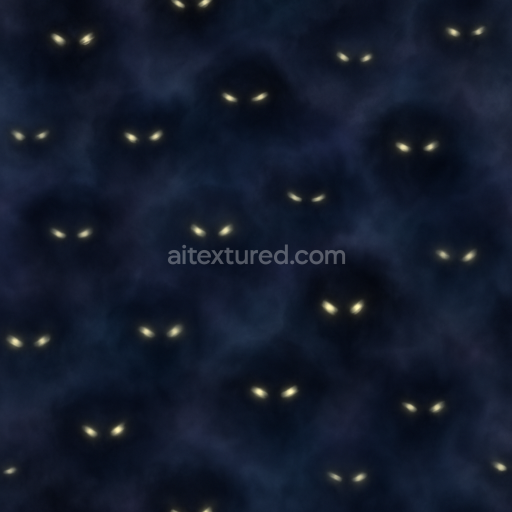
This seamless 3D texture showcases a richly detailed black cat fur surface rendered in stunning 8K resolution designed for photorealistic PBR workflows. The material composition emulates organic feline fur where a dense layer of fine soft keratin fibers forms the base substrate. These fibers are tightly interwoven with subtle variations in length and direction creating a natural grain orientation that enhances realism. The texture features moonlight silver highlights delicately reflecting off the glossy black fur achieved through carefully calibrated colorants that mimic natural pigmentation and shimmering oxide layers. The overall finish is sleek and smooth with a slight sheen that captures the mysterious moonlit shimmer essential for atmospheric Halloween-themed projects.
In terms of PBR channels the BaseColor or Albedo map captures the deep black tones of the cat fur interspersed with subtle silver highlights providing rich color variation without unwanted saturation. The Normal map accurately represents the microscopic fur strands and their orientation adding depth and tactile detail to 3D models. Roughness is finely tuned to balance the glossy and matte areas highlighting the natural sheen where moonlight silver reflections occur while preserving softer velvety fur regions. The Metallic map remains minimal or null reflecting the organic non-metallic nature of the surface. Ambient Occlusion enhances shadowed crevices between fur strands emphasizing texture depth without harsh contrasts. Height/Displacement maps deliver subtle surface undulations perfect for parallax effects that further enhance realism in close-up renders.
This black cat fur texture is fully optimized and unreal blender ready compatible with Unreal Engine and Unity ensuring seamless integration into diverse 3D environments. Its smooth tiling capability allows for flexible UV scaling without visible seams making it ideal for large-scale models or detailed close-ups. For best results adjust the roughness channel slightly to control the intensity of moonlight silver reflections based on scene lighting. Utilizing height or parallax mapping can dramatically enhance the eerie atmospheric quality of your models especially in spooky or Halloween-themed designs by adding a convincing sense of depth and softness to the fur surface.
Import the texture maps into Blender with sRGB color space for albedo/base color and Non-Color for normal, roughness, metallic, AO, height, and ORM maps. Connect normal maps through a Normal Map node, then adjust UV scale with a Mapping node so the material repeats naturally on your model.
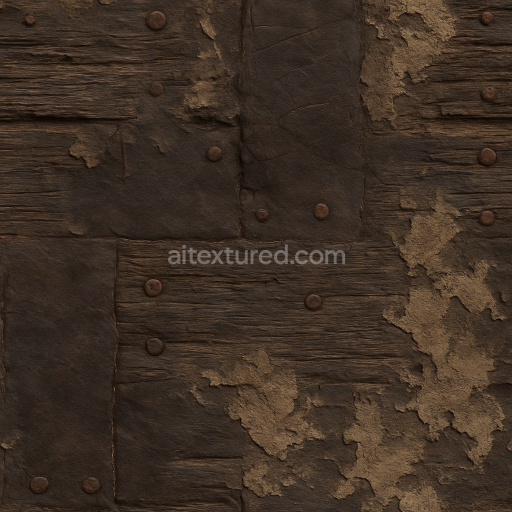
For the full step-by-step setup, see How to Use Seamless Textures in Blender. Browse related material examples in wood, concrete, and metal.
Yes. This texture is designed as a seamless tileable PBR material, so it can repeat across large surfaces without visible borders.
You can download PNG/WEBP versions and use 1K, 2K, 4K and 8K download options when available on the page.
Yes. The download options and engine-mapped ZIP workflow are designed for Blender, Unreal Engine, Unity Standard, URP and HDRP material pipelines.
Yes. The texture is available under the AITextured free commercial license. Review the license page for redistribution and AI-training restrictions.
Build, preview, and export seamless PBR materials. Generate full map sets from a single image, inspect them in a real-time WebGL viewer, and re-package maps for Unreal, Unity, and Blender—directly in your browser.
AI text-to-texture: type a prompt and get a seamless, tileable base image ready for PBR workflows (great starting point for materials).
Create a full PBR set (Normal, Roughness, AO, Metallic, etc.) from a single image. Seamless and tiling-friendly.
Instant WebGL viewer: inspect materials on a sphere, plane, and cube. Check tiling and lighting in real time.
Re-packages maps per engine: Unreal (BaseColor + ORM), Unity (Mask/MetallicSmoothness), Blender (separate channels).
PNG ↔ JPG ↔ SVG: fast convert, SVG rasterize, embed/trace options, quality & background controls.