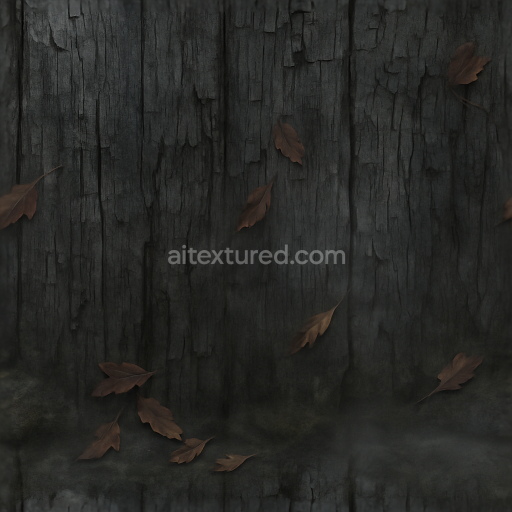
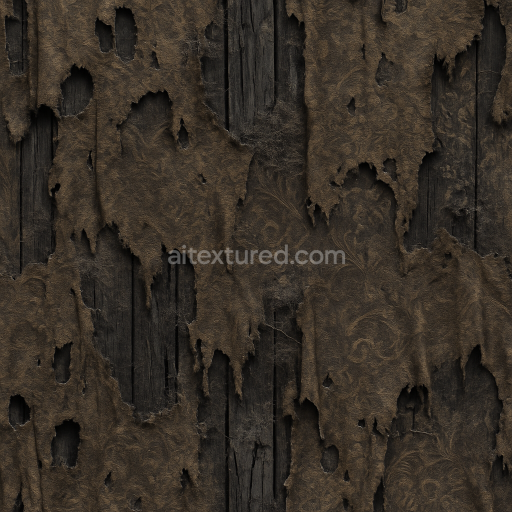
Spooky Wood Grain With Cracked Paint For Halloween
Seamless texture (tileable) · PNG, WEBP, PBR ZIP. License: AITextured Free Commercial License (FCL) v1.1. Free personal and commercial use. Raw resale, standalone redistribution, mirroring/scraping, competing asset packs, and AI/ML training are not allowed without written permission. Attribution is not required, but appreciated..

| ID | seamless-3d-texture-pbr-8k-foggy-mist-with-ghostly-aura-for-haunted-halloween-scenes |
|---|---|
| Category | Halloween |
| Formats | PNG, WEBP, PBR ZIP |
| Size | 1k (1024x1024px), 2k (2048x2048px), 4k (4096x4096px), 8k (8192x8192px) |
| Color | sRGB |
| Tileable | Yes |
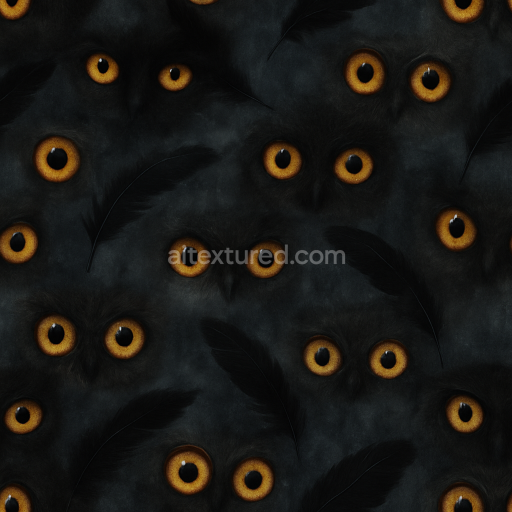
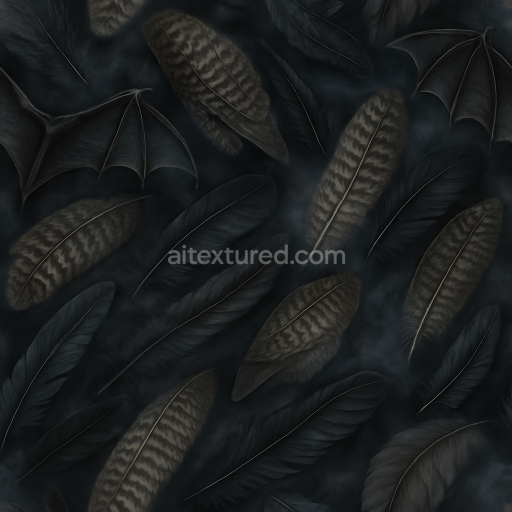
This seamless 3D texture showcases a dense foggy mist infused with a ghostly aura meticulously crafted to elevate haunted Halloween scenes with photorealistic detail at an impressive 8K resolution. The base substrate of this material emulates a fine organic vapor suspended in the air resembling natural mist with subtle fibrous wisps and delicate particulate matter dispersed throughout. The composition simulates a complex interplay of moisture and light diffusion achieved through layered translucency and soft opacity variations that mimic real atmospheric conditions. In PBR channels the BaseColor/Albedo captures muted grayscale tones blended with faint bluish and greenish pigments representing the ethereal fog and ghostly haze. The Normal map adds gentle volumetric undulations and fine vapor trails creating a tactile sense of depth and movement. Roughness is calibrated to a moderate level preserving the mist’s softness and matte finish without introducing unwanted gloss while the Metallic channel remains near zero reflecting the organic non-metallic nature of fog. Ambient Occlusion subtly enhances shadowed areas where fog density thickens and the Height/Displacement map features delicate elevation shifts to simulate the mist’s layering over surfaces such as forest floors or gravestones.
Designed for seamless tiling this PBR 3D texture enables continuous and natural coverage across expansive environments including haunted woods abandoned graveyards or eerie Halloween settings. The texture’s neutral lighting response ensures that the foggy mist maintains its soft diffusion and ghostly aura without harsh shadows or color distortions making it perfectly suited for integration into Unreal Engine Blender and Unity projects. Complementary dark fog and black smoke elements are intricately blended within the texture’s channels to add atmospheric depth and visual complexity enhancing immersive spooky environments with realistic volumetric effects. The surface finish is matte and slightly diffuse capturing the ephemeral quality of mist while preventing any unnatural shine or reflections.
For optimal practical use it is recommended to adjust the UV scale to fine-tune the density and flow of the foggy mist ensuring it matches the scale of the scene elements and maintains a natural appearance. Additionally subtle tuning of the roughness channel can help control the softness or sharpness of the fog edges allowing for customized atmospheric effects depending on the lighting and scene context. This seamless 8K resolution texture is fully optimized for photorealistic rendering workflows supporting high-detail visual fidelity in real-time engines and offline renderers alike making it a versatile asset for creating hauntingly atmospheric Halloween visuals with ghostly auras dark fog and black smoke effects that convincingly elevate any spooky environment.
Import the texture maps into Blender with sRGB color space for albedo/base color and Non-Color for normal, roughness, metallic, AO, height, and ORM maps. Connect normal maps through a Normal Map node, then adjust UV scale with a Mapping node so the material repeats naturally on your model.
For the full step-by-step setup, see How to Use Seamless Textures in Blender. Browse related material examples in wood, concrete, and metal.
Yes. This texture is designed as a seamless tileable PBR material, so it can repeat across large surfaces without visible borders.
You can download PNG/WEBP versions and use 1K, 2K, 4K and 8K download options when available on the page.
Yes. The download options and engine-mapped ZIP workflow are designed for Blender, Unreal Engine, Unity Standard, URP and HDRP material pipelines.
Yes. The texture is available under the AITextured free commercial license. Review the license page for redistribution and AI-training restrictions.
Build, preview, and export seamless PBR materials. Generate full map sets from a single image, inspect them in a real-time WebGL viewer, and re-package maps for Unreal, Unity, and Blender—directly in your browser.
AI text-to-texture: type a prompt and get a seamless, tileable base image ready for PBR workflows (great starting point for materials).
Create a full PBR set (Normal, Roughness, AO, Metallic, etc.) from a single image. Seamless and tiling-friendly.
Instant WebGL viewer: inspect materials on a sphere, plane, and cube. Check tiling and lighting in real time.
Re-packages maps per engine: Unreal (BaseColor + ORM), Unity (Mask/MetallicSmoothness), Blender (separate channels).
PNG ↔ JPG ↔ SVG: fast convert, SVG rasterize, embed/trace options, quality & background controls.