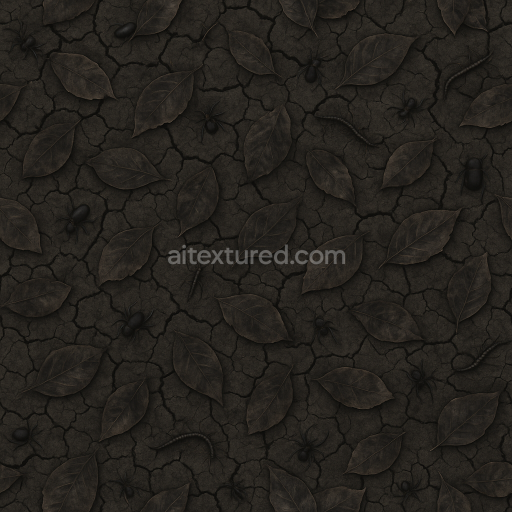
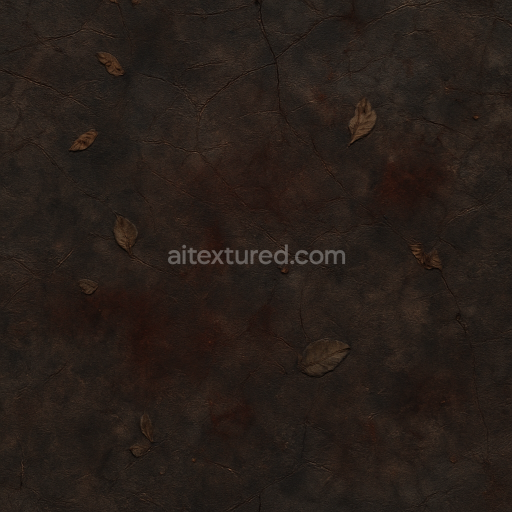
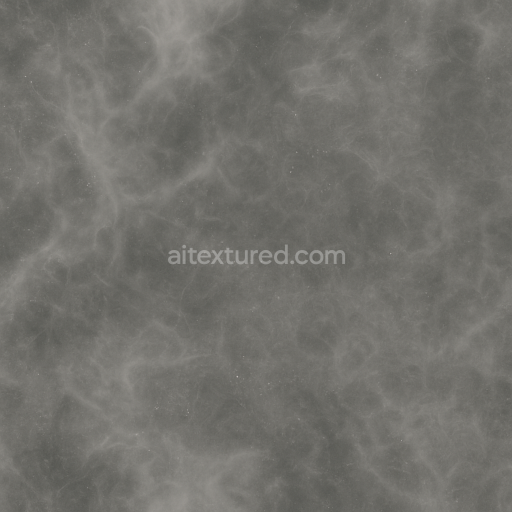
Dry Cracked Soil For Haunted Halloween Grounds
Seamless texture (tileable) · PNG, WEBP, PBR ZIP. License: AITextured Free Commercial License (FCL) v1.1. Free personal and commercial use. Raw resale, standalone redistribution, mirroring/scraping, competing asset packs, and AI/ML training are not allowed without written permission. Attribution is not required, but appreciated..

| ID | seamless-3d-texture-pbr-8k-spooky-spiderweb-for-scary-halloween-scenes |
|---|---|
| Category | Halloween |
| Formats | PNG, WEBP, PBR ZIP |
| Size | 1k (1024x1024px), 2k (2048x2048px), 4k (4096x4096px), 8k (8192x8192px) |
| Color | sRGB |
| Tileable | Yes |
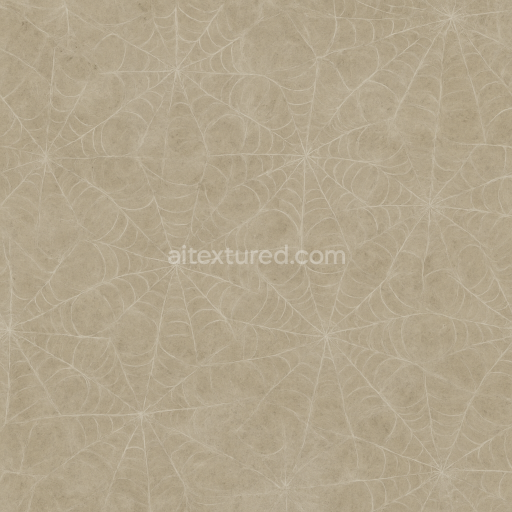
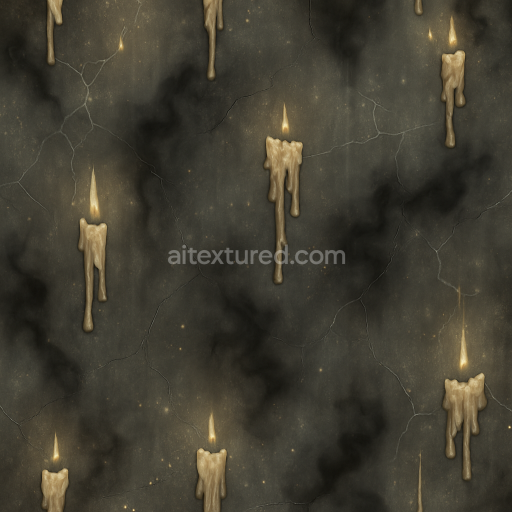
This seamless 3D texture features an intricately detailed spiderweb surface meticulously crafted for realistic representation in 8K resolution with advanced PBR shading. The base substrate simulates organic fibers of delicate cobweb strands appearing as fine almost translucent silk threads. These fibers intertwine in a natural pattern with subtle dust accumulation that adds authenticity and weathering effects. Candle wax remnants cling lightly to the web introducing faint yellowish color variations and slightly increased roughness on these specific areas. The texture’s porosity mimics the airy fragile nature of real spiderwebs while a faint foggy mist overlay enhances its eerie presence. This composition creates a visually rich surface that is perfect for spooky Halloween scenes requiring detailed and atmospheric cobweb visuals.
In terms of PBR channels the BaseColor/Albedo map presents a muted palette dominated by off-white and pale gray tones with soft yellow hints where candle wax residue occurs. The Normal map captures the fine elevation changes of the thin silk strands and accumulated dust particles providing convincing surface relief and enhancing light interaction. Roughness values vary subtly with smoother silk threads contrasted by more textured dust and wax areas while the Metallic channel remains minimal reflecting the organic nature of the material. Ambient Occlusion adds depth to the crevices where strands overlap or connect increasing realism in shadowed areas. The Height/Displacement map emphasizes the delicate layering and irregular surface topology enabling enhanced parallax effects in compatible engines.
This spiderweb texture is designed for seamless tiling ensuring perfect continuity on large surfaces without visible borders or repetition artifacts. It is fully optimized and ready for direct use in popular platforms such as Blender Unreal Engine and Unity supporting realistic rendering workflows and dynamic lighting setups. For best results users should consider adjusting the UV scale to maintain the web’s delicate details and tune the roughness slightly to match scene lighting conditions enhancing the subtle interplay between light and the fragile silk threads. This approach helps create chilling immersive Halloween atmospheres with a convincing naturalistic cobweb presence that integrates effortlessly into various digital environments.
Import the texture maps into Blender with sRGB color space for albedo/base color and Non-Color for normal, roughness, metallic, AO, height, and ORM maps. Connect normal maps through a Normal Map node, then adjust UV scale with a Mapping node so the material repeats naturally on your model.
For the full step-by-step setup, see How to Use Seamless Textures in Blender. Browse related material examples in wood, concrete, and metal.
Yes. This texture is designed as a seamless tileable PBR material, so it can repeat across large surfaces without visible borders.
You can download PNG/WEBP versions and use 1K, 2K, 4K and 8K download options when available on the page.
Yes. The download options and engine-mapped ZIP workflow are designed for Blender, Unreal Engine, Unity Standard, URP and HDRP material pipelines.
Yes. The texture is available under the AITextured free commercial license. Review the license page for redistribution and AI-training restrictions.

Build, preview, and export seamless PBR materials. Generate full map sets from a single image, inspect them in a real-time WebGL viewer, and re-package maps for Unreal, Unity, and Blender—directly in your browser.
AI text-to-texture: type a prompt and get a seamless, tileable base image ready for PBR workflows (great starting point for materials).
Create a full PBR set (Normal, Roughness, AO, Metallic, etc.) from a single image. Seamless and tiling-friendly.
Instant WebGL viewer: inspect materials on a sphere, plane, and cube. Check tiling and lighting in real time.
Re-packages maps per engine: Unreal (BaseColor + ORM), Unity (Mask/MetallicSmoothness), Blender (separate channels).
PNG ↔ JPG ↔ SVG: fast convert, SVG rasterize, embed/trace options, quality & background controls.