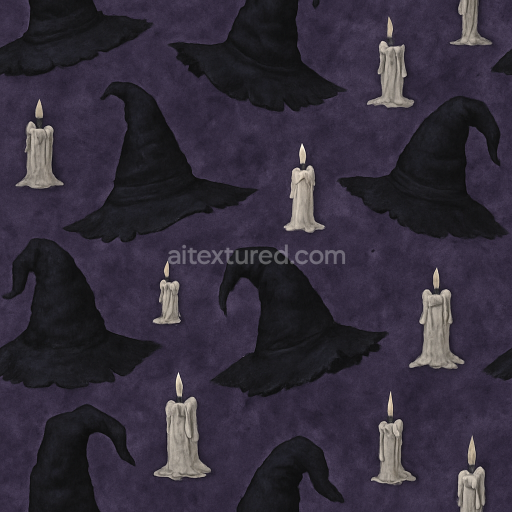
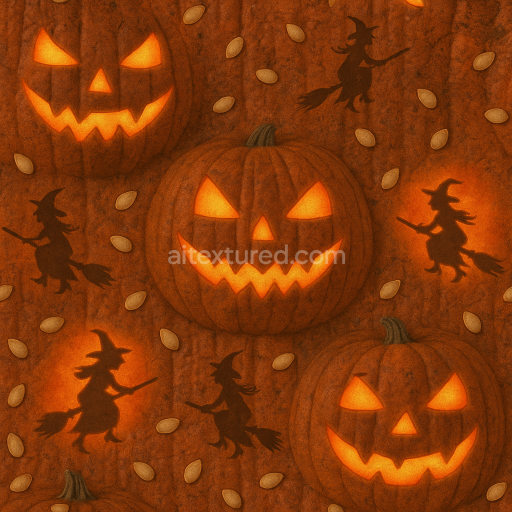
Witch Hat Fabric With Spooky Purple Hues
Seamless texture (tileable) · PNG, WEBP, PBR ZIP. License: AITextured Free Commercial License (FCL) v1.1. Free personal and commercial use. Raw resale, standalone redistribution, mirroring/scraping, competing asset packs, and AI/ML training are not allowed without written permission. Attribution is not required, but appreciated..

| ID | seamless-3d-texture-pbr-8k-old-leather-cracked-surface-with-dark-shadows-for-halloween-props |
|---|---|
| Category | Halloween |
| Formats | PNG, WEBP, PBR ZIP |
| Size | 1k (1024x1024px), 2k (2048x2048px), 4k (4096x4096px), 8k (8192x8192px) |
| Color | sRGB |
| Tileable | Yes |
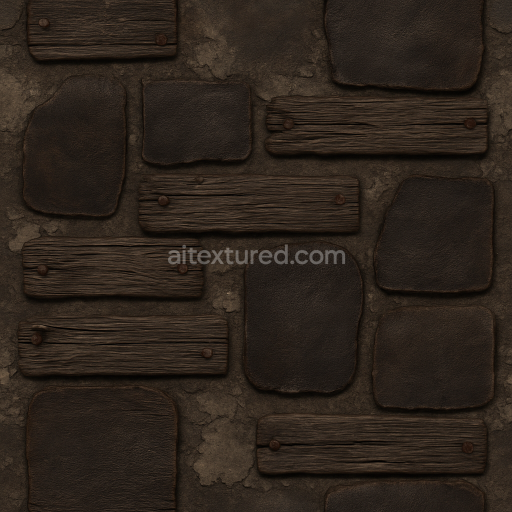
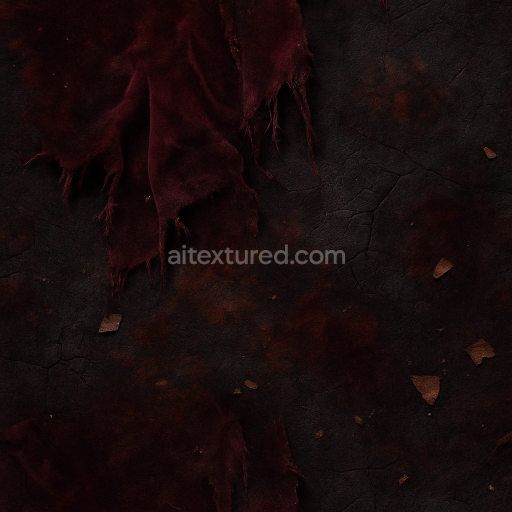
This seamless 3D texture showcases an old leather surface distinguished by prominent cracks and rich dark shadows capturing the essence of aged weathered material. The base substrate is organic leather naturally fibrous and porous with visible grain orientation shaped by years of use. The texture reveals subtle natural color fading and surface imperfections such as worn spots and fine creases conveying authentic wear and tear. The finish appears matte with slight roughness from the cracked dried leather layers while pigments embedded in the hide’s surface produce warm brown tones variably darkened by oxidized areas and shadowed crevices. These elements combine to create a highly detailed photorealistic representation of cracked leather ideal for Halloween props like worn bags witch accessories or haunted artifacts.
Rendered with Physically Based Rendering (PBR) workflows in mind this 8K resolution texture includes multiple channels that enhance realism across applications. The BaseColor (Albedo) channel captures the natural faded hues and subtle discolorations of aged leather while the Normal map emphasizes the intricate surface relief of cracks and grain direction. Roughness maps reflect the varying matte finish highlighting smoother worn patches versus rough cracked regions. The Metallic channel remains minimal or zero true to organic leather’s non-metallic nature. Ambient Occlusion adds depth to shadowed recesses between cracks and Height/Displacement maps provide precise surface elevation details for immersive close-ups and realistic parallax effects in 3D environments.
This old leather seamless texture is optimized for large area tiling without visible seams supporting detailed close-up inspection and expansive coverage in Unreal Engine Blender and Unity projects. Its high 8K resolution ensures that even subtle surface details remain crisp and believable in rendered scenes. For practical use adjusting the UV scale to slightly enlarge the texture can enhance the visibility of cracks on smaller props while tuning roughness values allows fine control over how aged and worn the leather appears under different lighting conditions. This material is a perfect choice for any 3D Halloween scene requiring authentic cracked leather surfaces with deep shadows and natural weathering effects.
Import the texture maps into Blender with sRGB color space for albedo/base color and Non-Color for normal, roughness, metallic, AO, height, and ORM maps. Connect normal maps through a Normal Map node, then adjust UV scale with a Mapping node so the material repeats naturally on your model.
For the full step-by-step setup, see How to Use Seamless Textures in Blender. Browse related material examples in wood, concrete, and metal.
Yes. This texture is designed as a seamless tileable PBR material, so it can repeat across large surfaces without visible borders.
You can download PNG/WEBP versions and use 1K, 2K, 4K and 8K download options when available on the page.
Yes. The download options and engine-mapped ZIP workflow are designed for Blender, Unreal Engine, Unity Standard, URP and HDRP material pipelines.
Yes. The texture is available under the AITextured free commercial license. Review the license page for redistribution and AI-training restrictions.

Build, preview, and export seamless PBR materials. Generate full map sets from a single image, inspect them in a real-time WebGL viewer, and re-package maps for Unreal, Unity, and Blender—directly in your browser.
AI text-to-texture: type a prompt and get a seamless, tileable base image ready for PBR workflows (great starting point for materials).
Create a full PBR set (Normal, Roughness, AO, Metallic, etc.) from a single image. Seamless and tiling-friendly.
Instant WebGL viewer: inspect materials on a sphere, plane, and cube. Check tiling and lighting in real time.
Re-packages maps per engine: Unreal (BaseColor + ORM), Unity (Mask/MetallicSmoothness), Blender (separate channels).
PNG ↔ JPG ↔ SVG: fast convert, SVG rasterize, embed/trace options, quality & background controls.