
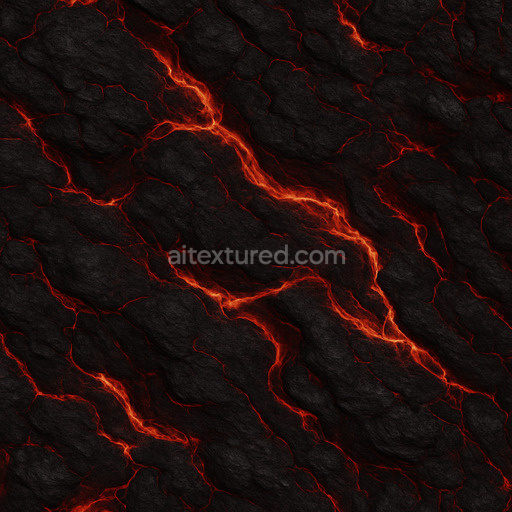
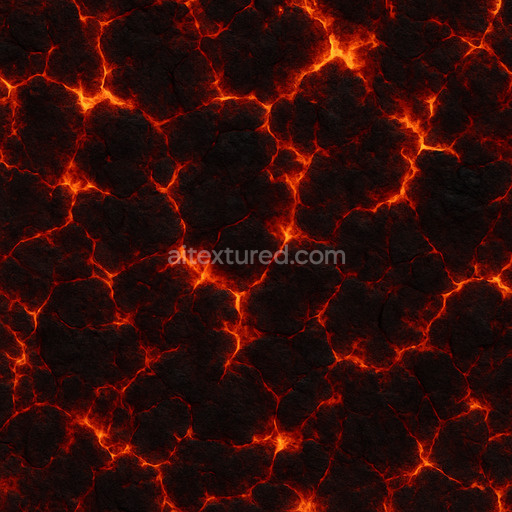
Toxic Basalt Flow Texture
Seamless texture (tileable) · PNG, WEBP, PBR ZIP. License: AITextured Free Commercial License (FCL) v1.1. Free personal and commercial use. Raw resale, standalone redistribution, mirroring/scraping, competing asset packs, and AI/ML training are not allowed without written permission. Attribution is not required, but appreciated..

| ID | dark-molten-surface-texture |
|---|---|
| Category | Lava |
| Formats | PNG, WEBP, PBR ZIP |
| Size | 1k (1024x1024px), 2k (2048x2048px), 4k (4096x4096px), 8k (8192x8192px) |
| Color | sRGB |
| Tileable | Yes |
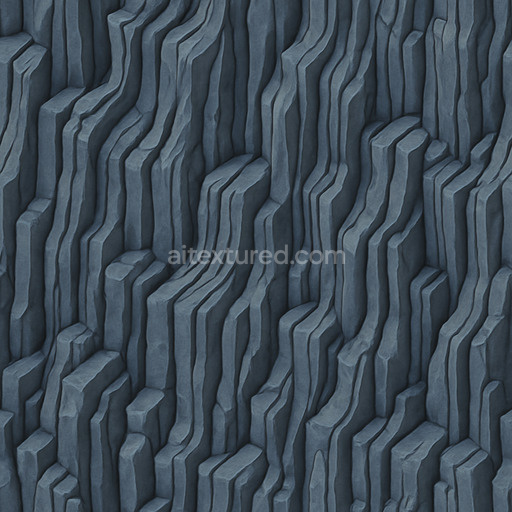
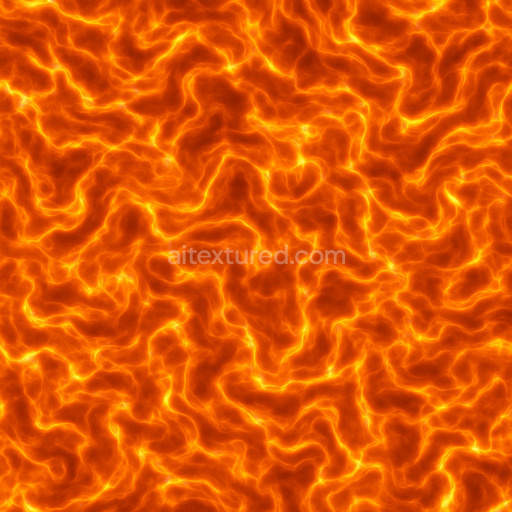
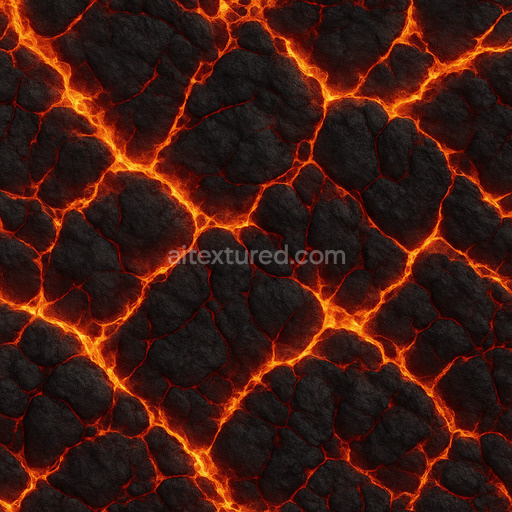
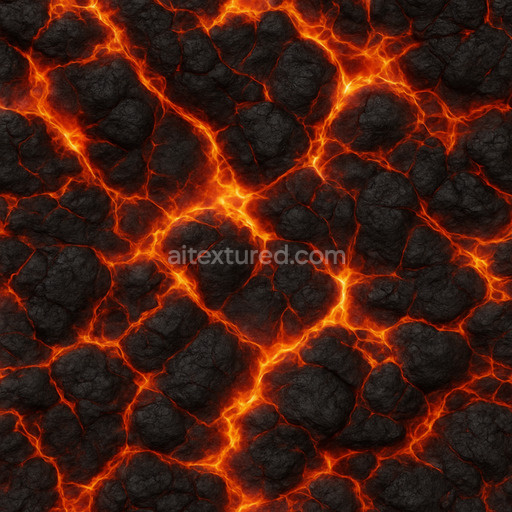
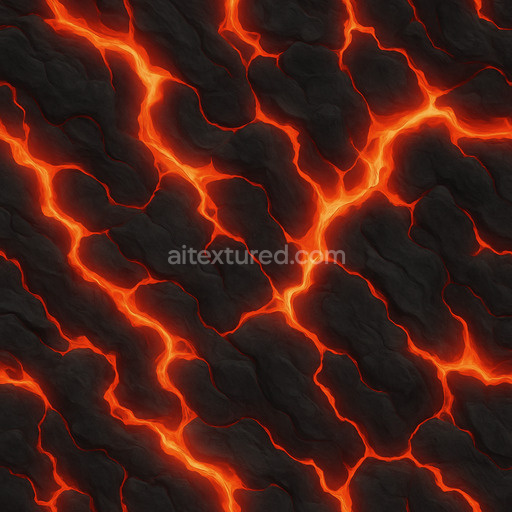
The Dark Molten Surface Texture is a meticulously generated seamless texture designed to mimic the complex volcanic character of cooled lava flows. Its composition suggests a dense mineral substrate rich in fine-grained crystalline aggregates fused together by naturally occurring silicate binders. This creates a visually compelling surface that appears both rugged and fluid with subtle variations in porosity and micro-cracks reflecting natural weathering and cooling patterns. The overall finish is matte with occasional glossy highlights simulating oxidized and partially vitrified rock layers. Deep dark tones interspersed with glowing ember-like pigments evoke the intense heat and mineral oxidation characteristic of molten lava making this texture ideal for realistic environmental art and architectural visualization where authentic volcanic surfaces are needed.
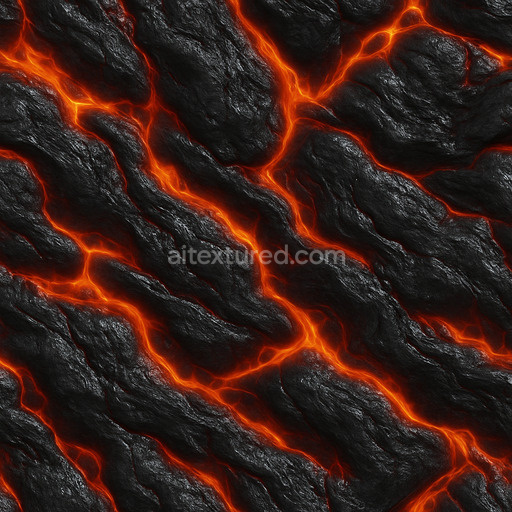
In terms of PBR channels the BaseColor/Albedo map captures the rich interplay of dark basaltic hues and faint reddish-orange veins while the Normal map provides intricate micro-detail emphasizing the surface breakup and subtle undulations that define cooled lava textures. The Roughness channel balances smooth glassy patches with rough grainy areas to reflect varying glossiness across the surface enhancing realism under dynamic lighting. Metallic values remain low to simulate the non-metallic volcanic rock composition while the Ambient Occlusion map reinforces depth in crevices and cracks adding convincing shadowing and volume. Height or Displacement data further accentuates the rugged topography enabling enhanced parallax effects and tactile surface definition when applied in 3D workflows.
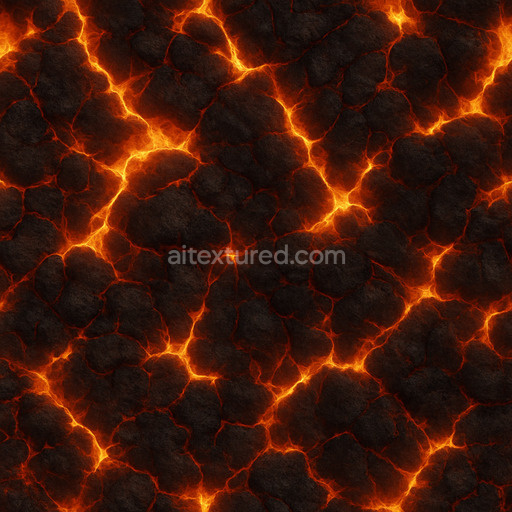
With a resolution of up to 8K this tileable dark molten surface texture ensures exceptional detail even on vast terrain or large architectural models maintaining clarity and consistency without visible seams. It integrates seamlessly into Blender Unity and Unreal Engine pipelines providing predictable and repeatable results critical for professional look development and concept prototyping. To optimize usage consider adjusting the UV scale to fine-tune the perceived granularity of the lava flow and subtly lowering roughness values on selected areas to simulate residual molten gloss enhancing the natural emissive feel. This texture is a versatile asset that accelerates workflow efficiency while delivering production-ready quality for any project requiring realistic lava textures with convincing material depth and visual complexity.
The seamless dark molten surface texture offers a highly detailed PBR appearance with intricate dark molten surface texture features enhanced by a generated texture process and showcased in a realistic 3D preview for precise material evaluation.
Import the texture maps into Blender with sRGB color space for albedo/base color and Non-Color for normal, roughness, metallic, AO, height, and ORM maps. Connect normal maps through a Normal Map node, then adjust UV scale with a Mapping node so the material repeats naturally on your model.
For the full step-by-step setup, see How to Use Seamless Textures in Blender. Browse related material examples in wood, concrete, and metal.
Yes. This texture is designed as a seamless tileable PBR material, so it can repeat across large surfaces without visible borders.
You can download PNG/WEBP versions and use 1K, 2K, 4K and 8K download options when available on the page.
Yes. The download options and engine-mapped ZIP workflow are designed for Blender, Unreal Engine, Unity Standard, URP and HDRP material pipelines.
Yes. The texture is available under the AITextured free commercial license. Review the license page for redistribution and AI-training restrictions.


Generate, preview, and export seamless PBR materials for Blender, Unity, and Unreal Engine—directly in your browser.
AI text-to-texture: type a prompt and get a seamless, tileable base image ready for PBR workflows (great starting point for materials).
Create a full PBR set (Normal, Roughness, AO, Metallic, etc.) from a single image. Seamless and tiling-friendly.
Instant WebGL viewer: inspect materials on a sphere, plane, and cube. Check tiling and lighting in real time.
Re-packages maps per engine: Unreal (BaseColor + ORM), Unity (Mask/MetallicSmoothness), Blender (separate channels).
PNG ↔ JPG ↔ SVG: fast convert, SVG rasterize, embed/trace options, quality & background controls.