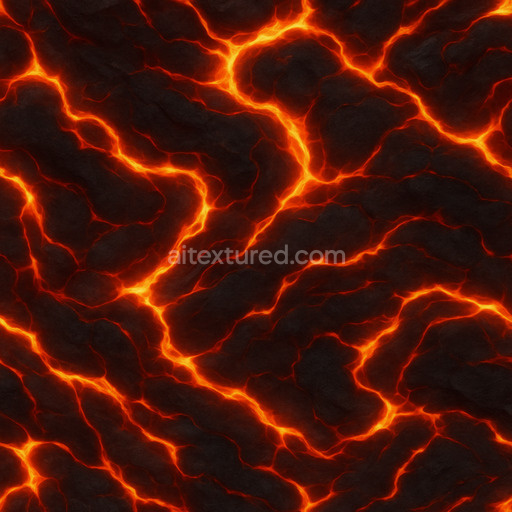
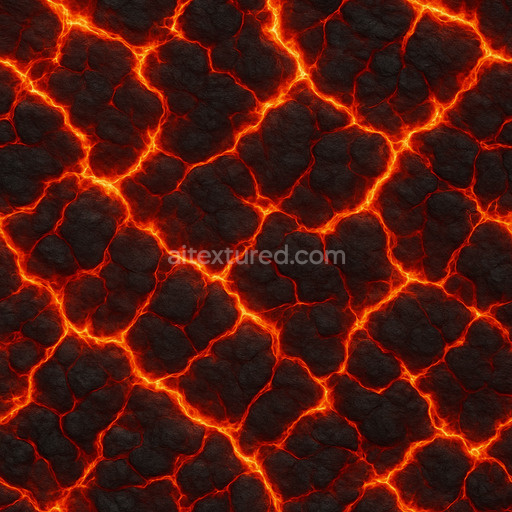
Smooth Lava Texture
Seamless texture (tileable) · PNG, WEBP, PBR ZIP. License: AITextured Free Commercial License (FCL) v1.1. Free personal and commercial use. Raw resale, standalone redistribution, mirroring/scraping, competing asset packs, and AI/ML training are not allowed without written permission. Attribution is not required, but appreciated..

| ID | cracked-lava-texture |
|---|---|
| Category | Lava |
| Formats | PNG, WEBP, PBR ZIP |
| Size | 1k (1024x1024px), 2k (2048x2048px), 4k (4096x4096px), 8k (8192x8192px) |
| Color | sRGB |
| Tileable | Yes |
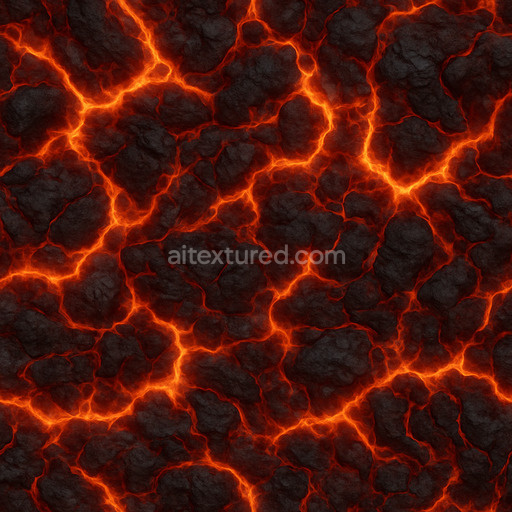
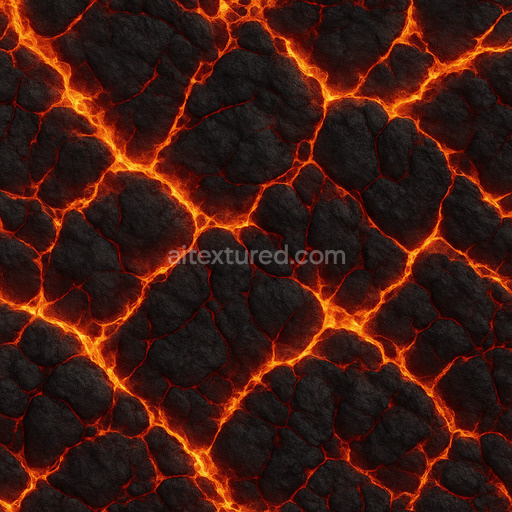
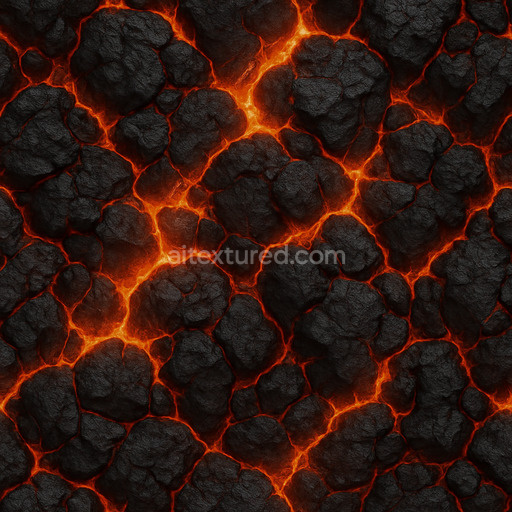
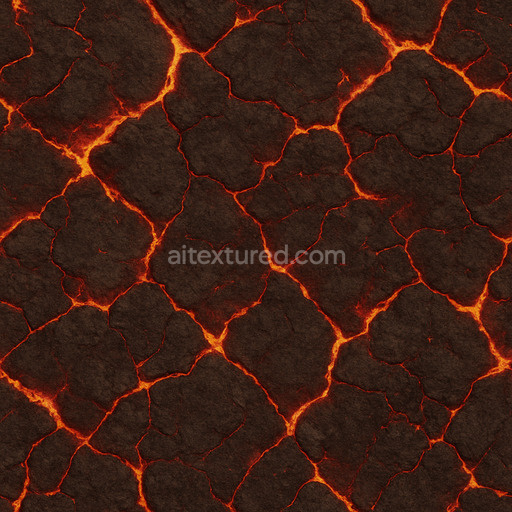
The Cracked Lava Texture is a meticulously crafted generated seamless texture designed to replicate the complex organic composition of cooled volcanic lava surfaces. The base substrate mimics a dense mineral-rich igneous rock featuring a naturally fractured crust formed by thermal contraction. Fine aggregates and microscopic mineral grains create a rugged porous surface that exhibits subtle weathering and oxidation effects contributing to its authentic earthy appearance. The texture’s color palette incorporates deep reds burnt oranges and dark charcoal blacks simulating iron oxide layers and mineral inclusions that give the lava its distinctive cracked and glowing look. This natural variation is captured in the BaseColor/Albedo channel while the Normal map highlights the intricate fissures and raised plateaus adding depth and realism to 3D surfaces.
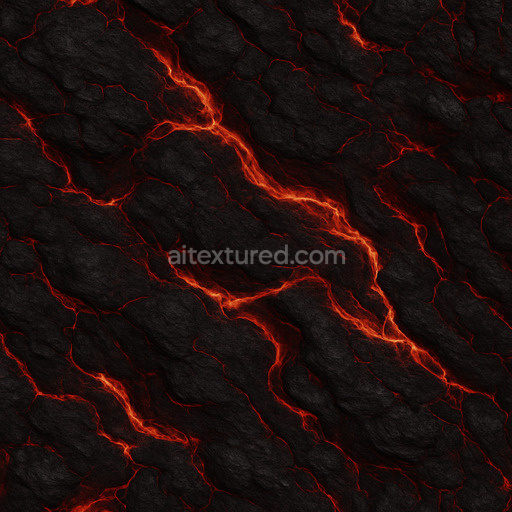
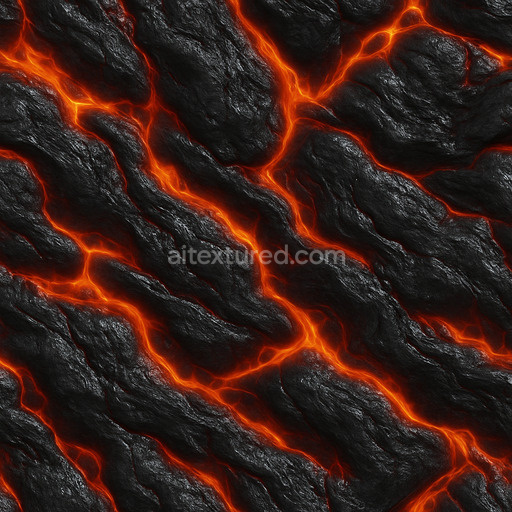
In the PBR workflow the Roughness channel is finely tuned to balance glossy semi-matte areas where molten rock has cooled faster against rough weathered patches providing a believable tactile variation. The Metallic channel remains low or near zero consistent with non-metallic volcanic stone while the Ambient Occlusion map enhances shadowing within cracks and crevices to emphasize surface complexity. Height and Displacement maps are carefully calibrated to give subtle relief to the cracked patterns without compromising seamless tiling allowing for natural-looking depth in real-time rendering environments. This texture is offered in ultra-high resolution up to 8K ensuring exceptional detail retention for close-up shots or expansive scenes.
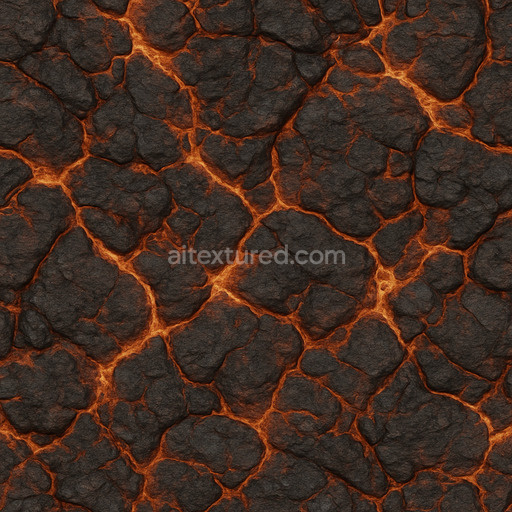
Ready to integrate seamlessly with Blender Unreal Engine and Unity the tileable cracked lava texture accelerates creative workflows by providing an out-of-the-box solution that covers vast areas without visible repetition or loss of detail. It is ideal for architectural visualization game environments product mockups and interior staging where realistic volcanic surfaces enhance the atmosphere or storytelling. For optimal results adjusting the UV scale can help control the apparent size of the cracks relative to your model while fine-tuning roughness and normal map intensity allows the material to respond naturally to your scene’s lighting rig. This practical approach keeps iterations fast and materials grounded in any virtual setting.
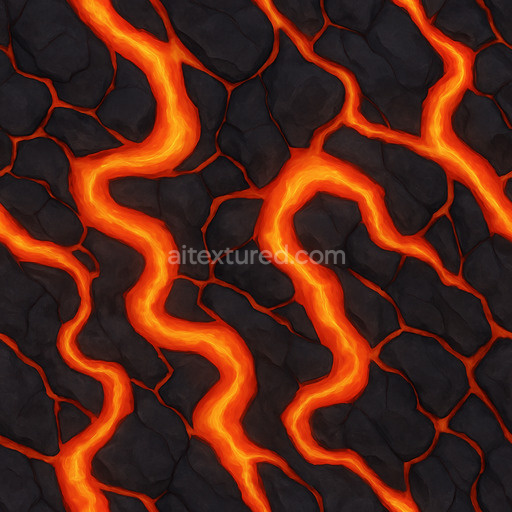
The seamless cracked lava texture offers a detailed PBR texture cracked lava texture with realistic lava textures and a 3D preview to accurately represent the cracked lava texture in PBR materials.
Import the texture maps into Blender with sRGB color space for albedo/base color and Non-Color for normal, roughness, metallic, AO, height, and ORM maps. Connect normal maps through a Normal Map node, then adjust UV scale with a Mapping node so the material repeats naturally on your model.
For the full step-by-step setup, see How to Use Seamless Textures in Blender. Browse related material examples in wood, concrete, and metal.
Yes. This texture is designed as a seamless tileable PBR material, so it can repeat across large surfaces without visible borders.
You can download PNG/WEBP versions and use 1K, 2K, 4K and 8K download options when available on the page.
Yes. The download options and engine-mapped ZIP workflow are designed for Blender, Unreal Engine, Unity Standard, URP and HDRP material pipelines.
Yes. The texture is available under the AITextured free commercial license. Review the license page for redistribution and AI-training restrictions.


Generate, preview, and export seamless PBR materials for Blender, Unity, and Unreal Engine—directly in your browser.
AI text-to-texture: type a prompt and get a seamless, tileable base image ready for PBR workflows (great starting point for materials).
Create a full PBR set (Normal, Roughness, AO, Metallic, etc.) from a single image. Seamless and tiling-friendly.
Instant WebGL viewer: inspect materials on a sphere, plane, and cube. Check tiling and lighting in real time.
Re-packages maps per engine: Unreal (BaseColor + ORM), Unity (Mask/MetallicSmoothness), Blender (separate channels).
PNG ↔ JPG ↔ SVG: fast convert, SVG rasterize, embed/trace options, quality & background controls.