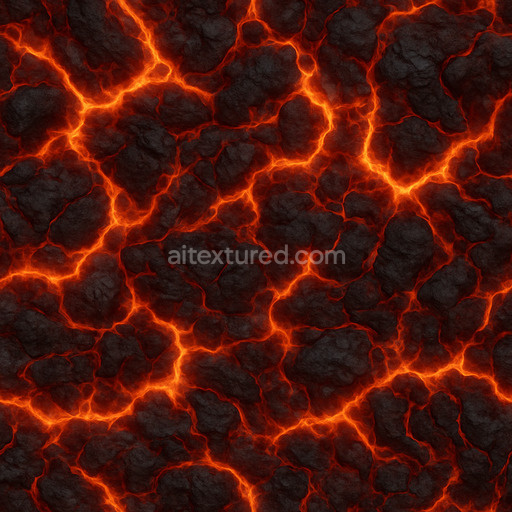
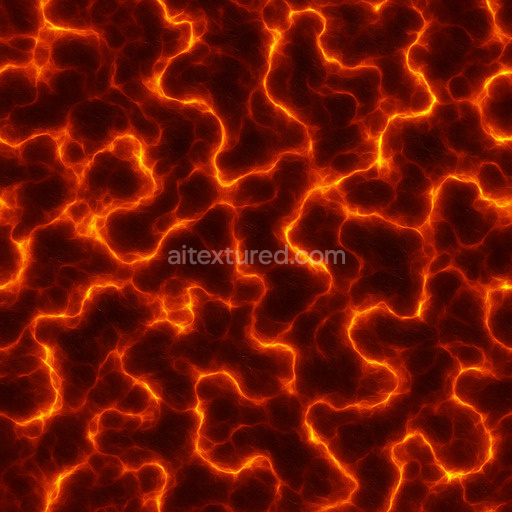
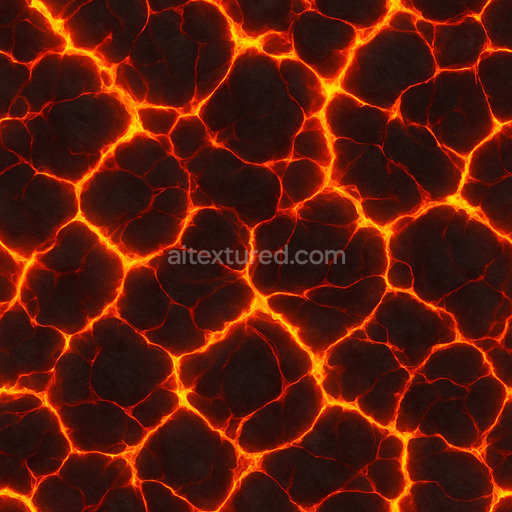
Detailed Magma Texture
Seamless texture (tileable) · PNG, WEBP, PBR ZIP. License: AITextured Free Commercial License (FCL) v1.1. Free personal and commercial use. Raw resale, standalone redistribution, mirroring/scraping, competing asset packs, and AI/ML training are not allowed without written permission. Attribution is not required, but appreciated..

| ID | photorealistic-lava-texture |
|---|---|
| Category | Lava |
| Formats | PNG, WEBP, PBR ZIP |
| Size | 1k (1024x1024px), 2k (2048x2048px), 4k (4096x4096px), 8k (8192x8192px) |
| Color | sRGB |
| Tileable | Yes |
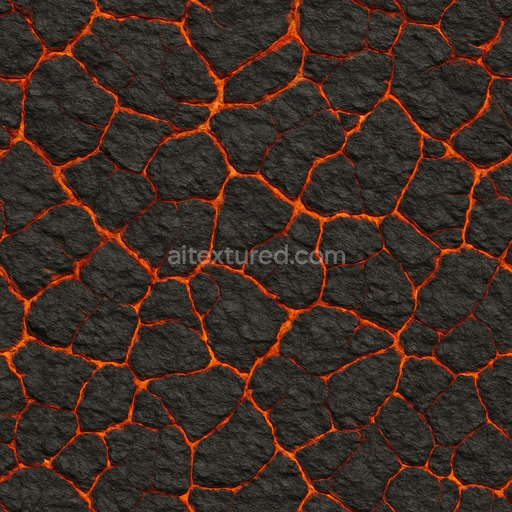
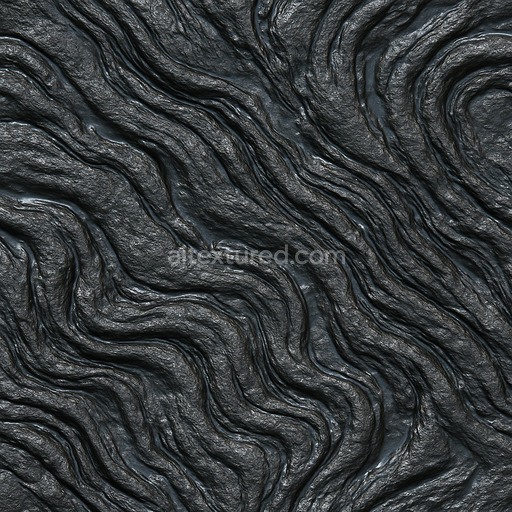
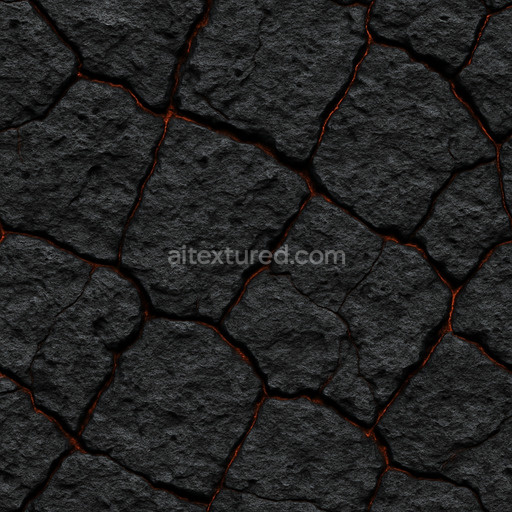
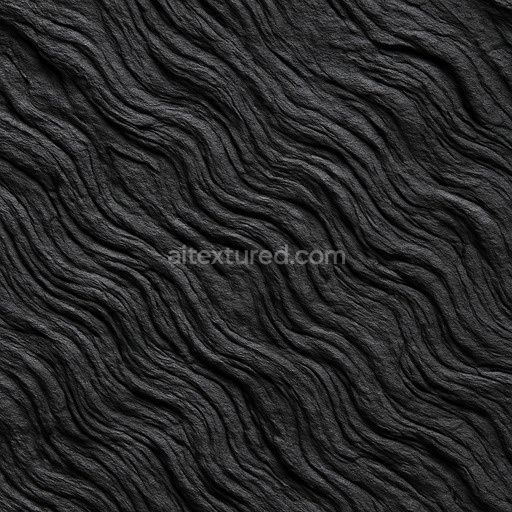
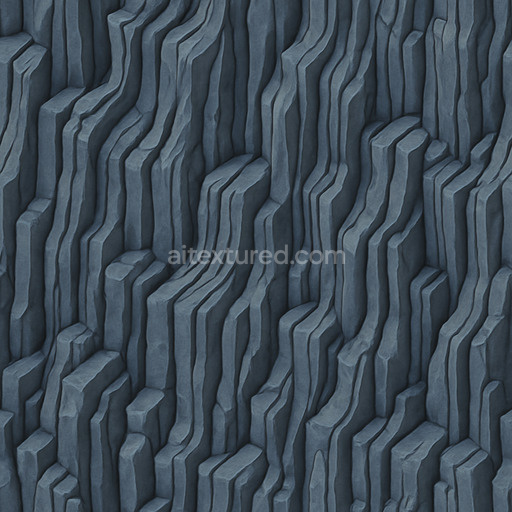
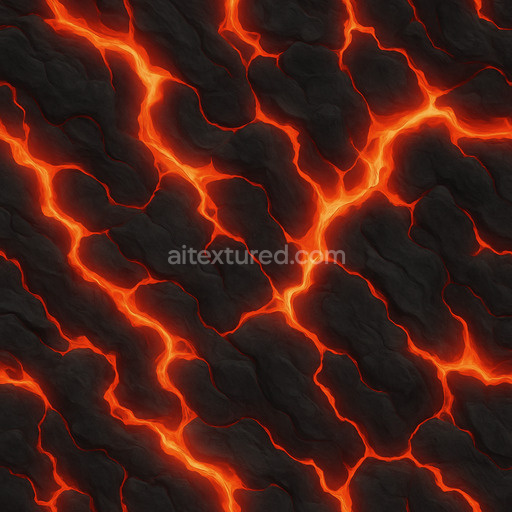
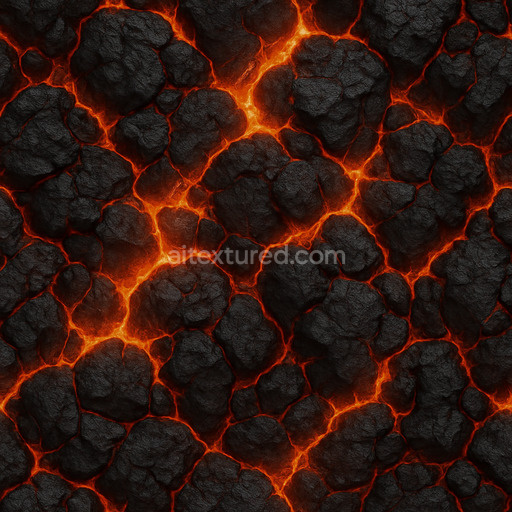
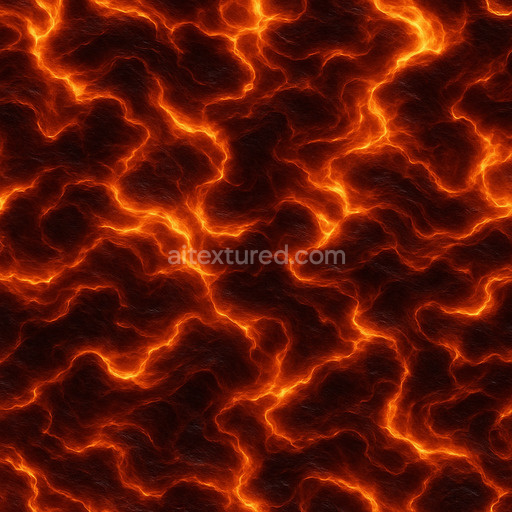
The Photorealistic Lava Texture offers an expertly crafted representation of molten volcanic rock designed to capture the intricate details and organic complexity of natural lava surfaces. This high-quality tileable photorealistic lava texture simulates the rough porous mineral substrate formed as molten magma cools and solidifies. Its composition reflects a layered aggregation of fine crystalline minerals and glassy volcanic deposits interspersed with subtle fissures and hardened crust fragments. The color palette ranges from deep glowing reds and oranges to muted charcoals and ash-gray tones created through realistic pigment distribution and oxide layers that mimic the oxidation and cooling processes. The surface finish balances a semi-glossy slightly roughened appearance evoking the uneven cooling and fracturing typical of real lava fields while maintaining a cohesive pattern that scales elegantly across large surfaces without visible seams.
This seamless photorealistic lava texture is finely tuned across all PBR channels to deliver maximum realism and flexibility. The BaseColor channel captures the vivid interplay of heat and mineral composition with rich saturated hues and natural gradient transitions. The Normal map encodes the subtle undulations cracks and grain orientation of the volcanic rock surface adding depth and tactile complexity. Roughness values are calibrated to reflect the partially polished yet rugged nature of cooled lava creating a balance between matte and reflective areas that respond accurately to light sources. The Metallic channel remains minimal consistent with the non-metallic mineral content while the Ambient Occlusion map enhances shadowed crevices and surface breakup for greater visual stability. Height and Displacement maps provide fine elevation details that accentuate the fractured layered topography ideal for parallax or tessellation effects in real-time 3D engines.
Rendered at up to 8K resolution this PBR material photorealistic lava texture is optimized for seamless tiling and ready to integrate out-of-the-box with leading platforms such as Blender Unity and Unreal Engine. Its high resolution supports close-up views in architectural visualization immersive game environments product mockups and interior staging where accuracy and detail are paramount. To maximize realism users are encouraged to adjust UV scaling carefully to avoid pattern repetition and fine-tune roughness parameters to match lighting conditions and desired surface reflectivity. Combining this texture with subtle ambient occlusion and a light normal pass can enhance the natural surface breakup without introducing oversharp artifacts ensuring a stable and organic appearance throughout your projects.
The photorealistic lava texture offers highly detailed lava textures with realistic shading and roughness enhancing the material's depth and providing an accurate 3D preview for PBR workflows.
Import the texture maps into Blender with sRGB color space for albedo/base color and Non-Color for normal, roughness, metallic, AO, height, and ORM maps. Connect normal maps through a Normal Map node, then adjust UV scale with a Mapping node so the material repeats naturally on your model.
For the full step-by-step setup, see How to Use Seamless Textures in Blender. Browse related material examples in wood, concrete, and metal.
Yes. This texture is designed as a seamless tileable PBR material, so it can repeat across large surfaces without visible borders.
You can download PNG/WEBP versions and use 1K, 2K, 4K and 8K download options when available on the page.
Yes. The download options and engine-mapped ZIP workflow are designed for Blender, Unreal Engine, Unity Standard, URP and HDRP material pipelines.
Yes. The texture is available under the AITextured free commercial license. Review the license page for redistribution and AI-training restrictions.

Generate, preview, and export seamless PBR materials for Blender, Unity, and Unreal Engine—directly in your browser.
AI text-to-texture: type a prompt and get a seamless, tileable base image ready for PBR workflows (great starting point for materials).
Create a full PBR set (Normal, Roughness, AO, Metallic, etc.) from a single image. Seamless and tiling-friendly.
Instant WebGL viewer: inspect materials on a sphere, plane, and cube. Check tiling and lighting in real time.
Re-packages maps per engine: Unreal (BaseColor + ORM), Unity (Mask/MetallicSmoothness), Blender (separate channels).
PNG ↔ JPG ↔ SVG: fast convert, SVG rasterize, embed/trace options, quality & background controls.