
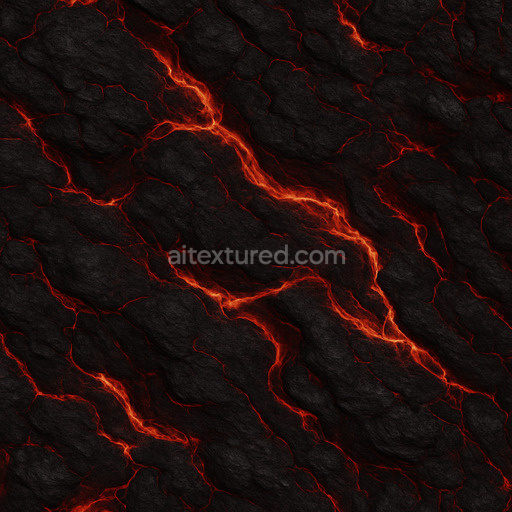
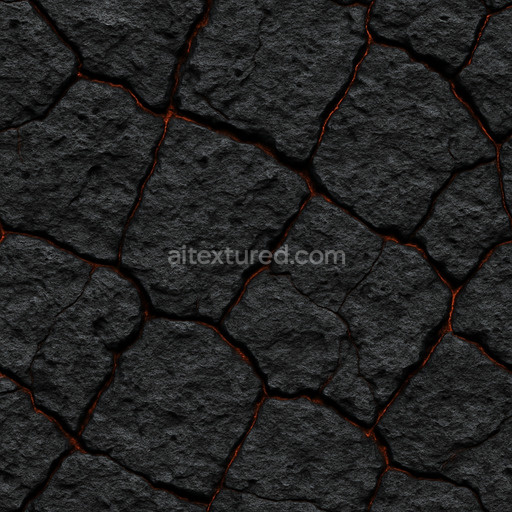
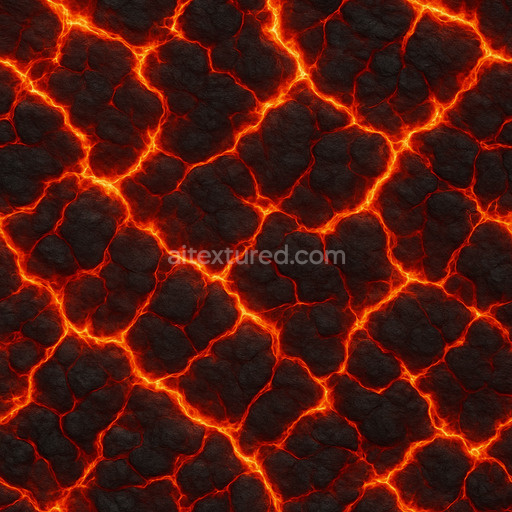
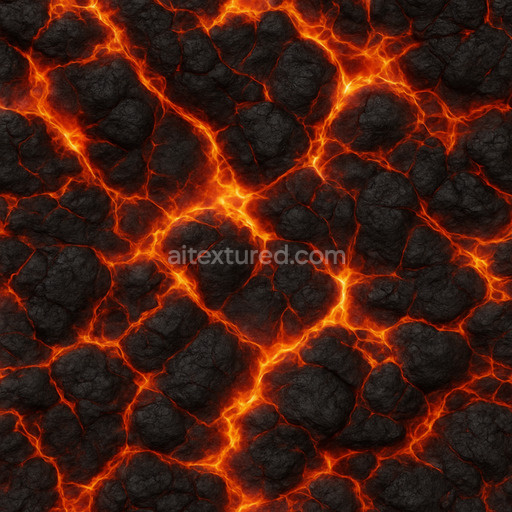
Photorealistic Lava Texture
Seamless texture (tileable) · PNG, WEBP, PBR ZIP. License: AITextured Free Commercial License (FCL) v1.1. Free personal and commercial use. Raw resale, standalone redistribution, mirroring/scraping, competing asset packs, and AI/ML training are not allowed without written permission. Attribution is not required, but appreciated..

| ID | wet-lava-texture |
|---|---|
| Category | Lava |
| Formats | PNG, WEBP, PBR ZIP |
| Size | 1k (1024x1024px), 2k (2048x2048px), 4k (4096x4096px), 8k (8192x8192px) |
| Color | sRGB |
| Tileable | Yes |
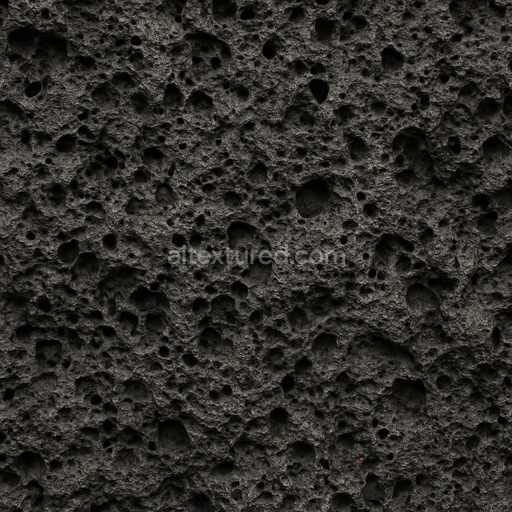
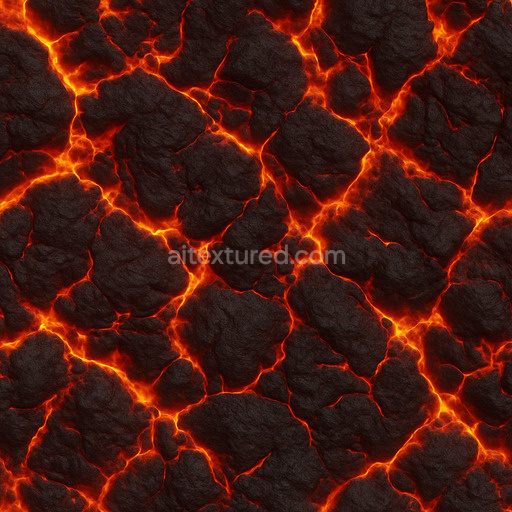
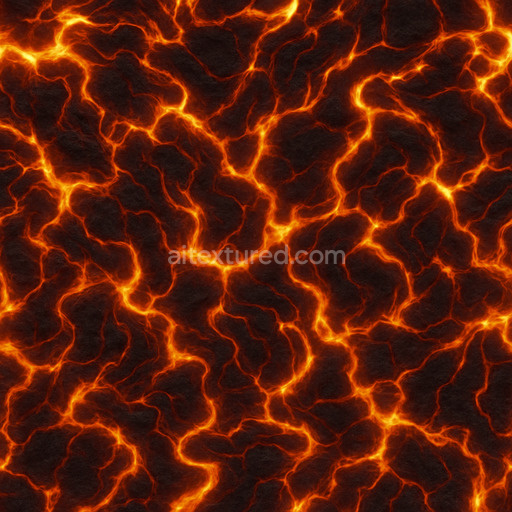
The Wet Lava Texture is a meticulously crafted generated seamless texture that captures the dynamic essence of molten rock with a wet glossy surface finish. This texture simulates the intricate composition of lava’s base substrate combining a viscous mineral matrix with subtle organic residues and fine-grained volcanic ash. The surface features a natural interplay of smooth polished areas where the lava has cooled and solidified alongside rough porous sections that hint at ongoing weathering and cooling processes. Dark iron oxide pigments intermixed with deep reds and blacks create a rich variegated color palette while fine crystalline structures provide an authentic granular appearance. These details translate vividly across PBR channels: the BaseColor/Albedo reveals the nuanced color variations the Normal map emphasizes the undulating surface relief and the Roughness channel balances the wet sheen against matte cooled crust areas. Minimal metallic reflections keep the focus on the organic mineral quality while Ambient Occlusion and Height maps add depth and volumetric realism to the pattern.
Designed for high-resolution workflows this tileable wet lava texture supports up to 8K resolution ensuring exceptional clarity and detail even on expansive surfaces. It is optimized for seamless tiling which allows artists and developers to cover vast terrain or material areas without visible repetition or artifacts that often disrupt immersion. The texture integrates smoothly with popular 3D software such as Blender Unreal Engine and Unity enabling real-time scene assembly cinematic rendering level dressing and material studies with minimal setup. Its AI generation process has been carefully tuned to avoid common issues like repetitive patterns and unnatural sharpness providing a stable and reliable asset for both personal and commercial projects.
For practical application consider adjusting the UV scale to maintain the fine-grained detail across different model sizes ensuring the wet lava’s natural flow and texture complexity are preserved. Additionally subtle tuning of the roughness channel can enhance the wet appearance by increasing glossiness in areas meant to simulate molten or freshly cooled lava while keeping other regions matte to reflect solidification. Incorporating a light normal pass and ambient occlusion map further enriches surface breakup and depth without overwhelming the visual coherence allowing for a versatile and realistic material that accelerates creative workflows and delivers immersive results.
This seamless wet lava texture offers a highly detailed PBR appearance with realistic wet lava texture qualities perfect for generated lava textures and 3D preview applications.
Import the texture maps into Blender with sRGB color space for albedo/base color and Non-Color for normal, roughness, metallic, AO, height, and ORM maps. Connect normal maps through a Normal Map node, then adjust UV scale with a Mapping node so the material repeats naturally on your model.
For the full step-by-step setup, see How to Use Seamless Textures in Blender. Browse related material examples in wood, concrete, and metal.
Yes. This texture is designed as a seamless tileable PBR material, so it can repeat across large surfaces without visible borders.
You can download PNG/WEBP versions and use 1K, 2K, 4K and 8K download options when available on the page.
Yes. The download options and engine-mapped ZIP workflow are designed for Blender, Unreal Engine, Unity Standard, URP and HDRP material pipelines.
Yes. The texture is available under the AITextured free commercial license. Review the license page for redistribution and AI-training restrictions.
Generate, preview, and export seamless PBR materials for Blender, Unity, and Unreal Engine—directly in your browser.
AI text-to-texture: type a prompt and get a seamless, tileable base image ready for PBR workflows (great starting point for materials).
Create a full PBR set (Normal, Roughness, AO, Metallic, etc.) from a single image. Seamless and tiling-friendly.
Instant WebGL viewer: inspect materials on a sphere, plane, and cube. Check tiling and lighting in real time.
Re-packages maps per engine: Unreal (BaseColor + ORM), Unity (Mask/MetallicSmoothness), Blender (separate channels).
PNG ↔ JPG ↔ SVG: fast convert, SVG rasterize, embed/trace options, quality & background controls.