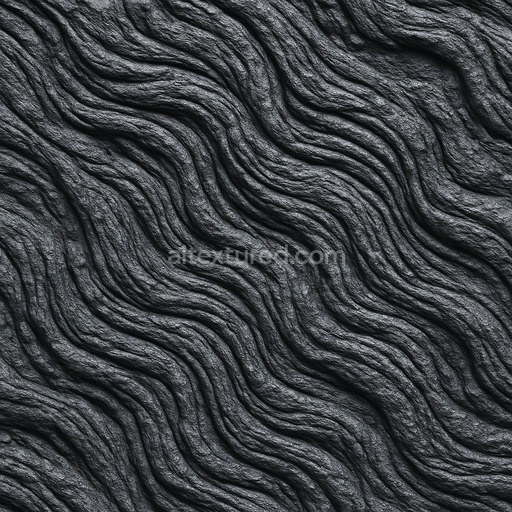
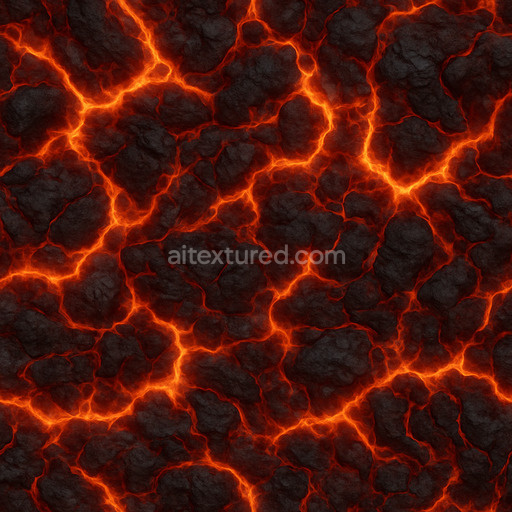
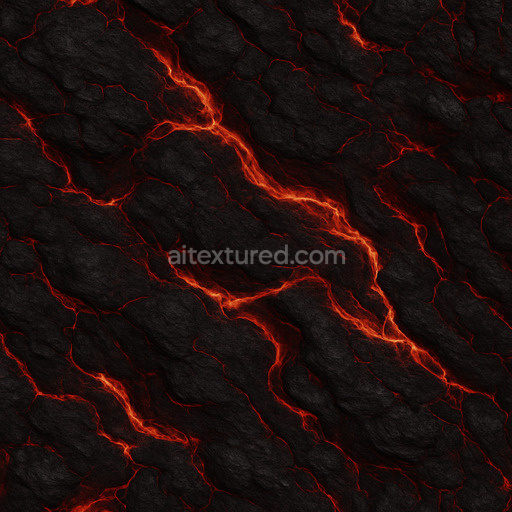
Seamless Basalt Flow Texture
Seamless texture (tileable) · PNG, WEBP, PBR ZIP. License: AITextured Free Commercial License (FCL) v1.1. Free personal and commercial use. Raw resale, standalone redistribution, mirroring/scraping, competing asset packs, and AI/ML training are not allowed without written permission. Attribution is not required, but appreciated..

| ID | detailed-molten-surface-texture |
|---|---|
| Category | Lava |
| Formats | PNG, WEBP, PBR ZIP |
| Size | 1k (1024x1024px), 2k (2048x2048px), 4k (4096x4096px), 8k (8192x8192px) |
| Color | sRGB |
| Tileable | Yes |
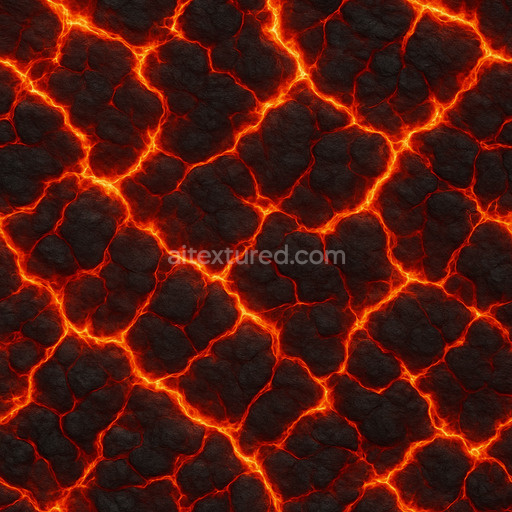
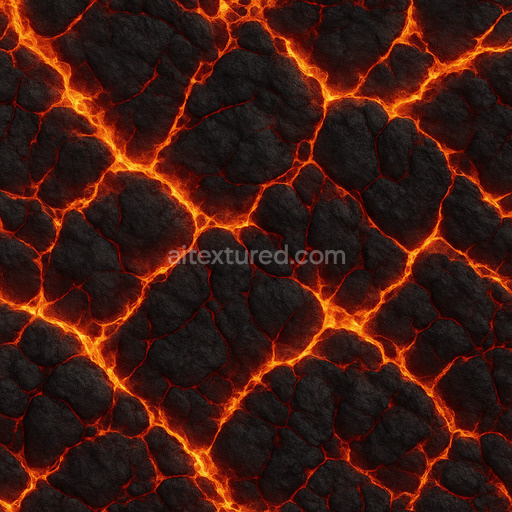
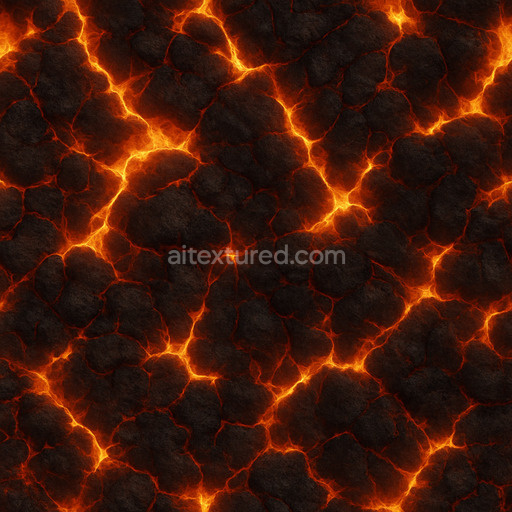
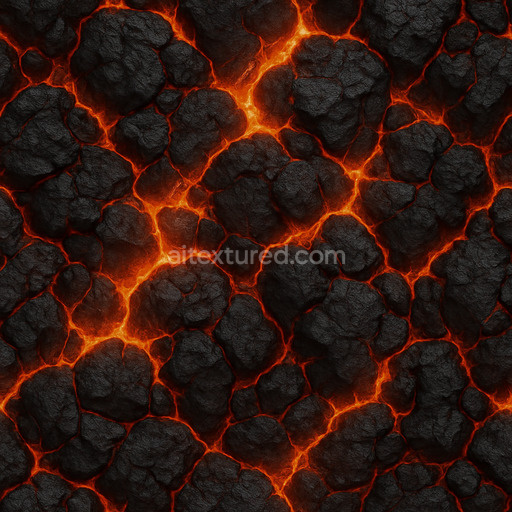
The Detailed Molten Surface Texture offers an exceptionally crafted representation of volcanic lava’s natural complexity designed to bring high-fidelity realism to your 3D materials. This texture emulates a molten substrate composed primarily of cooled mineral formations fused with semi-liquid volcanic glass and fine crystalline aggregates. The surface finish captures the partially oxidized weathered state typical of lava flows blending rough matte areas with intermittently glossy viscous patches. Rich pigment variations in deep reds oranges and charred blacks reflect the organic layering of mineral oxides and embedded particulates. Such intricate composition is faithfully conveyed across PBR channels: the BaseColor channel reveals nuanced color shifts and subtle translucency while the Normal and Height maps enhance the rugged relief and bubbling surface topology. Roughness is finely tuned to convey contrasting wet and dry zones and the Ambient Occlusion map adds depth to fissures and crevices. The Metallic channel remains minimal reflecting lava’s non-metallic nature.
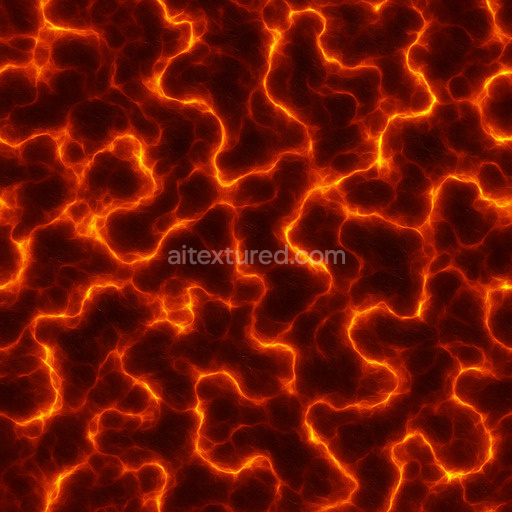
Rendered at a high resolution of up to 8K this seamless detailed molten surface texture ensures crisp detail even on vast surfaces enabling flawless tiling without visible seams. It is fully optimized for real-time engines such as Blender Unreal Engine and Unity providing immediate usability with minimal setup and maintaining a fast iteration loop during development. The texture’s generated workflow balances sharp detail with controlled noise producing a natural and believable molten look that avoids artificial uniformity. This makes it ideal for cinematic renders game level dressing material studies and any scene requiring authentic lava textures with depth and complexity.
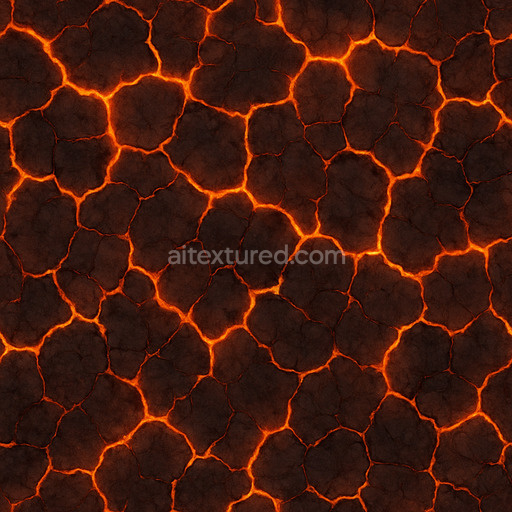
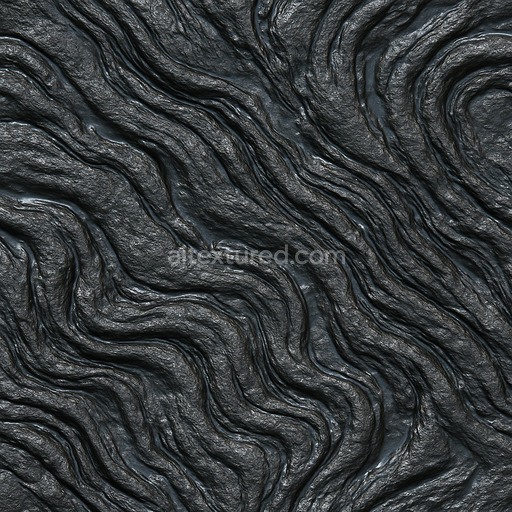
For practical application adjusting the roughness map intensity to match your lighting environment can greatly enhance realism—higher roughness values emphasize the weathered solidified crust areas while lowering roughness highlights the molten freshly cooled regions’ subtle glossiness. Additionally scaling the UVs appropriately allows the tileable detailed molten surface texture to cover extensive terrain or props without losing its detailed surface complexity. Incorporating this texture into your material library will streamline your workflow and elevate the authenticity of volcanic and lava-related assets in your projects.
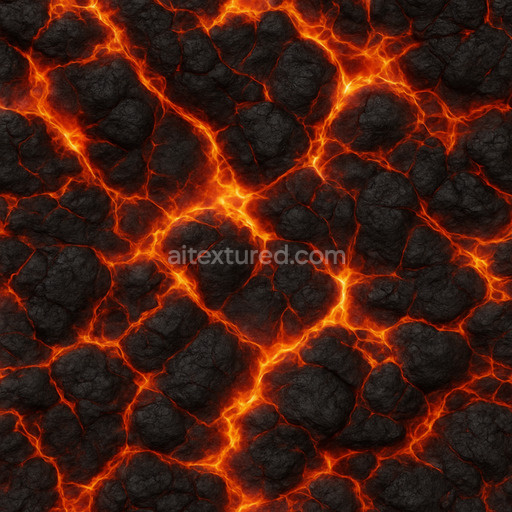
The generated detailed molten surface texture provides a highly realistic PBR appearance with intricate texture composition allowing for an accurate 3D preview of the molten material’s surface.
Import the texture maps into Blender with sRGB color space for albedo/base color and Non-Color for normal, roughness, metallic, AO, height, and ORM maps. Connect normal maps through a Normal Map node, then adjust UV scale with a Mapping node so the material repeats naturally on your model.
For the full step-by-step setup, see How to Use Seamless Textures in Blender. Browse related material examples in wood, concrete, and metal.
Yes. This texture is designed as a seamless tileable PBR material, so it can repeat across large surfaces without visible borders.
You can download PNG/WEBP versions and use 1K, 2K, 4K and 8K download options when available on the page.
Yes. The download options and engine-mapped ZIP workflow are designed for Blender, Unreal Engine, Unity Standard, URP and HDRP material pipelines.
Yes. The texture is available under the AITextured free commercial license. Review the license page for redistribution and AI-training restrictions.

Generate, preview, and export seamless PBR materials for Blender, Unity, and Unreal Engine—directly in your browser.
AI text-to-texture: type a prompt and get a seamless, tileable base image ready for PBR workflows (great starting point for materials).
Create a full PBR set (Normal, Roughness, AO, Metallic, etc.) from a single image. Seamless and tiling-friendly.
Instant WebGL viewer: inspect materials on a sphere, plane, and cube. Check tiling and lighting in real time.
Re-packages maps per engine: Unreal (BaseColor + ORM), Unity (Mask/MetallicSmoothness), Blender (separate channels).
PNG ↔ JPG ↔ SVG: fast convert, SVG rasterize, embed/trace options, quality & background controls.