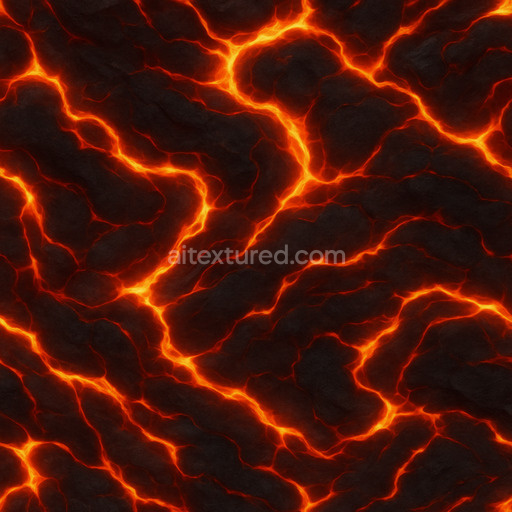
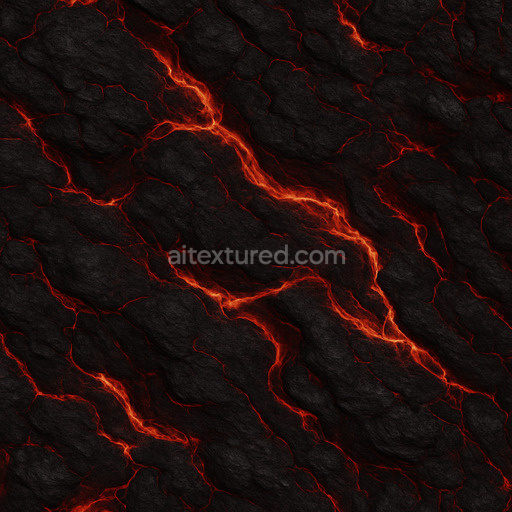
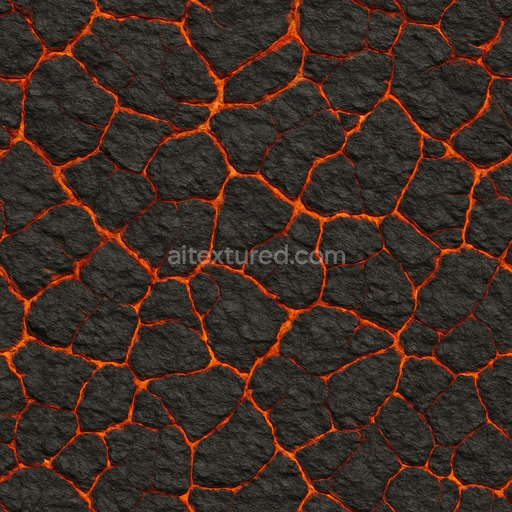
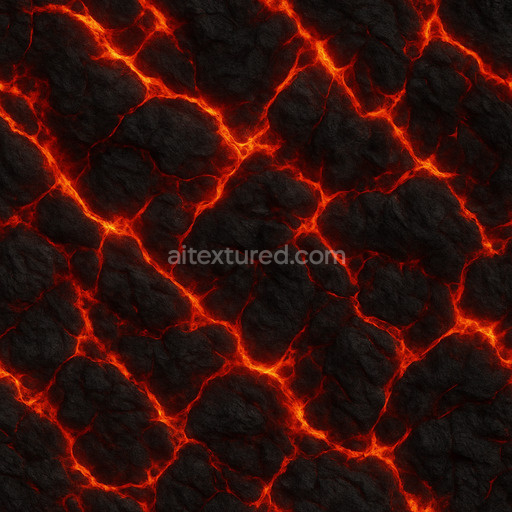
Smooth Lava Texture
Seamless texture (tileable) · PNG, WEBP, PBR ZIP. License: AITextured Free Commercial License (FCL) v1.1. Free personal and commercial use. Raw resale, standalone redistribution, mirroring/scraping, competing asset packs, and AI/ML training are not allowed without written permission. Attribution is not required, but appreciated..

| ID | cracked-fire-ground-texture |
|---|---|
| Category | Lava |
| Formats | PNG, WEBP, PBR ZIP |
| Size | 1k (1024x1024px), 2k (2048x2048px), 4k (4096x4096px), 8k (8192x8192px) |
| Color | sRGB |
| Tileable | Yes |
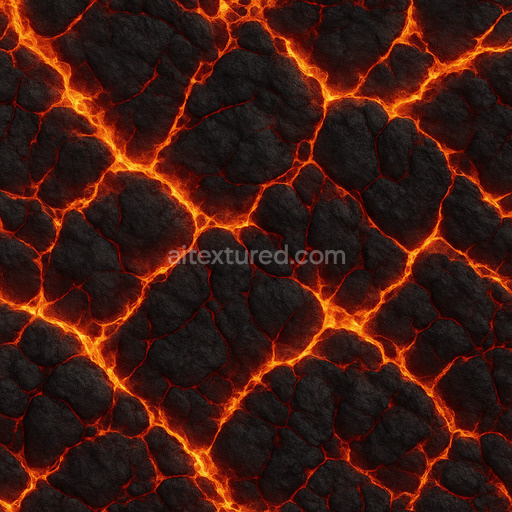
The Cracked Fire Ground Texture is an expertly generated seamless texture crafted to replicate the intricate appearance of fractured molten earth surfaces found in volcanic or lava-rich environments. Its base substrate simulates a rugged mineral matrix composed of heat-altered silicates and oxidized volcanic rock exhibiting natural porosity and subtle fracturing patterns that convey intense thermal stress and weathering. The texture’s composition suggests a blend of fine-grained ash and coarse crystalline aggregates fused by natural mineral binders producing a structurally complex surface with visible cracks and fissures. Colorants include deep reds fiery oranges and charred blacks mimicking oxidized iron and other mineral oxide layers that give the ground a glowing embers-like quality. The surface finish is matte to semi-rough reflecting the irregular scorched earth texture with a slight roughness that diffuses light realistically without excessive gloss.*
In physically based rendering (PBR) workflows this cracked fire ground texture excels by accurately representing its material properties across multiple channels. The BaseColor (Albedo) map features rich layered coloration emphasizing the contrast between glowing fissures and darker cooled rock. The Normal map captures micro-detail in the cracked uneven surface topology enhancing the perception of depth and fracture edges under dynamic lighting. Roughness is finely tuned to reflect the semi-porous weathered surface—offering a balance between matte and subtle specular highlights. The Metallic channel remains near zero appropriate for non-metallic mineral-based ground. Ambient Occlusion enhances shadowing within cracks and crevices adding realism to recessed areas. Height and Displacement maps provide additional geometric detail enabling realistic parallax effects and surface relief when applied in 3D engines.*
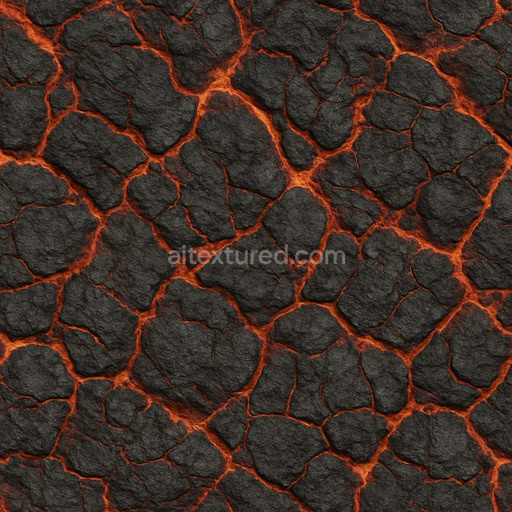
Designed with up to 8K resolution this tileable cracked fire ground texture scales elegantly across large surfaces without visible seams making it ideal for use in architectural visualization game environments product mockups and interior staging that require convincing volcanic or lava terrain. The file formats are optimized for seamless integration and minimal setup within Blender Unity and Unreal Engine pipelines accelerating workflows and ensuring production-ready results. For optimal visual fidelity it is recommended to maintain consistent texel density across all assets and carefully adjust UV scaling to avoid pattern distortion. Additionally fine-tuning the roughness map can help achieve the desired balance between gloss and diffuse reflection especially under varying lighting conditions.*
This PBR material cracked fire ground texture provides a clean repeatable pattern that is both aesthetically striking and physically plausible supporting creative projects where realistic lava textures are essential. Its combination of micro-detail structural consistency and high resolution enables seamless tiling across expansive terrain making it a valuable asset for any 3D artist or developer aiming to replicate the dramatic cracked surfaces of fiery volcanic grounds with high fidelity and ease.
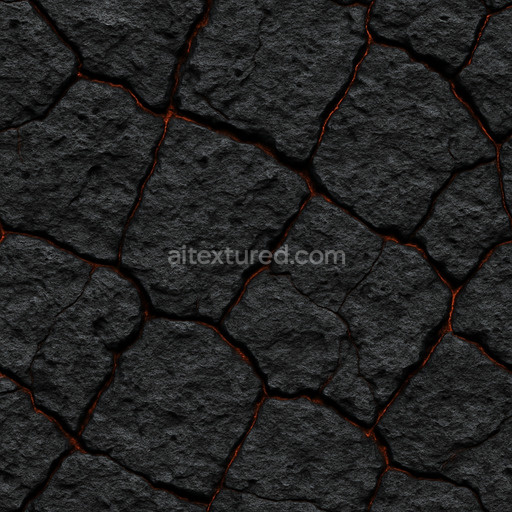
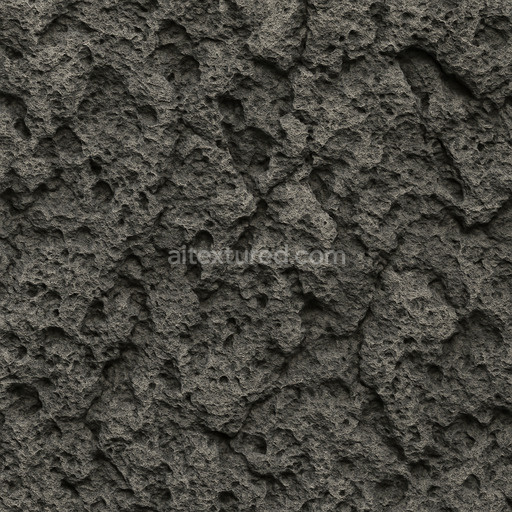
The seamless cracked fire ground texture offers a highly detailed PBR appearance with realistic surface imperfections providing an accurate 3D preview for material composition in digital environments.
Import the texture maps into Blender with sRGB color space for albedo/base color and Non-Color for normal, roughness, metallic, AO, height, and ORM maps. Connect normal maps through a Normal Map node, then adjust UV scale with a Mapping node so the material repeats naturally on your model.
For the full step-by-step setup, see How to Use Seamless Textures in Blender. Browse related material examples in wood, concrete, and metal.
Yes. This texture is designed as a seamless tileable PBR material, so it can repeat across large surfaces without visible borders.
You can download PNG/WEBP versions and use 1K, 2K, 4K and 8K download options when available on the page.
Yes. The download options and engine-mapped ZIP workflow are designed for Blender, Unreal Engine, Unity Standard, URP and HDRP material pipelines.
Yes. The texture is available under the AITextured free commercial license. Review the license page for redistribution and AI-training restrictions.


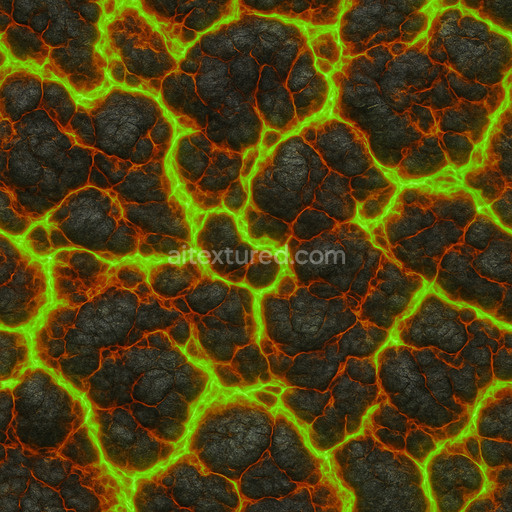
Generate, preview, and export seamless PBR materials for Blender, Unity, and Unreal Engine—directly in your browser.
AI text-to-texture: type a prompt and get a seamless, tileable base image ready for PBR workflows (great starting point for materials).
Create a full PBR set (Normal, Roughness, AO, Metallic, etc.) from a single image. Seamless and tiling-friendly.
Instant WebGL viewer: inspect materials on a sphere, plane, and cube. Check tiling and lighting in real time.
Re-packages maps per engine: Unreal (BaseColor + ORM), Unity (Mask/MetallicSmoothness), Blender (separate channels).
PNG ↔ JPG ↔ SVG: fast convert, SVG rasterize, embed/trace options, quality & background controls.