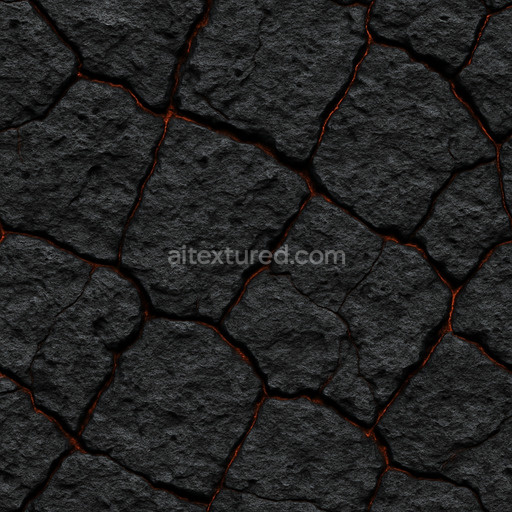
Ancient Magma Texture
Seamless texture (tileable) · PNG, WEBP, PBR ZIP. License: AITextured Free Commercial License (FCL) v1.1. Free personal and commercial use. Raw resale, standalone redistribution, mirroring/scraping, competing asset packs, and AI/ML training are not allowed without written permission. Attribution is not required, but appreciated..

| ID | stylized-basalt-flow-texture |
|---|---|
| Category | Lava |
| Formats | PNG, WEBP, PBR ZIP |
| Size | 1k (1024x1024px), 2k (2048x2048px), 4k (4096x4096px), 8k (8192x8192px) |
| Color | sRGB |
| Tileable | Yes |
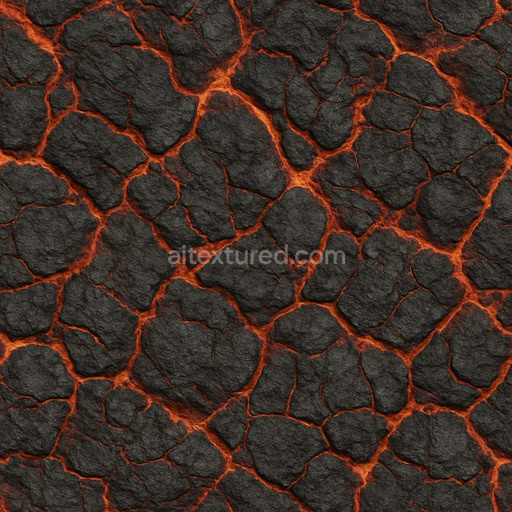
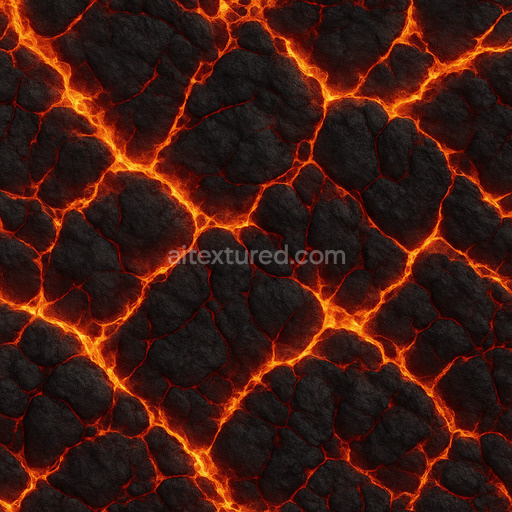
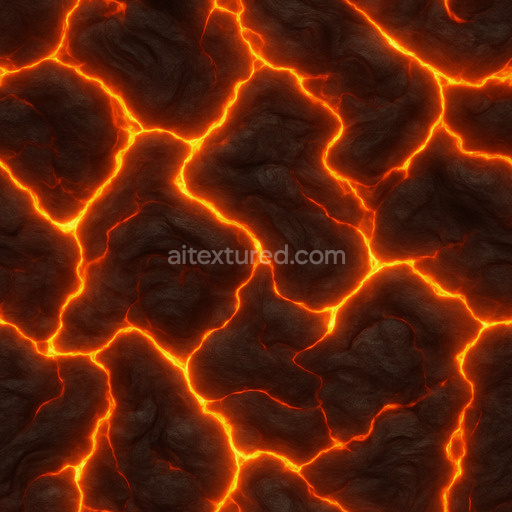
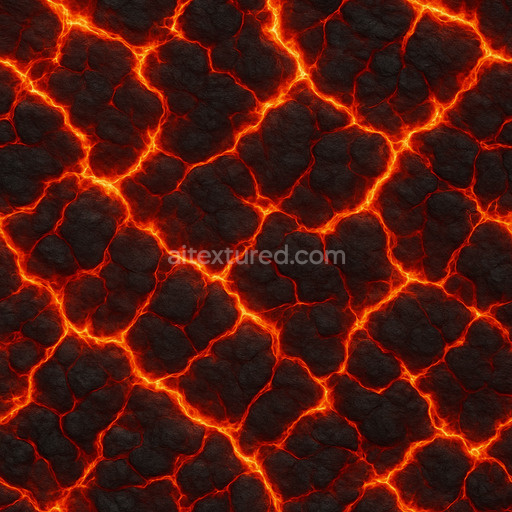
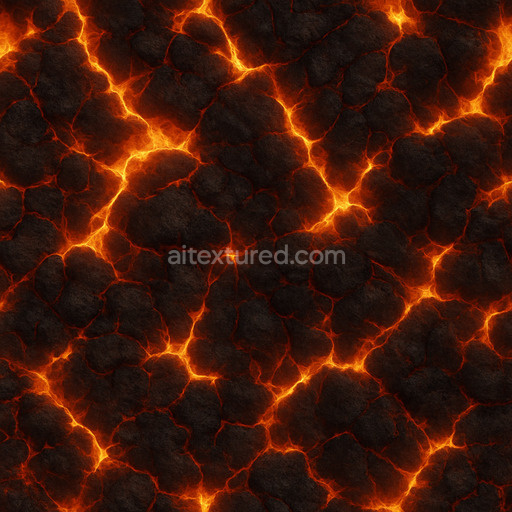
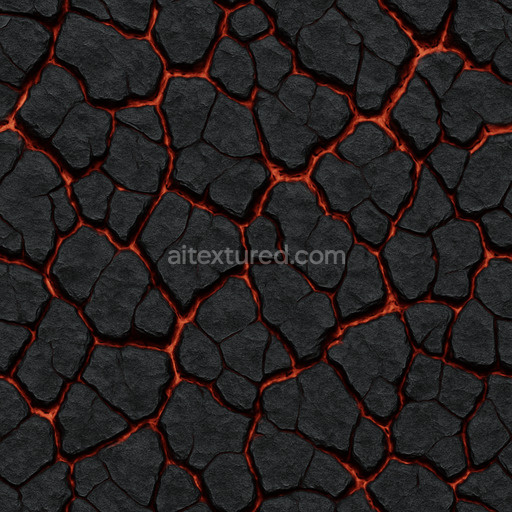
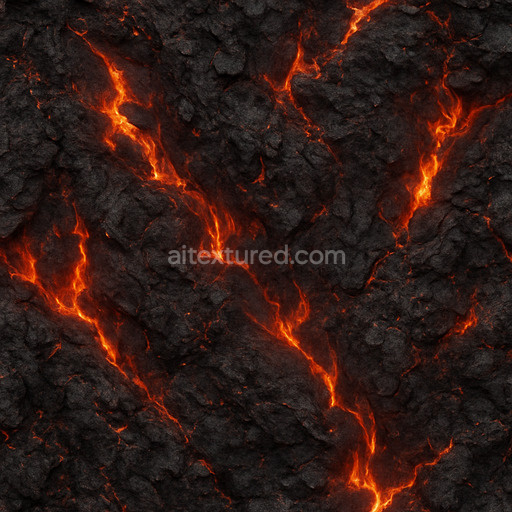
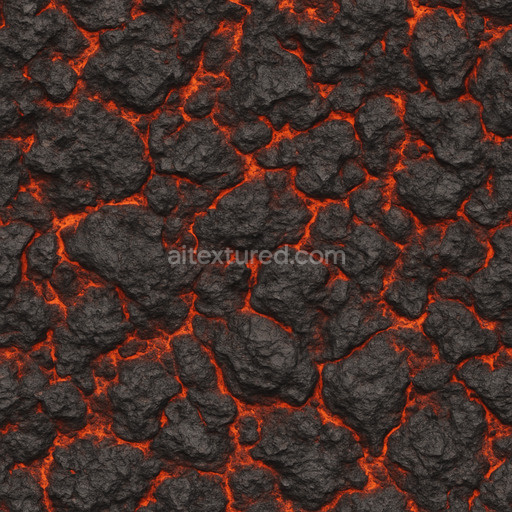
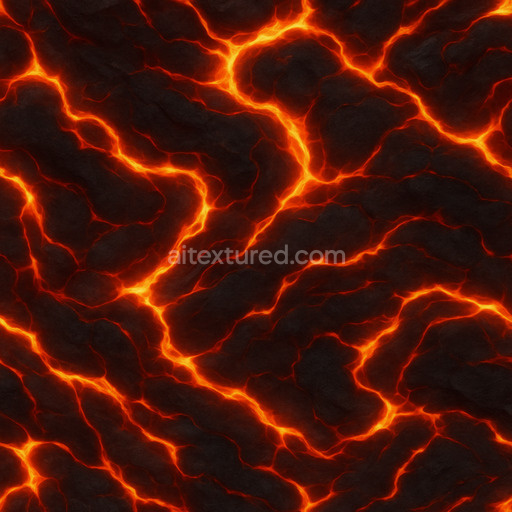
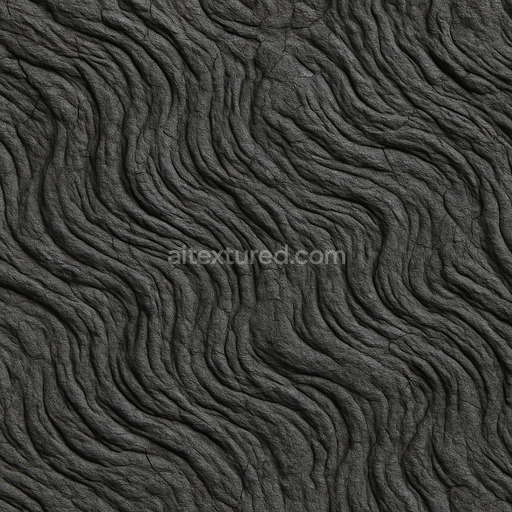
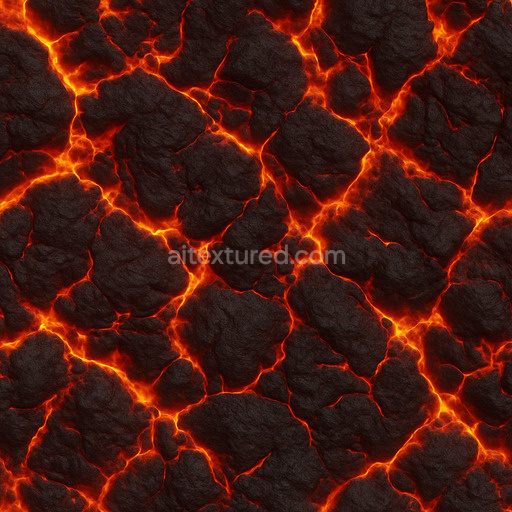
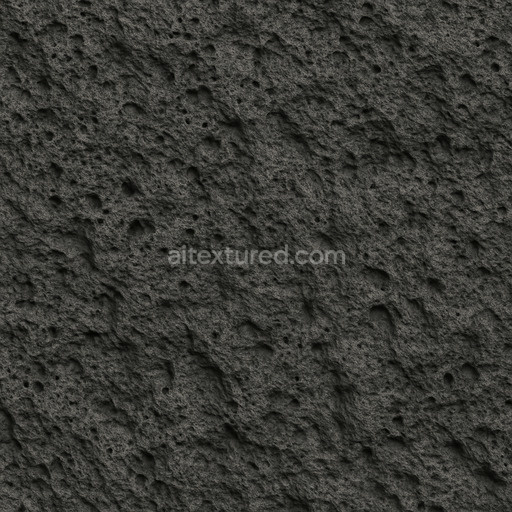
The Stylized Basalt Flow Texture captures the unique geological character of basaltic lava flows with a high-quality seamless design that brings natural volcanic surfaces into your 3D projects. This texture simulates the complex composition of basalt rock which forms from rapidly cooled lava rich in iron and magnesium minerals. The base substrate is a dense fine-grained volcanic stone with subtle variations in grain orientation that create a dynamic flow pattern. Its surface finish is matte to semi-rough reflecting natural weathering and slight oxidation while dark gray to black pigments are interspersed with hints of deep charcoal and muted blue-gray tones mimicking mineral inclusions and oxide layers found in real basalt formations. The texture’s porosity and micro-cracks are thoughtfully represented adding realistic depth and tactile variation without disrupting the overall cohesion of the material.
In terms of physically based rendering (PBR) channels the Stylized Basalt Flow Texture excels with its carefully balanced BaseColor (Albedo) Normal Roughness and Ambient Occlusion maps. The BaseColor channel conveys the subtle color shifts and mineral speckles that define basalt’s natural appeal. The Normal map enhances the intricate flow patterns and surface irregularities providing a believable tactile quality that responds well to lighting in Blender Unreal Engine and Unity. The Roughness map is calibrated to replicate the stone’s slightly weathered non-reflective surface while maintaining sharp detail in crevices and raised areas. Ambient Occlusion adds soft shadows within the flow crevices increasing visual depth without overwhelming the texture. The Height or Displacement channel subtly elevates key features to break up flat surfaces making it ideal for architectural visualization environment art and concept prototyping where realism and stylization must coexist harmoniously.
Engineered for modern production pipelines this tileable Stylized Basalt Flow Texture supports resolutions up to 8K ensuring clarity and cohesion even on large UV islands or close camera scrutiny. It fits seamlessly into quick look-development workflows and is optimized for fast iteration loops allowing artists to experiment confidently in real-time 3D preview environments. For best results consider adjusting the UV scale to emphasize the basalt flow directionality and use a light normal pass combined with subtle ambient occlusion to enhance surface breakup without introducing excessive noise or oversharpening. This approach maintains the natural believable look of the lava textures while keeping performance efficient across Blender Unreal and Unity projects.
The seamless stylized basalt flow texture offers a detailed PBR texture stylized basalt flow texture composition that enhances PBR materials with its distinct stylized basalt flow texture characteristics.
Import the texture maps into Blender with sRGB color space for albedo/base color and Non-Color for normal, roughness, metallic, AO, height, and ORM maps. Connect normal maps through a Normal Map node, then adjust UV scale with a Mapping node so the material repeats naturally on your model.
For the full step-by-step setup, see How to Use Seamless Textures in Blender. Browse related material examples in wood, concrete, and metal.
Yes. This texture is designed as a seamless tileable PBR material, so it can repeat across large surfaces without visible borders.
You can download PNG/WEBP versions and use 1K, 2K, 4K and 8K download options when available on the page.
Yes. The download options and engine-mapped ZIP workflow are designed for Blender, Unreal Engine, Unity Standard, URP and HDRP material pipelines.
Yes. The texture is available under the AITextured free commercial license. Review the license page for redistribution and AI-training restrictions.
Generate, preview, and export seamless PBR materials for Blender, Unity, and Unreal Engine—directly in your browser.
AI text-to-texture: type a prompt and get a seamless, tileable base image ready for PBR workflows (great starting point for materials).
Create a full PBR set (Normal, Roughness, AO, Metallic, etc.) from a single image. Seamless and tiling-friendly.
Instant WebGL viewer: inspect materials on a sphere, plane, and cube. Check tiling and lighting in real time.
Re-packages maps per engine: Unreal (BaseColor + ORM), Unity (Mask/MetallicSmoothness), Blender (separate channels).
PNG ↔ JPG ↔ SVG: fast convert, SVG rasterize, embed/trace options, quality & background controls.